



Sound-absorbing wall panels
Acoustic panels for the whole home
Scandinavian design that changes how your home feels.


Loading reviews…
Loading reviews…
Most Popular Products
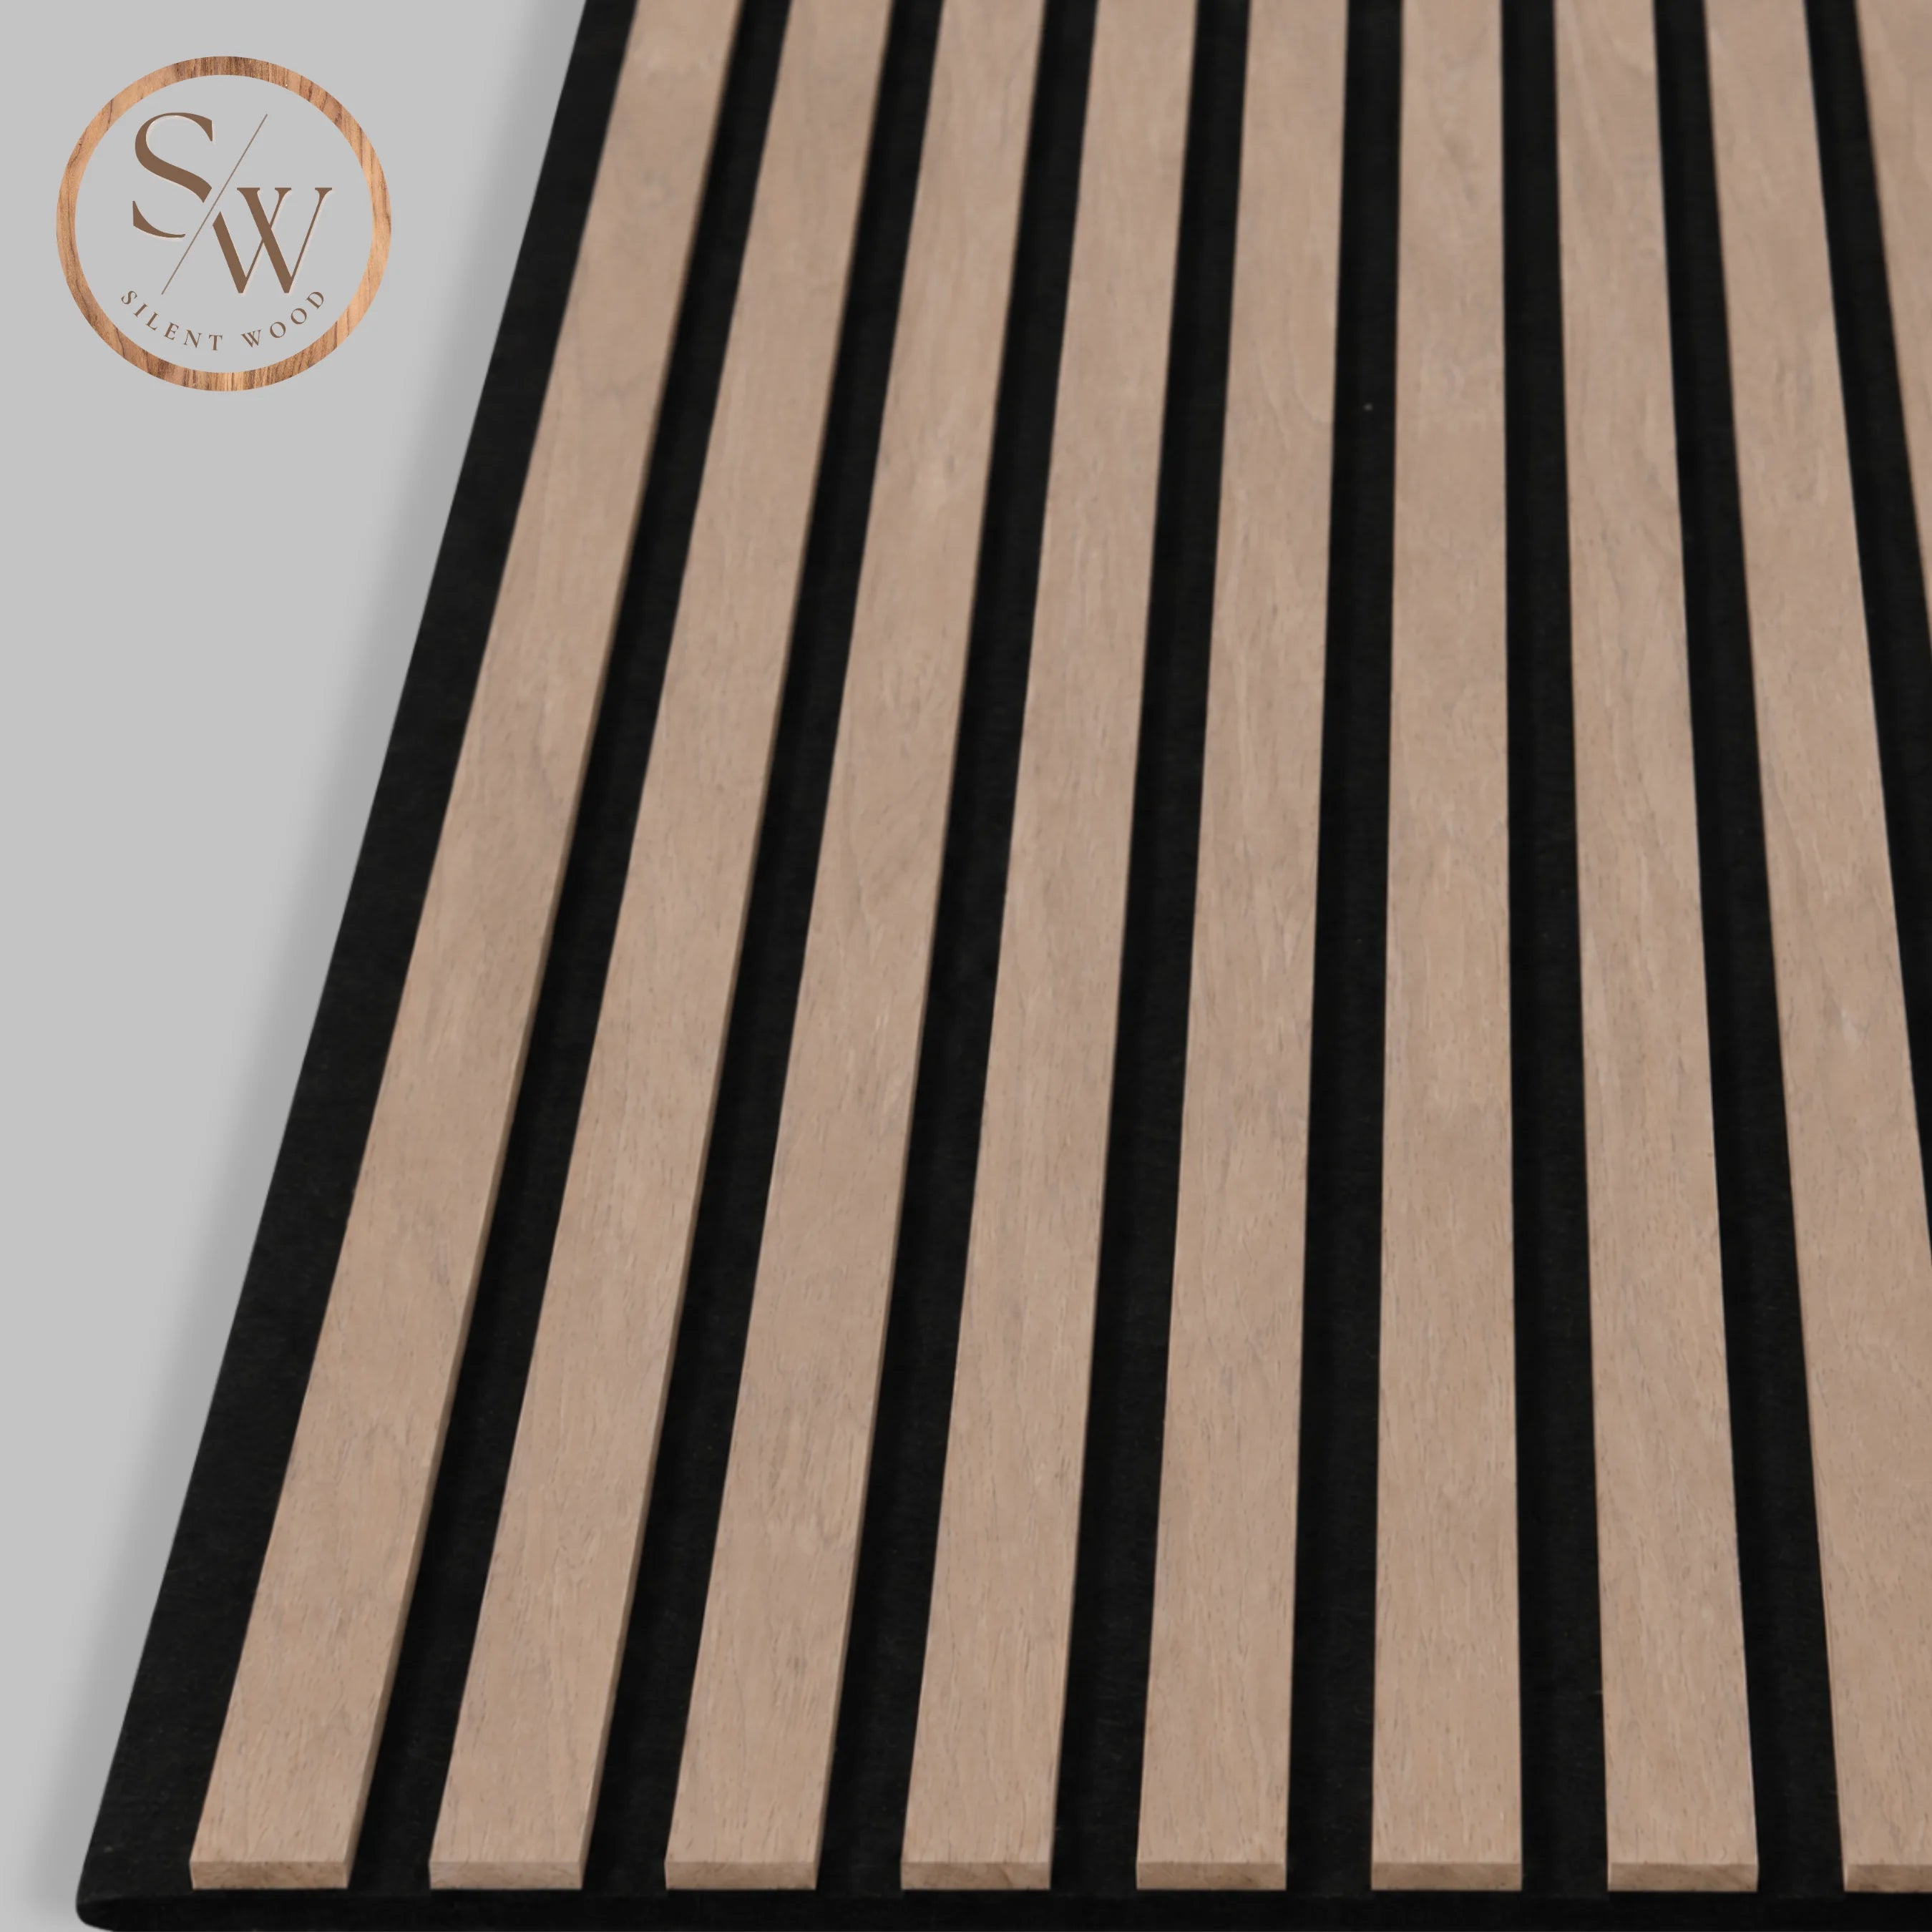



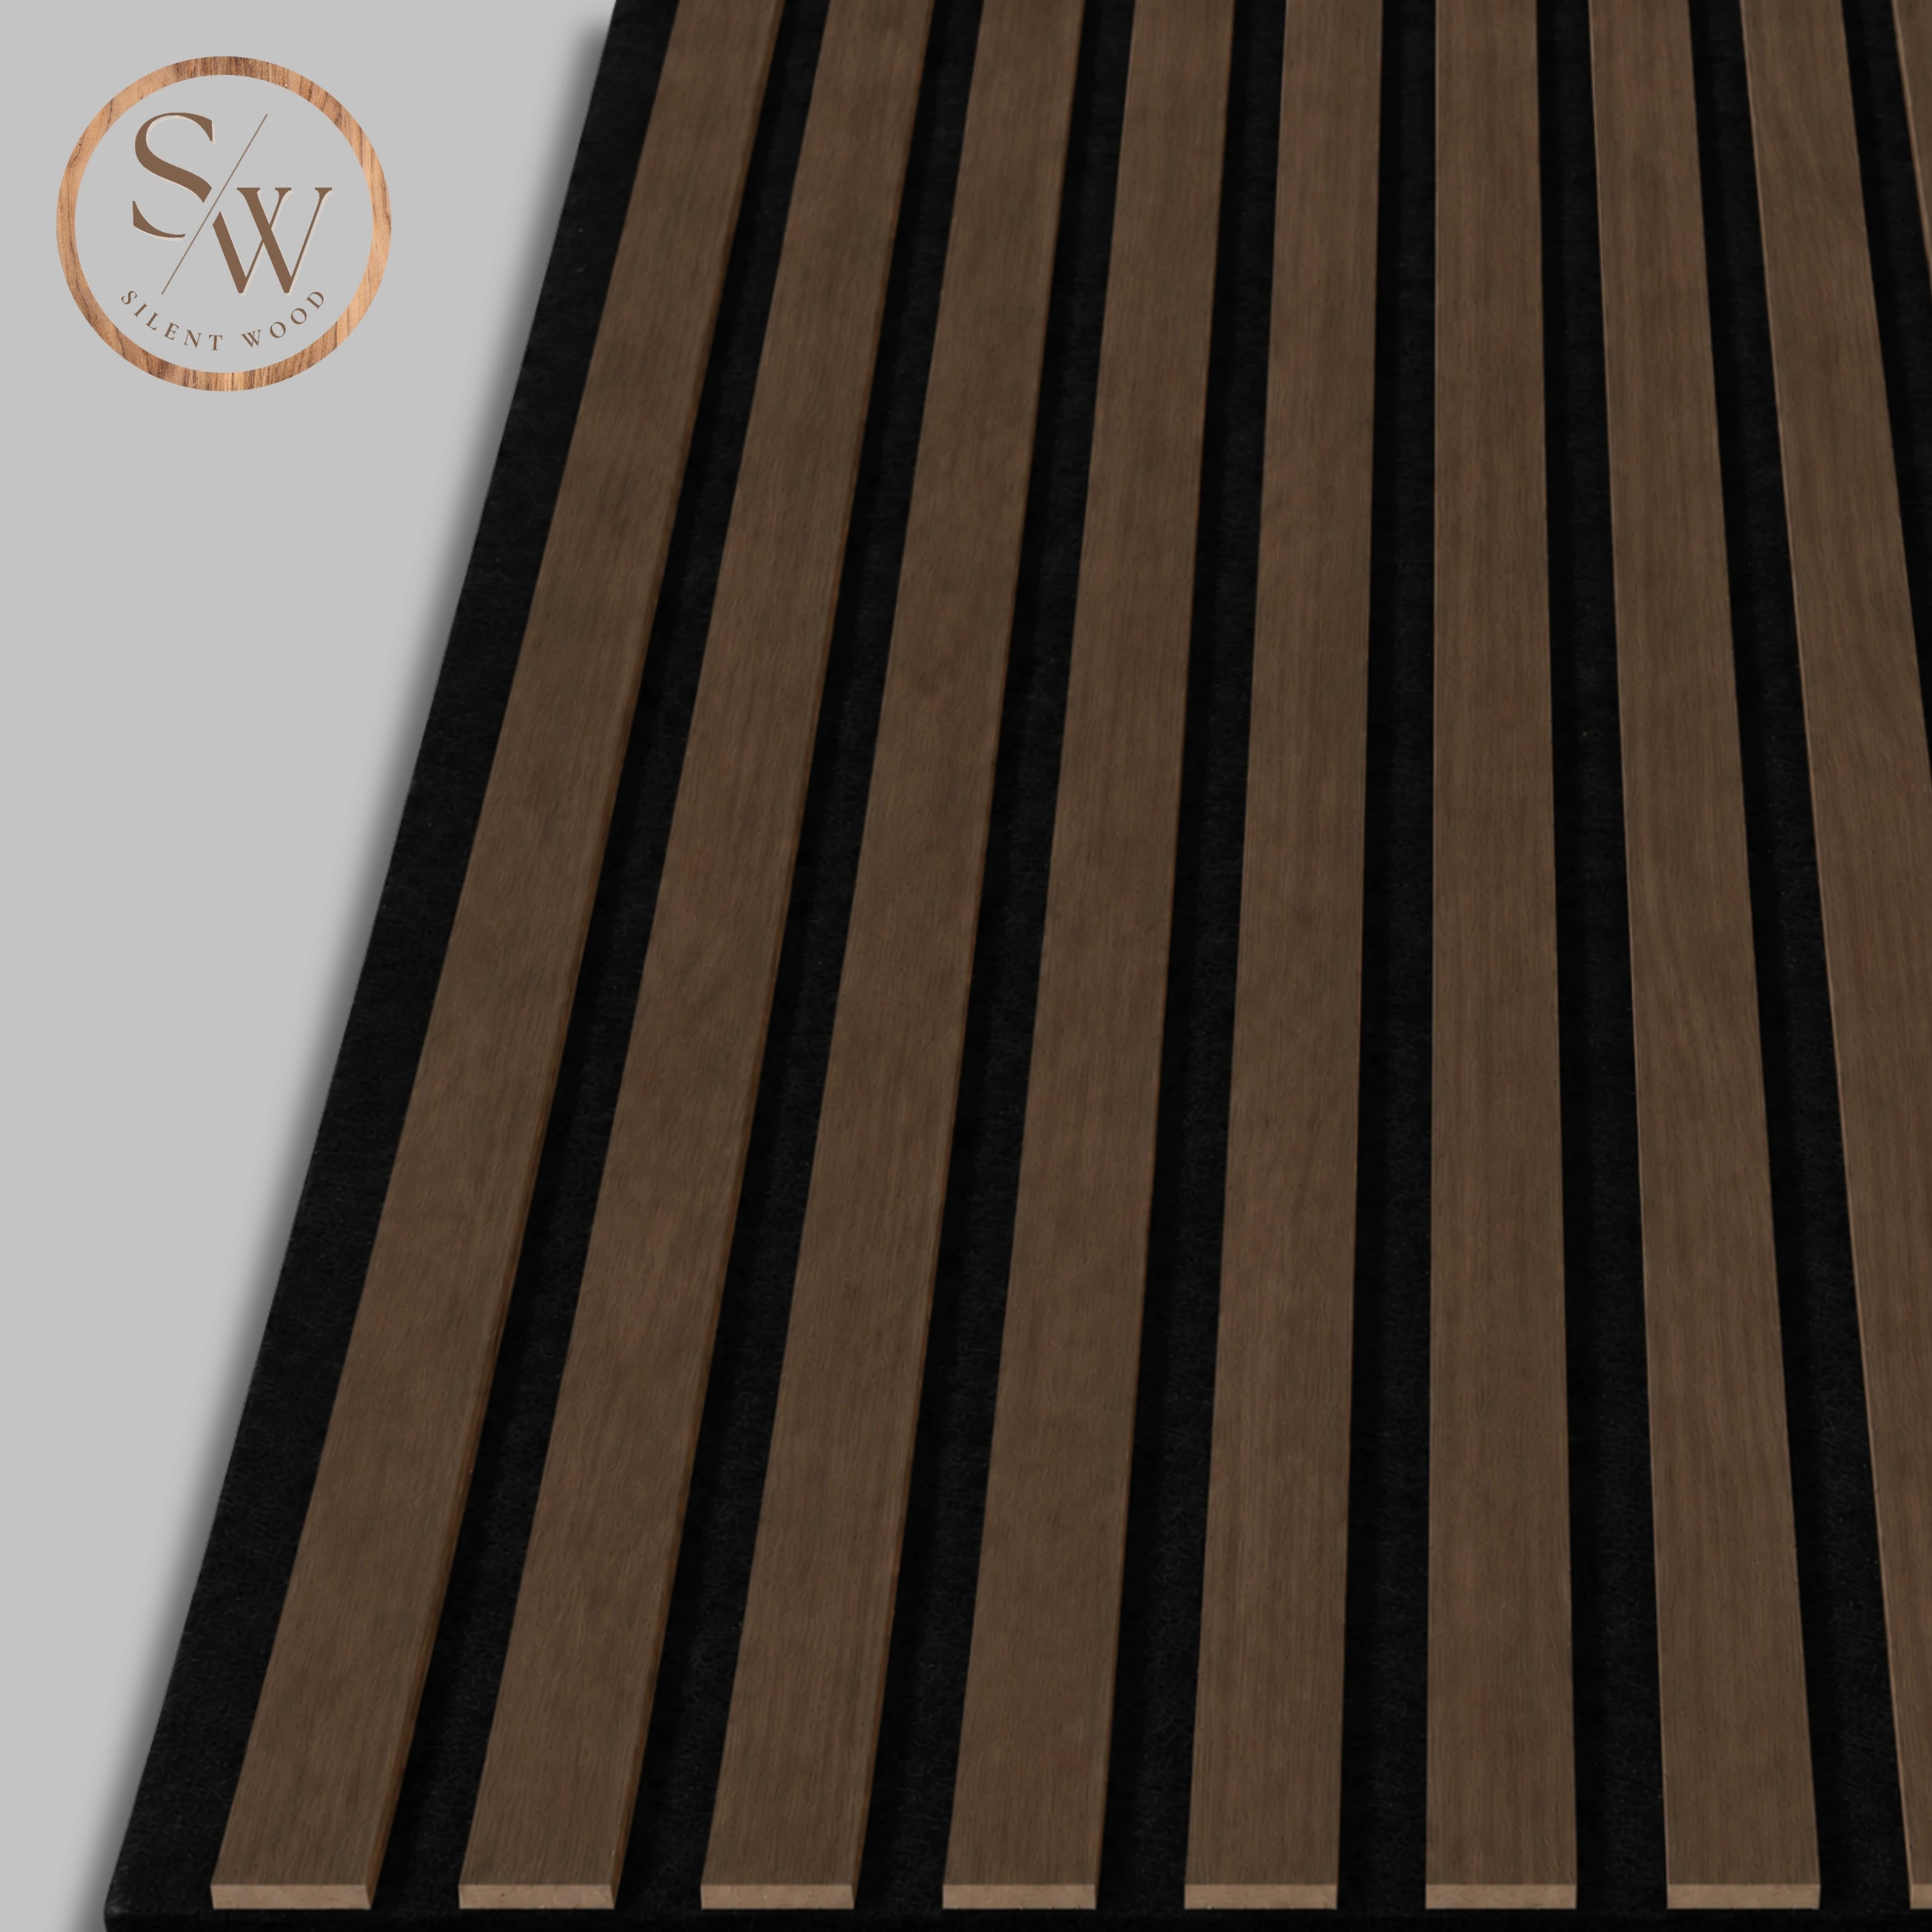

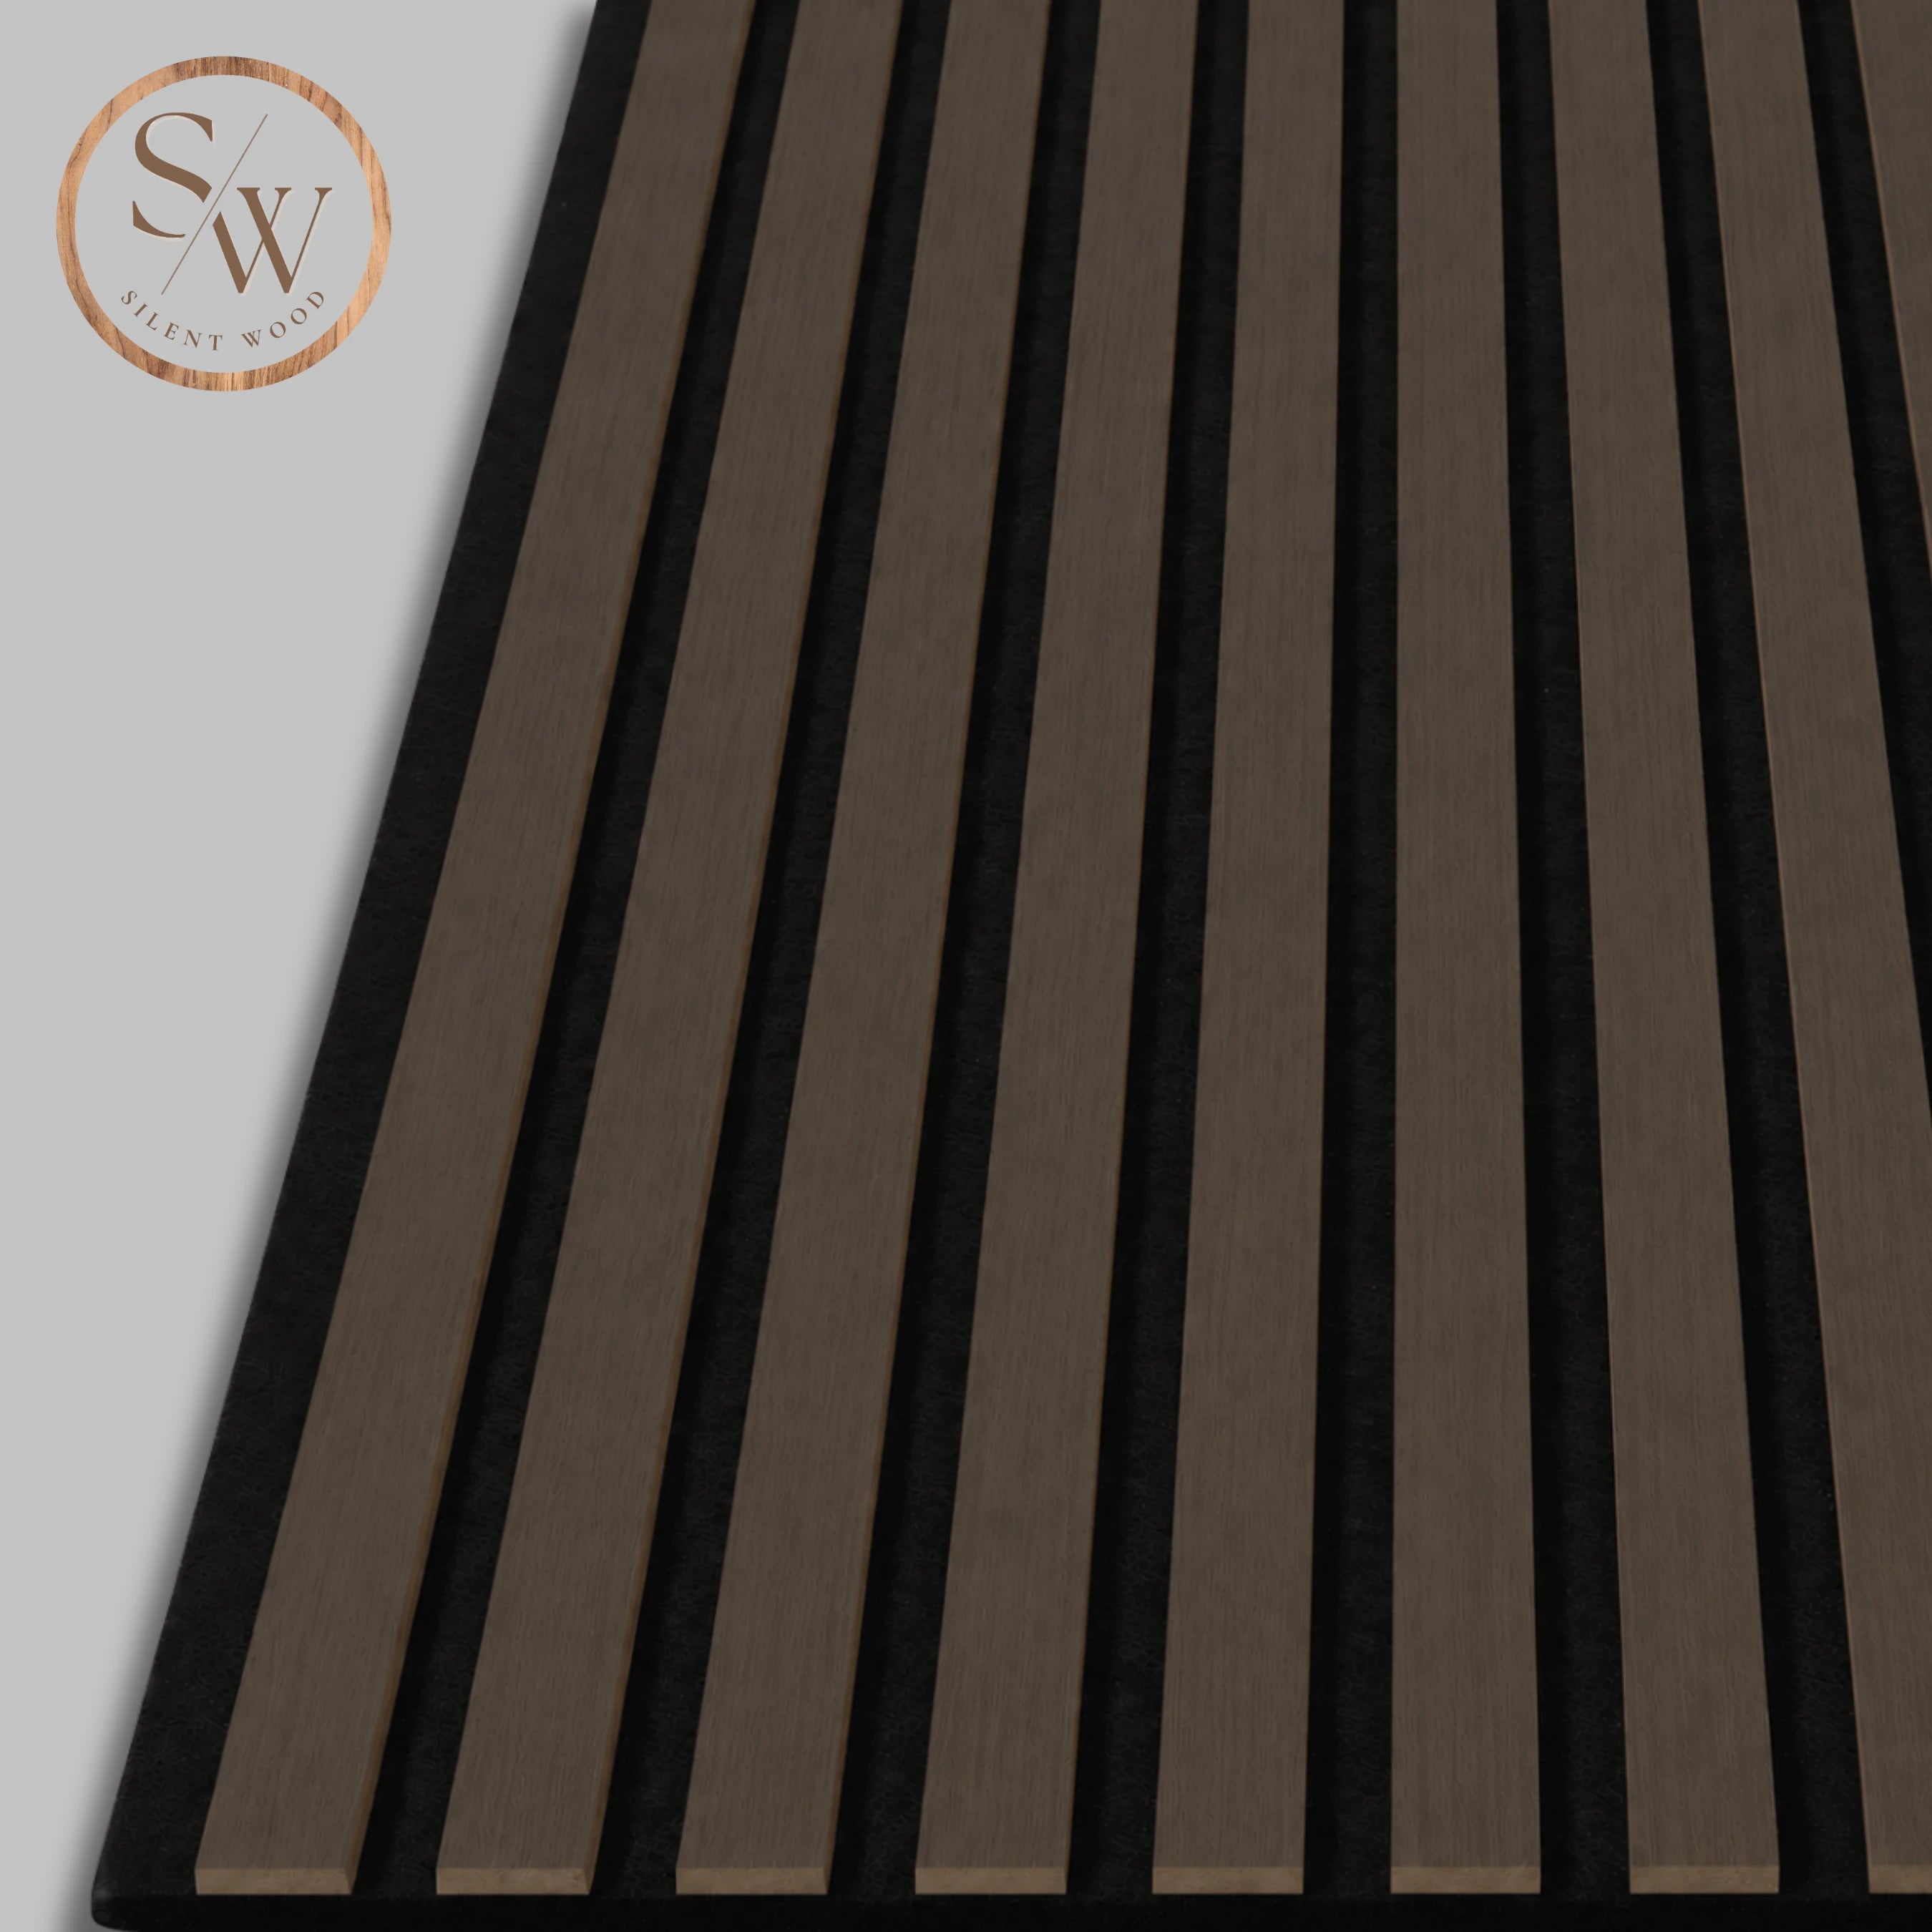
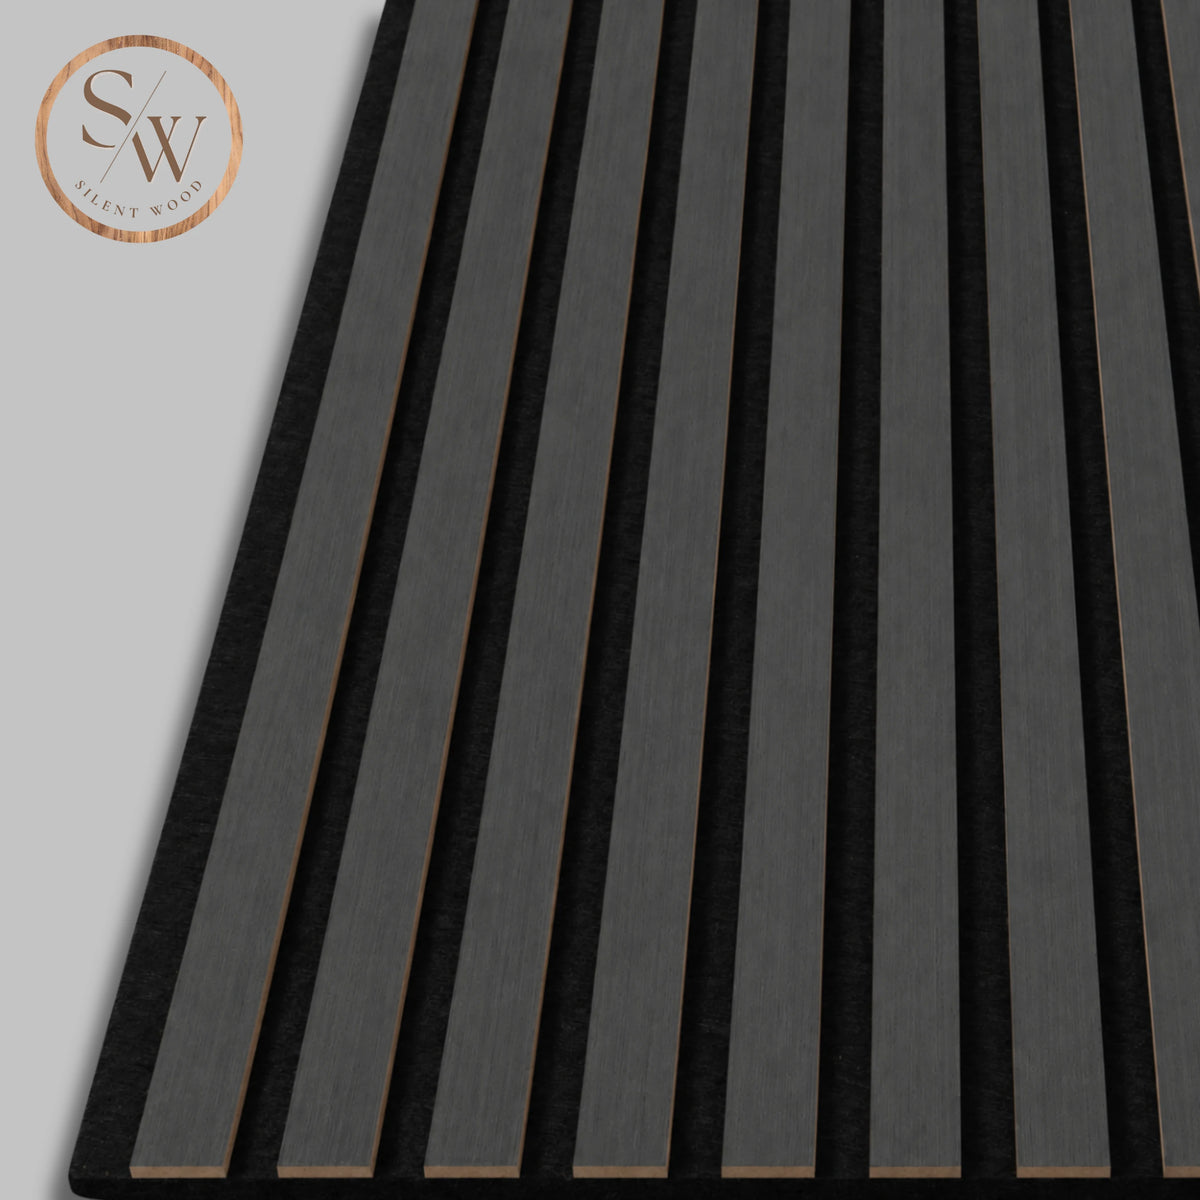
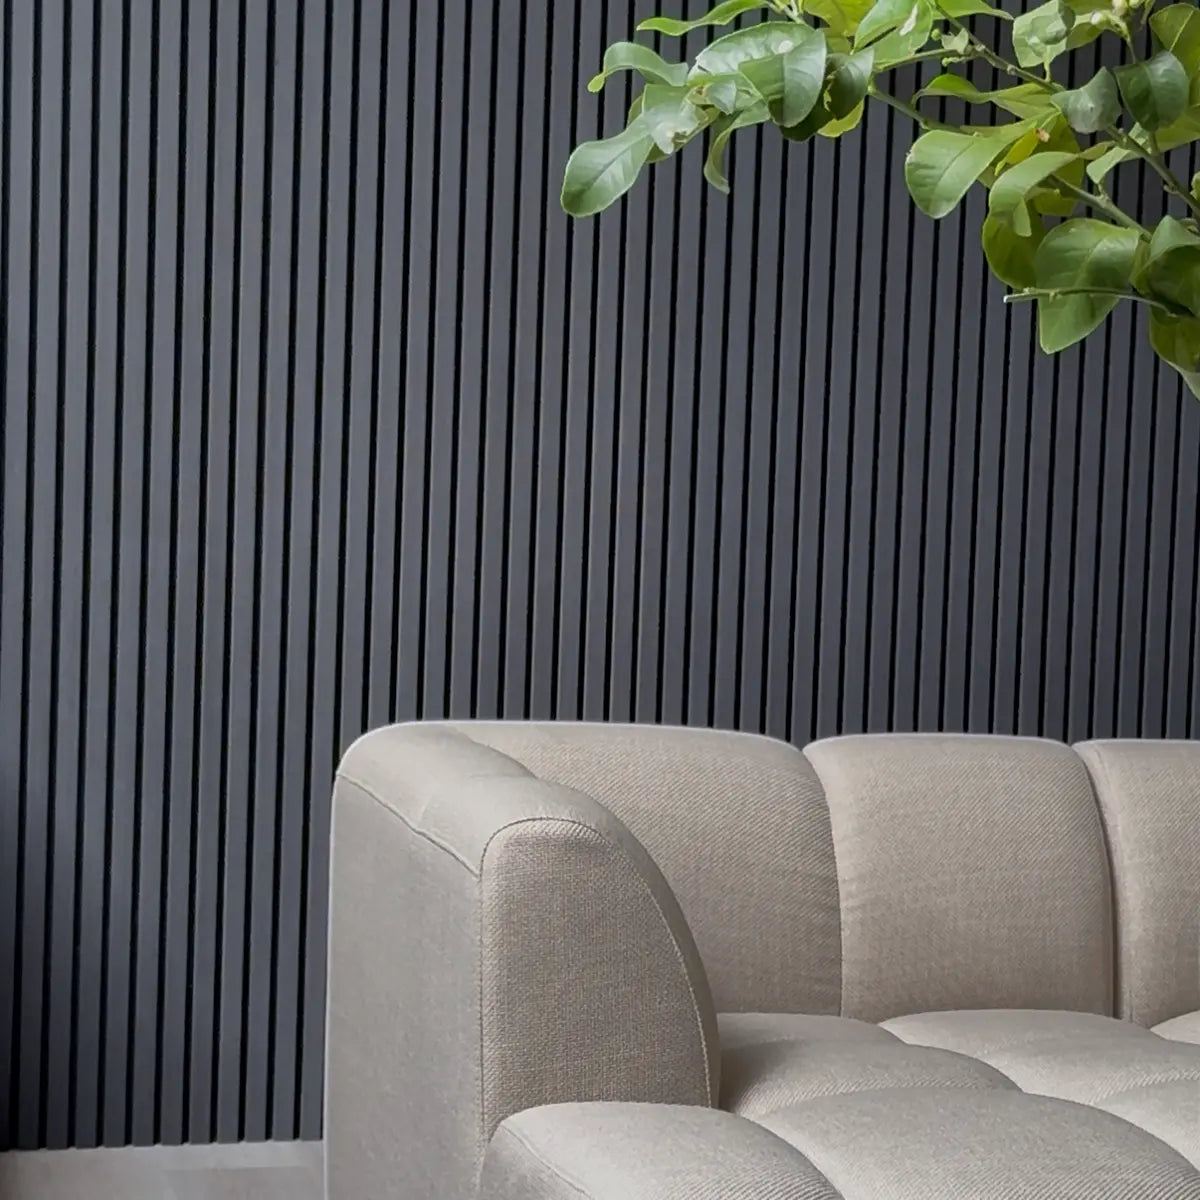
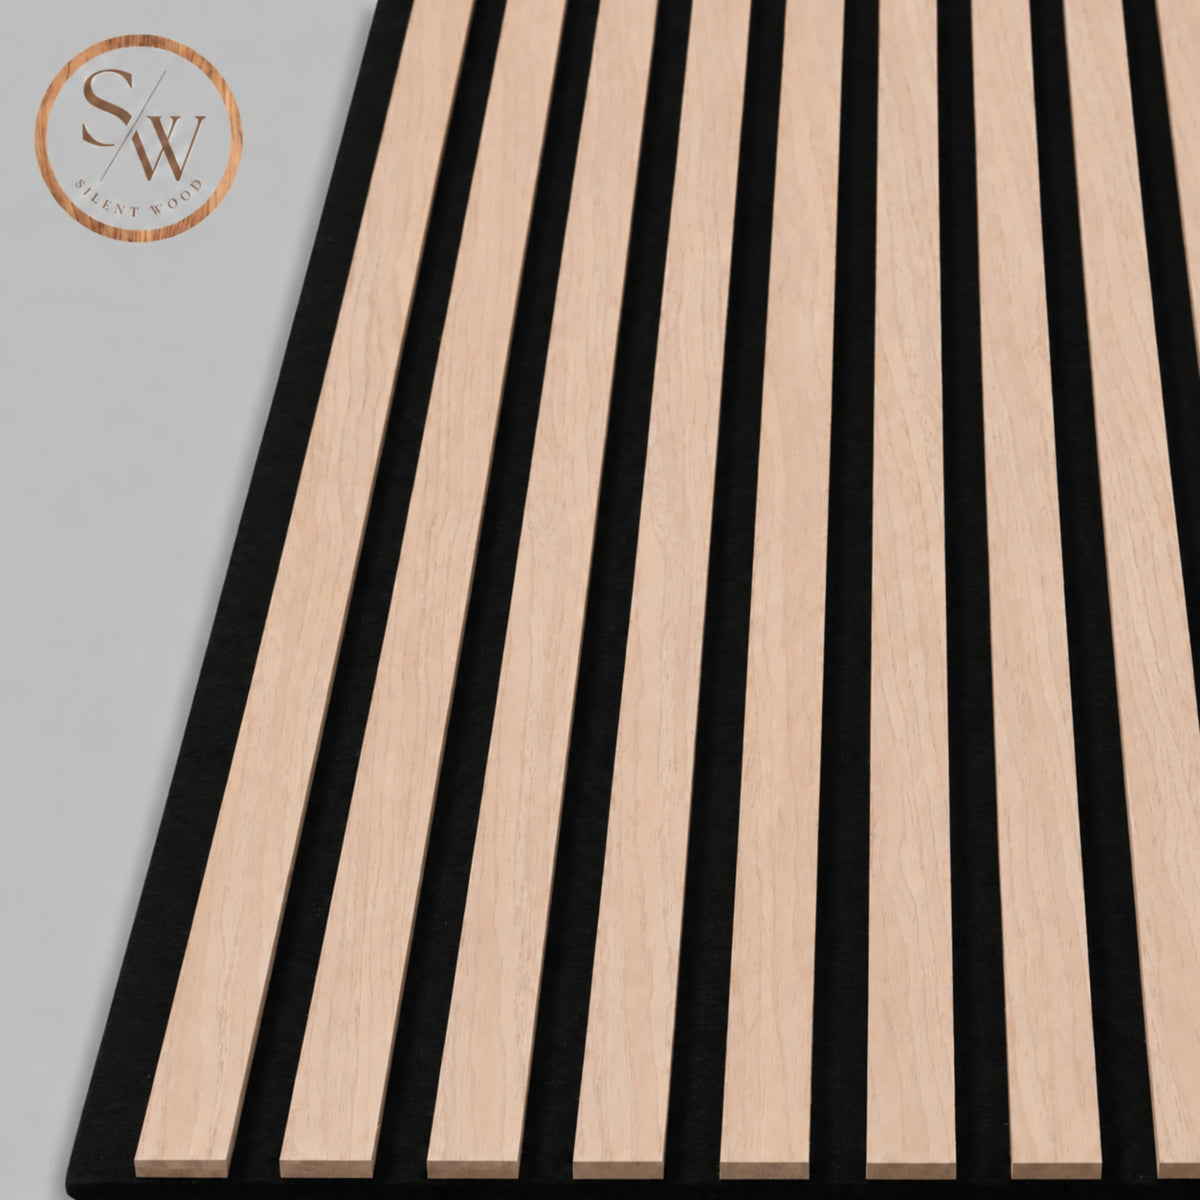



See each tone in a real room
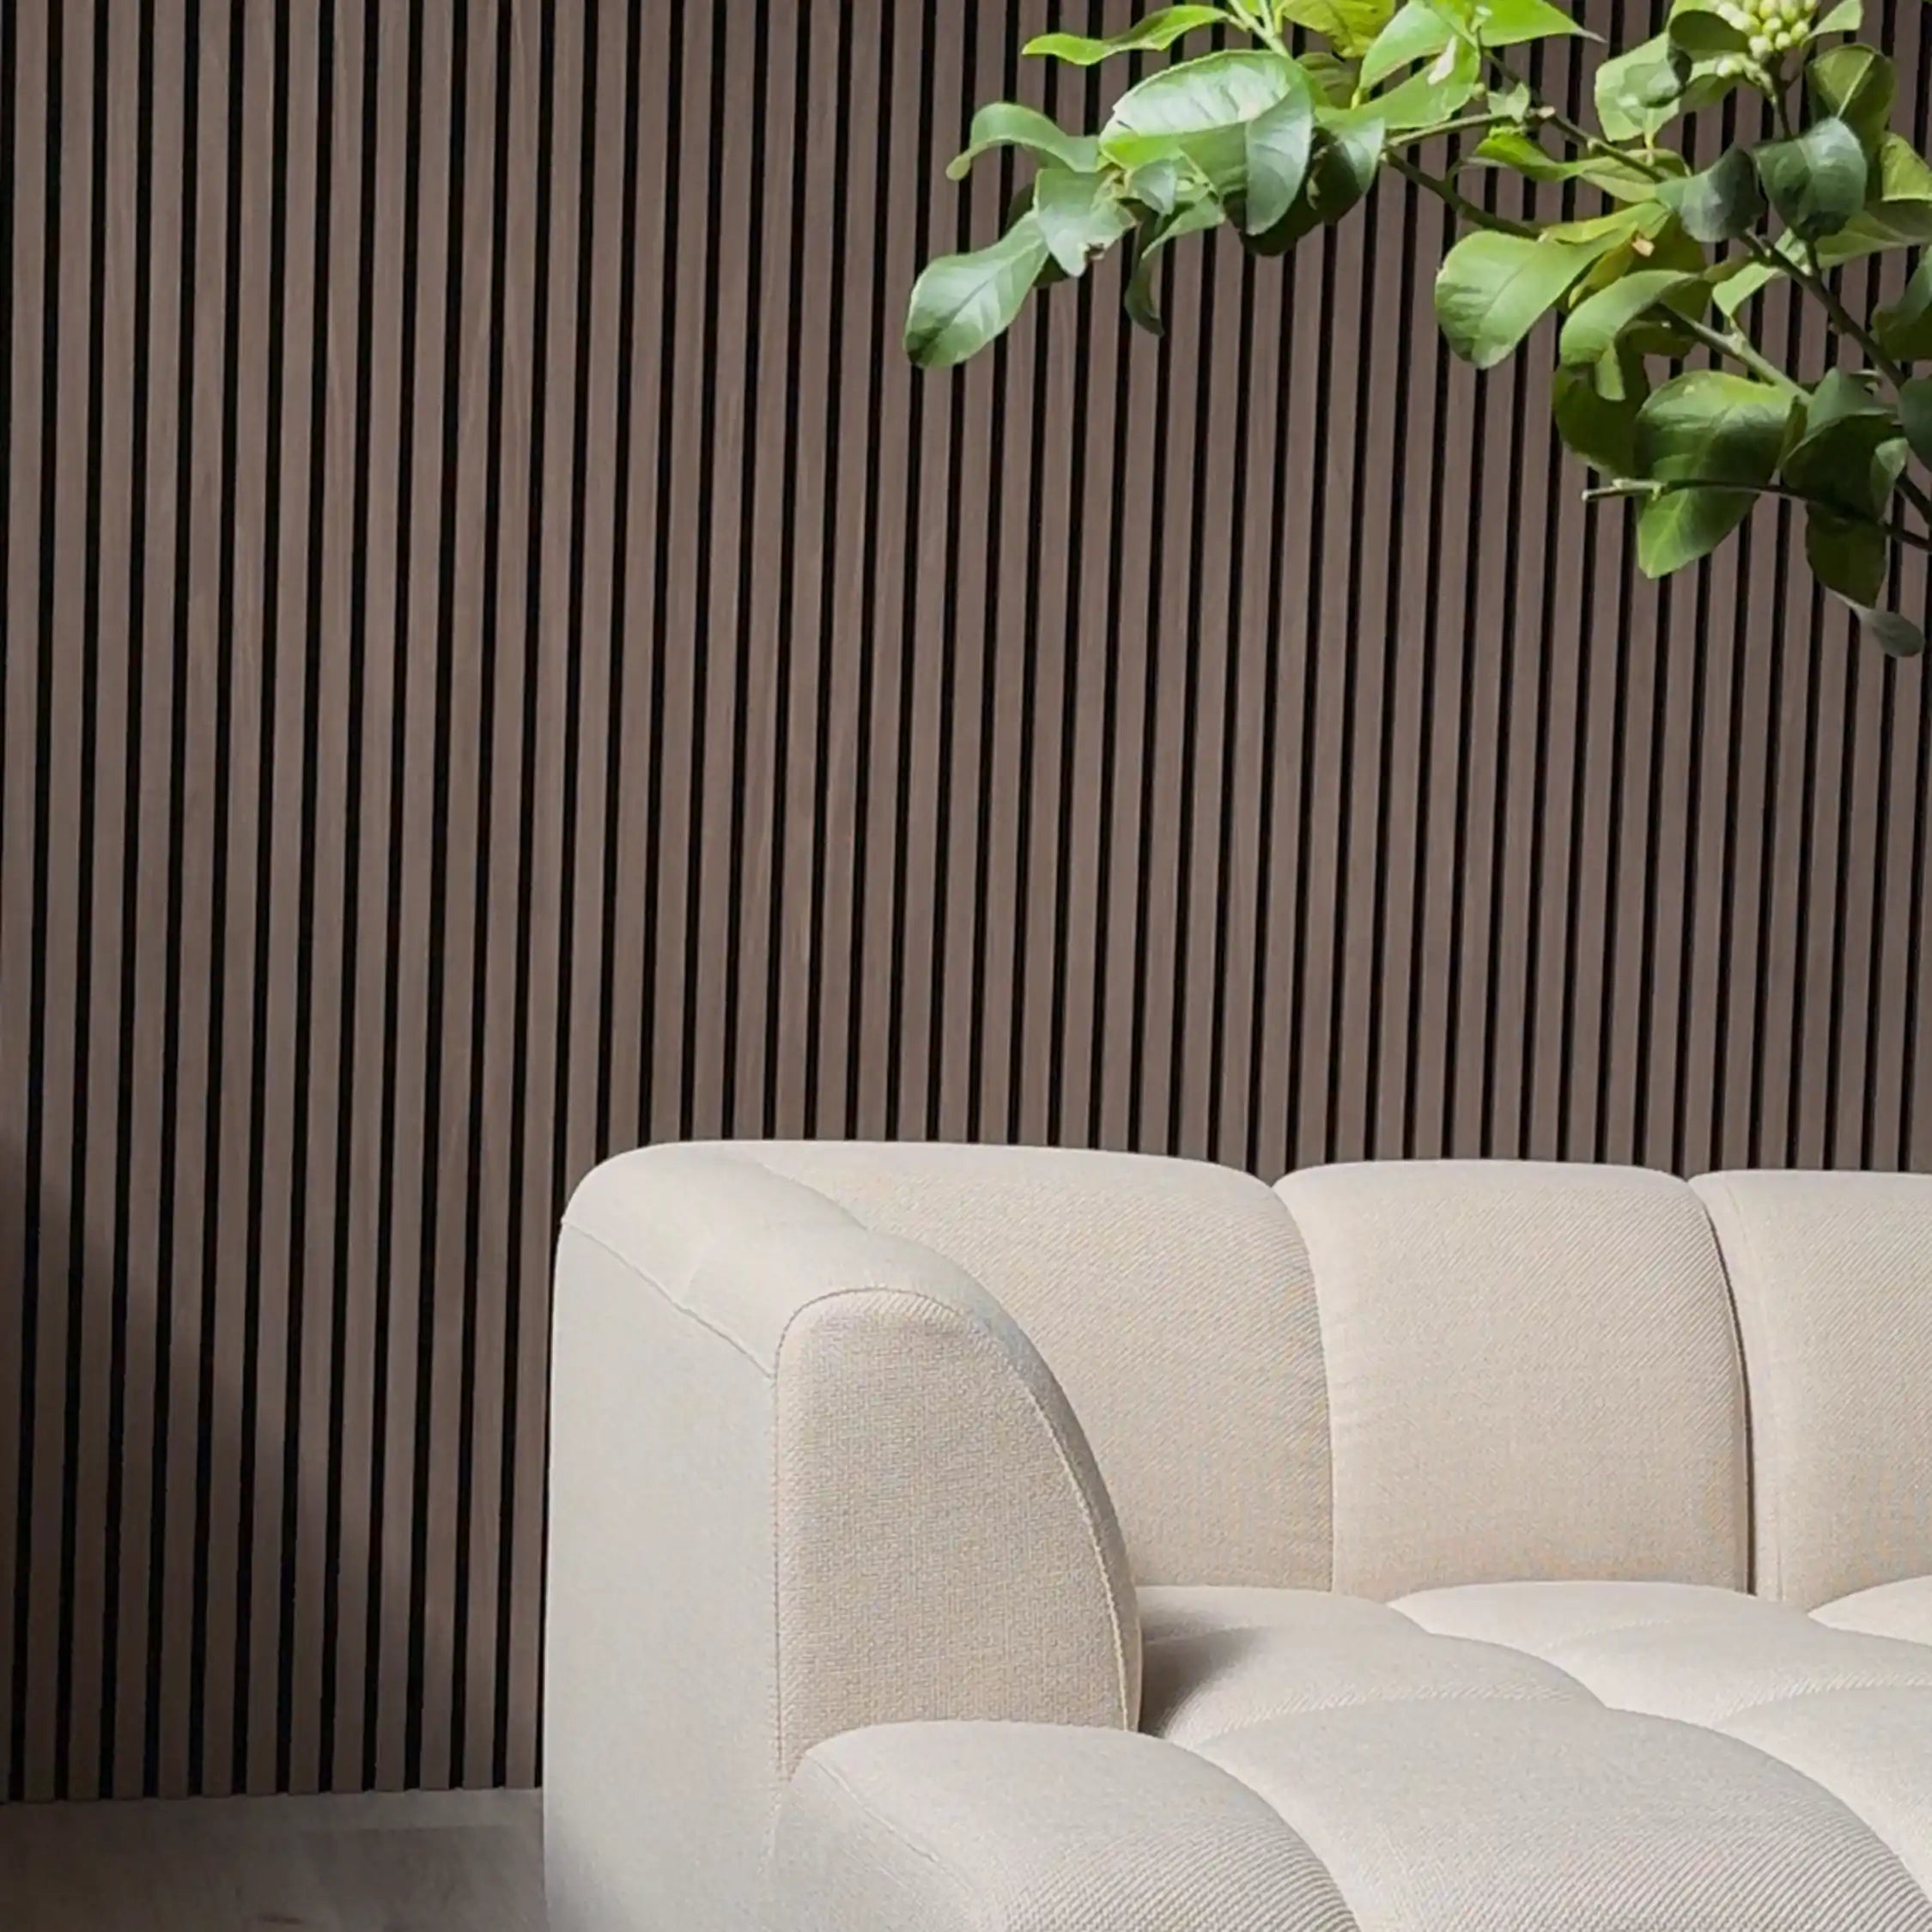
Wood looks different on a monitor than on your wall. Here's each tone in its natural habitat.


Before and after
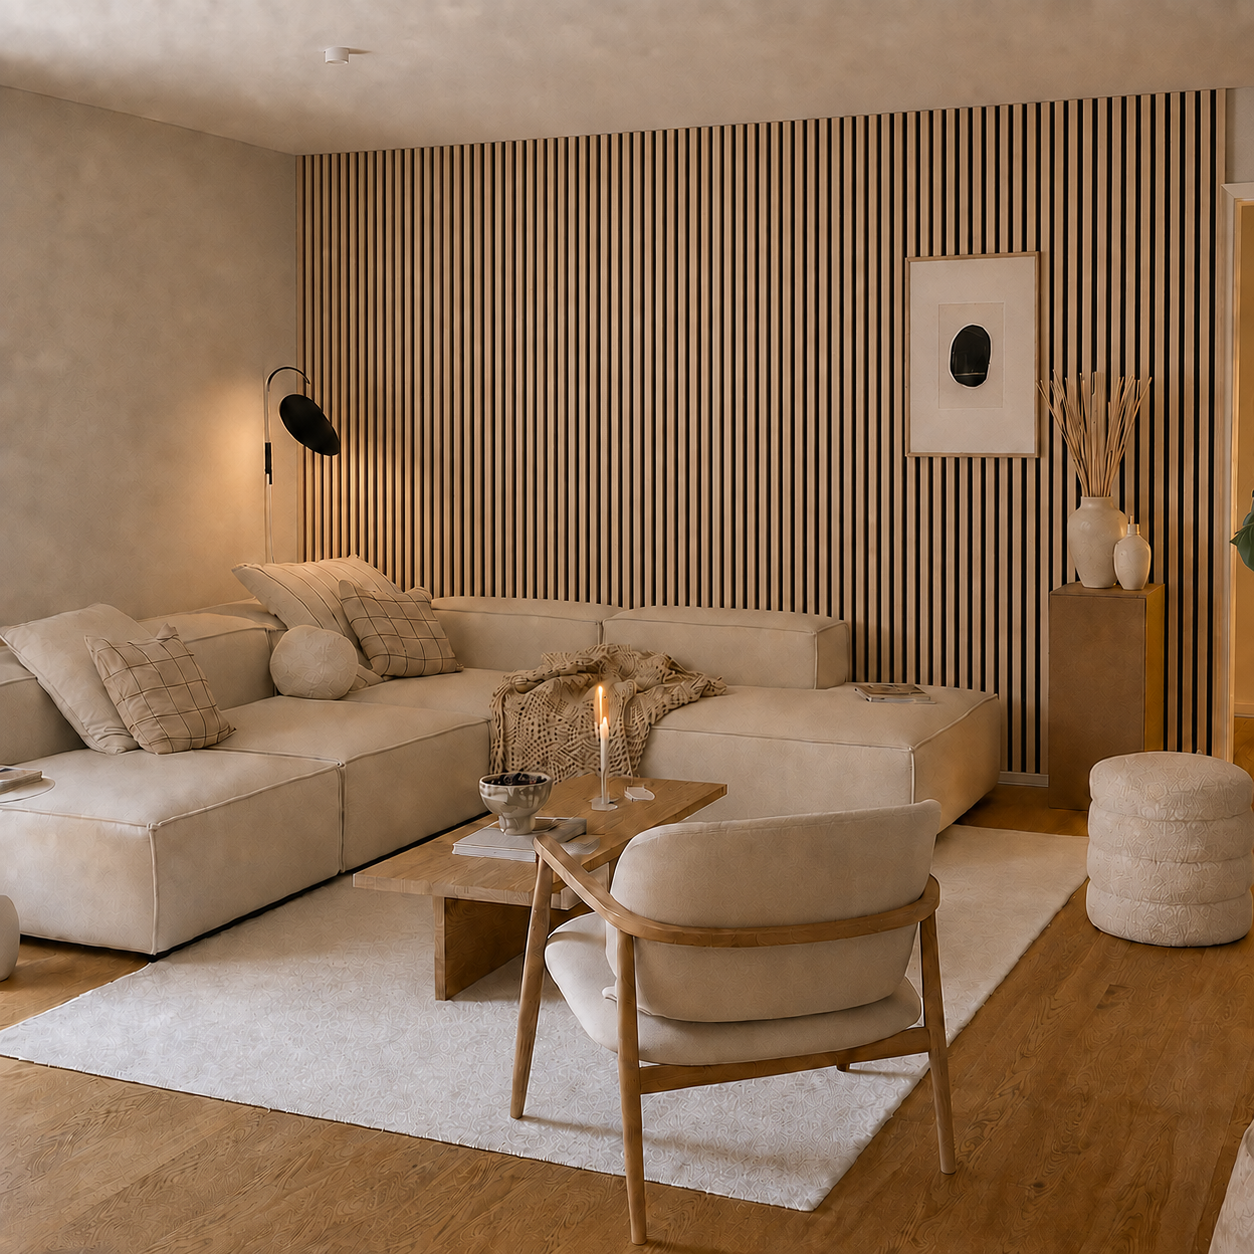
Drag the slider: same living room, one panel wall later.
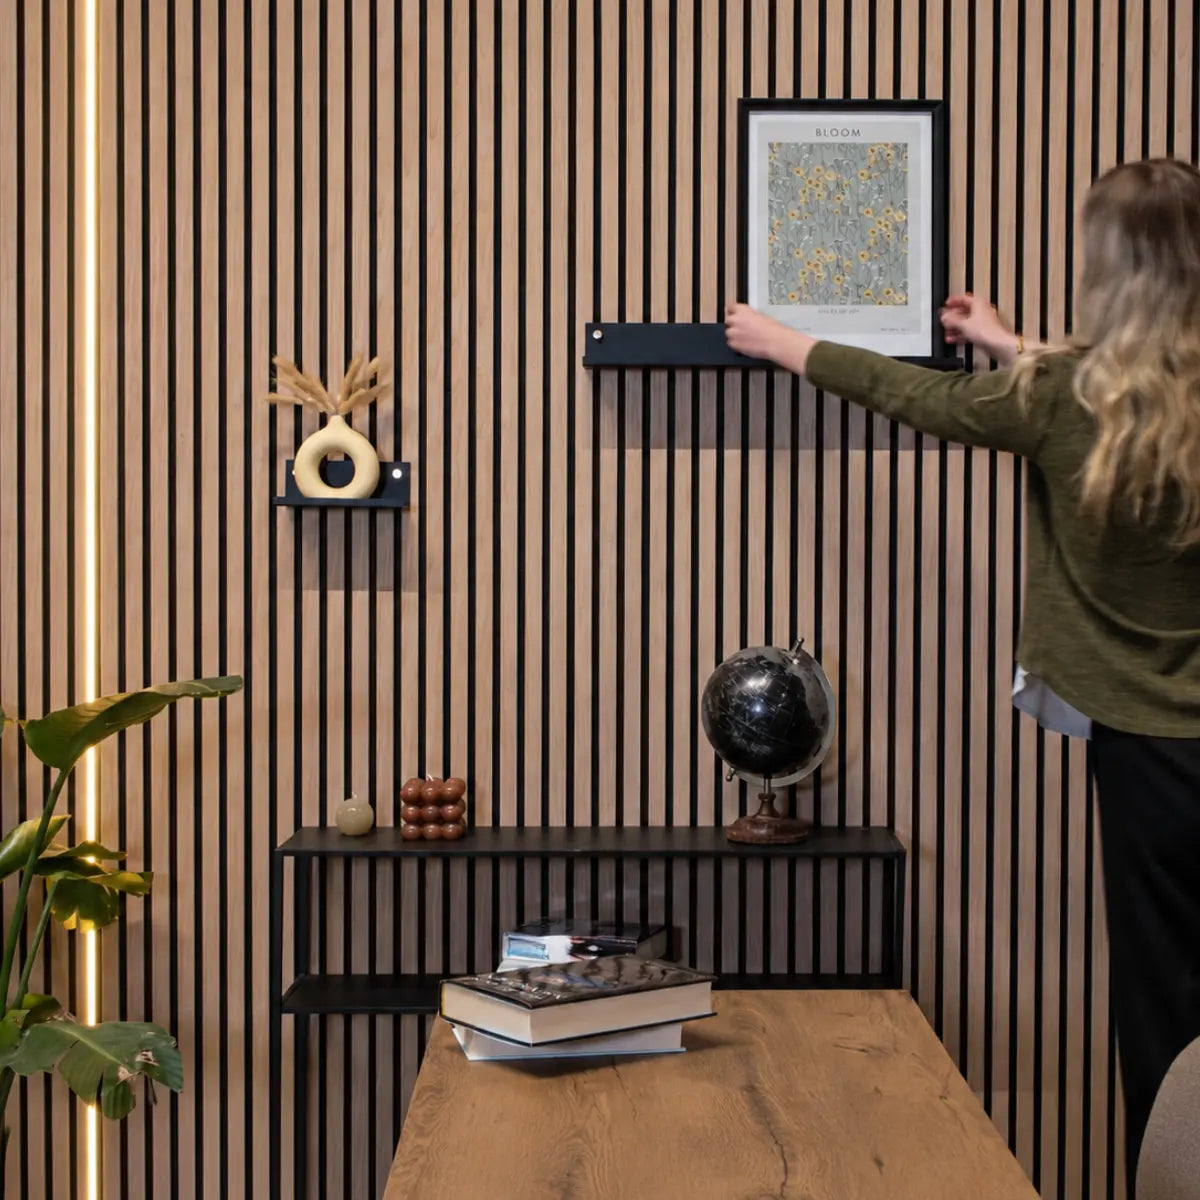
The wall does two jobs at once: the oak slats add warmth to an otherwise flat room, while the felt behind them absorbs the echo between bare walls.
- FSC-certified wood with a hand-oiled finish
- Felt core that takes the edge off the echo
- Up in an afternoon with screws or glue
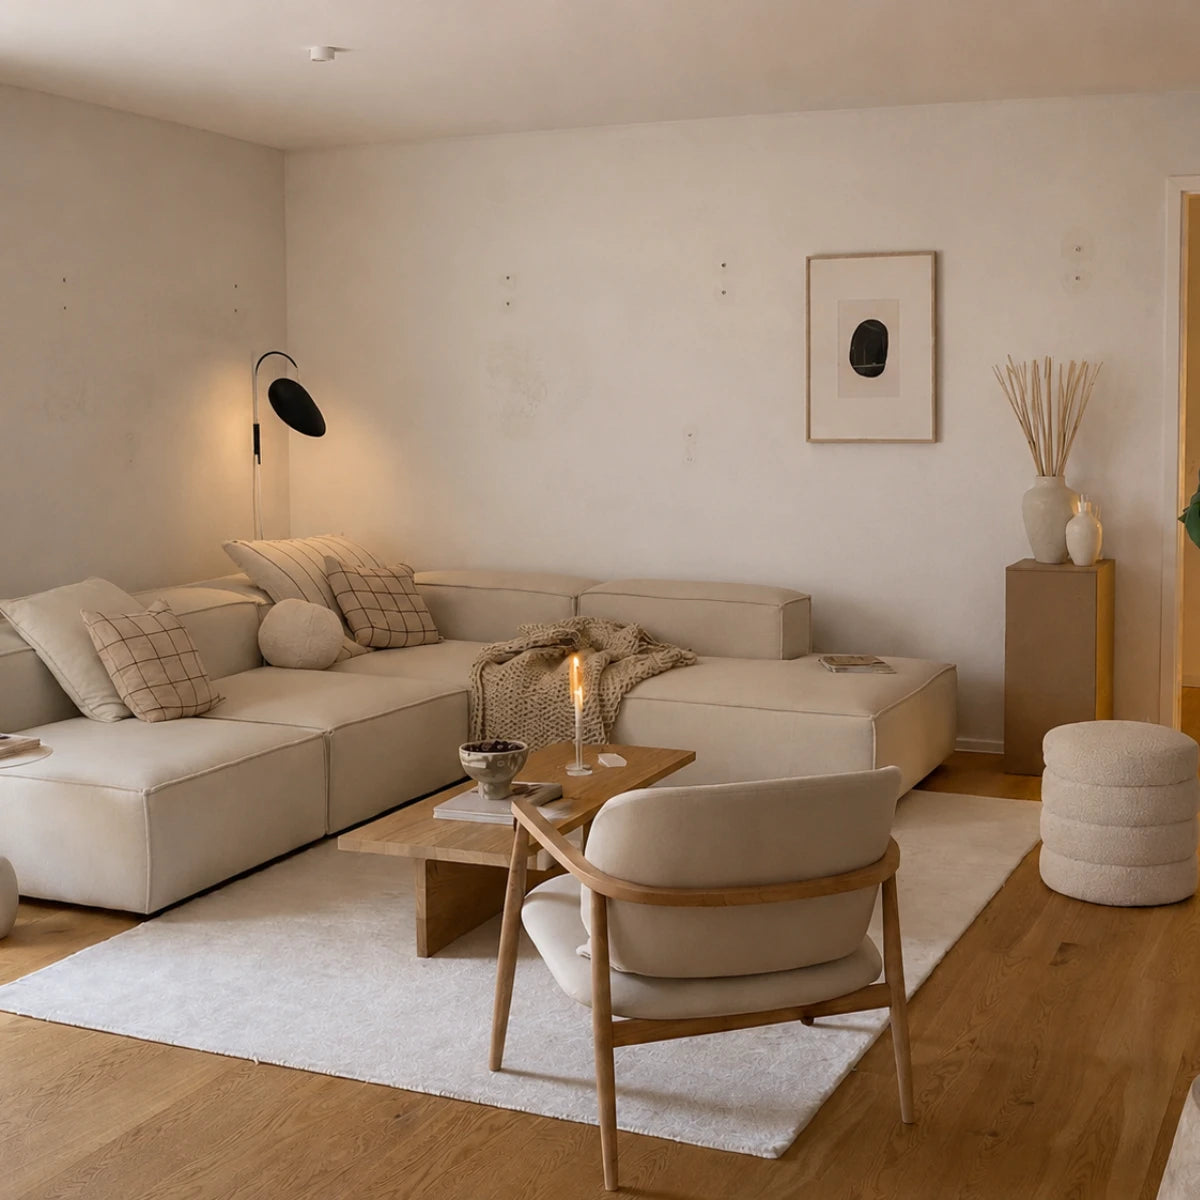
BEFORE
AFTER
The Silentwood difference
Hear what your wall is doing to your room
Two scenarios, one sound. Watch how a plain wall and a Silentwood acoustic panel handle the same soundwave.
Sound bounces back
Hard surfaces reflect soundwaves at nearly full strength - the room fills with echo and conversations become harder to follow.
Sound is absorbed
Wood slats and felt backing capture the soundwave. Almost nothing returns - your room stays calm and balanced.
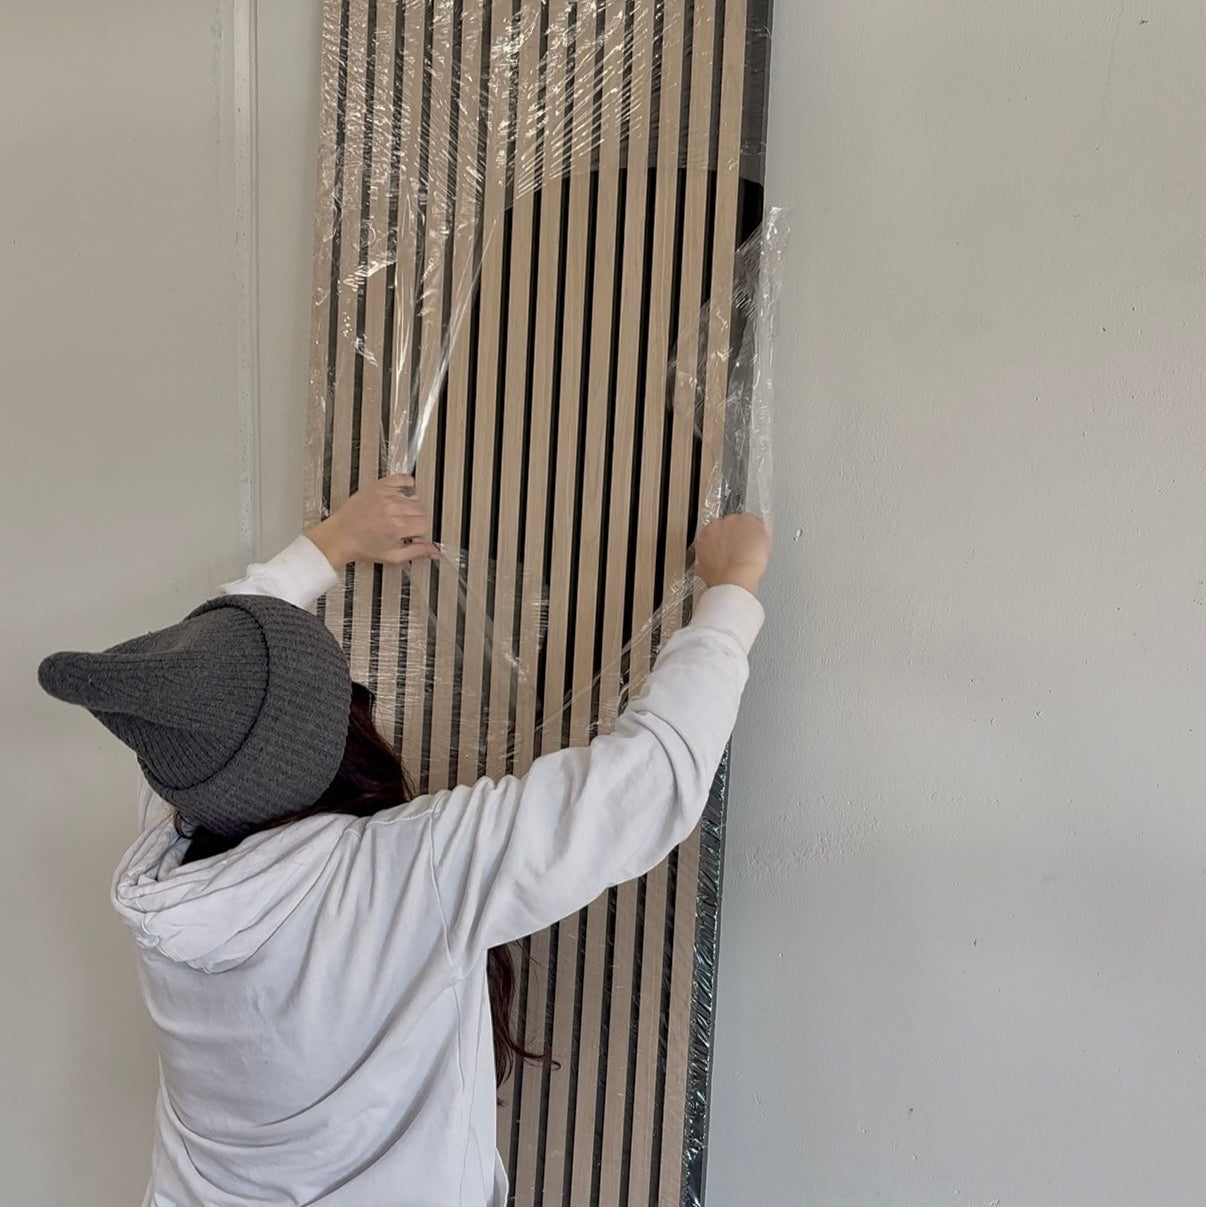
How do you go about installing an acoustic panel?
The process of installing acoustic panels
When you have received your acoustic panels, start by unpacking them from the boxes. If you have not already identified the surface the panels will be mounted on, do so now. To ensure correct installation, first determine what type of wall or ceiling they will be fixed to. Drywall usually requires wall plugs and screws, while brick or concrete walls need stronger plugs and screws. For extra stability, it is a good idea to combine adhesive and screws, regardless of wall type.
Acclimatise your panels
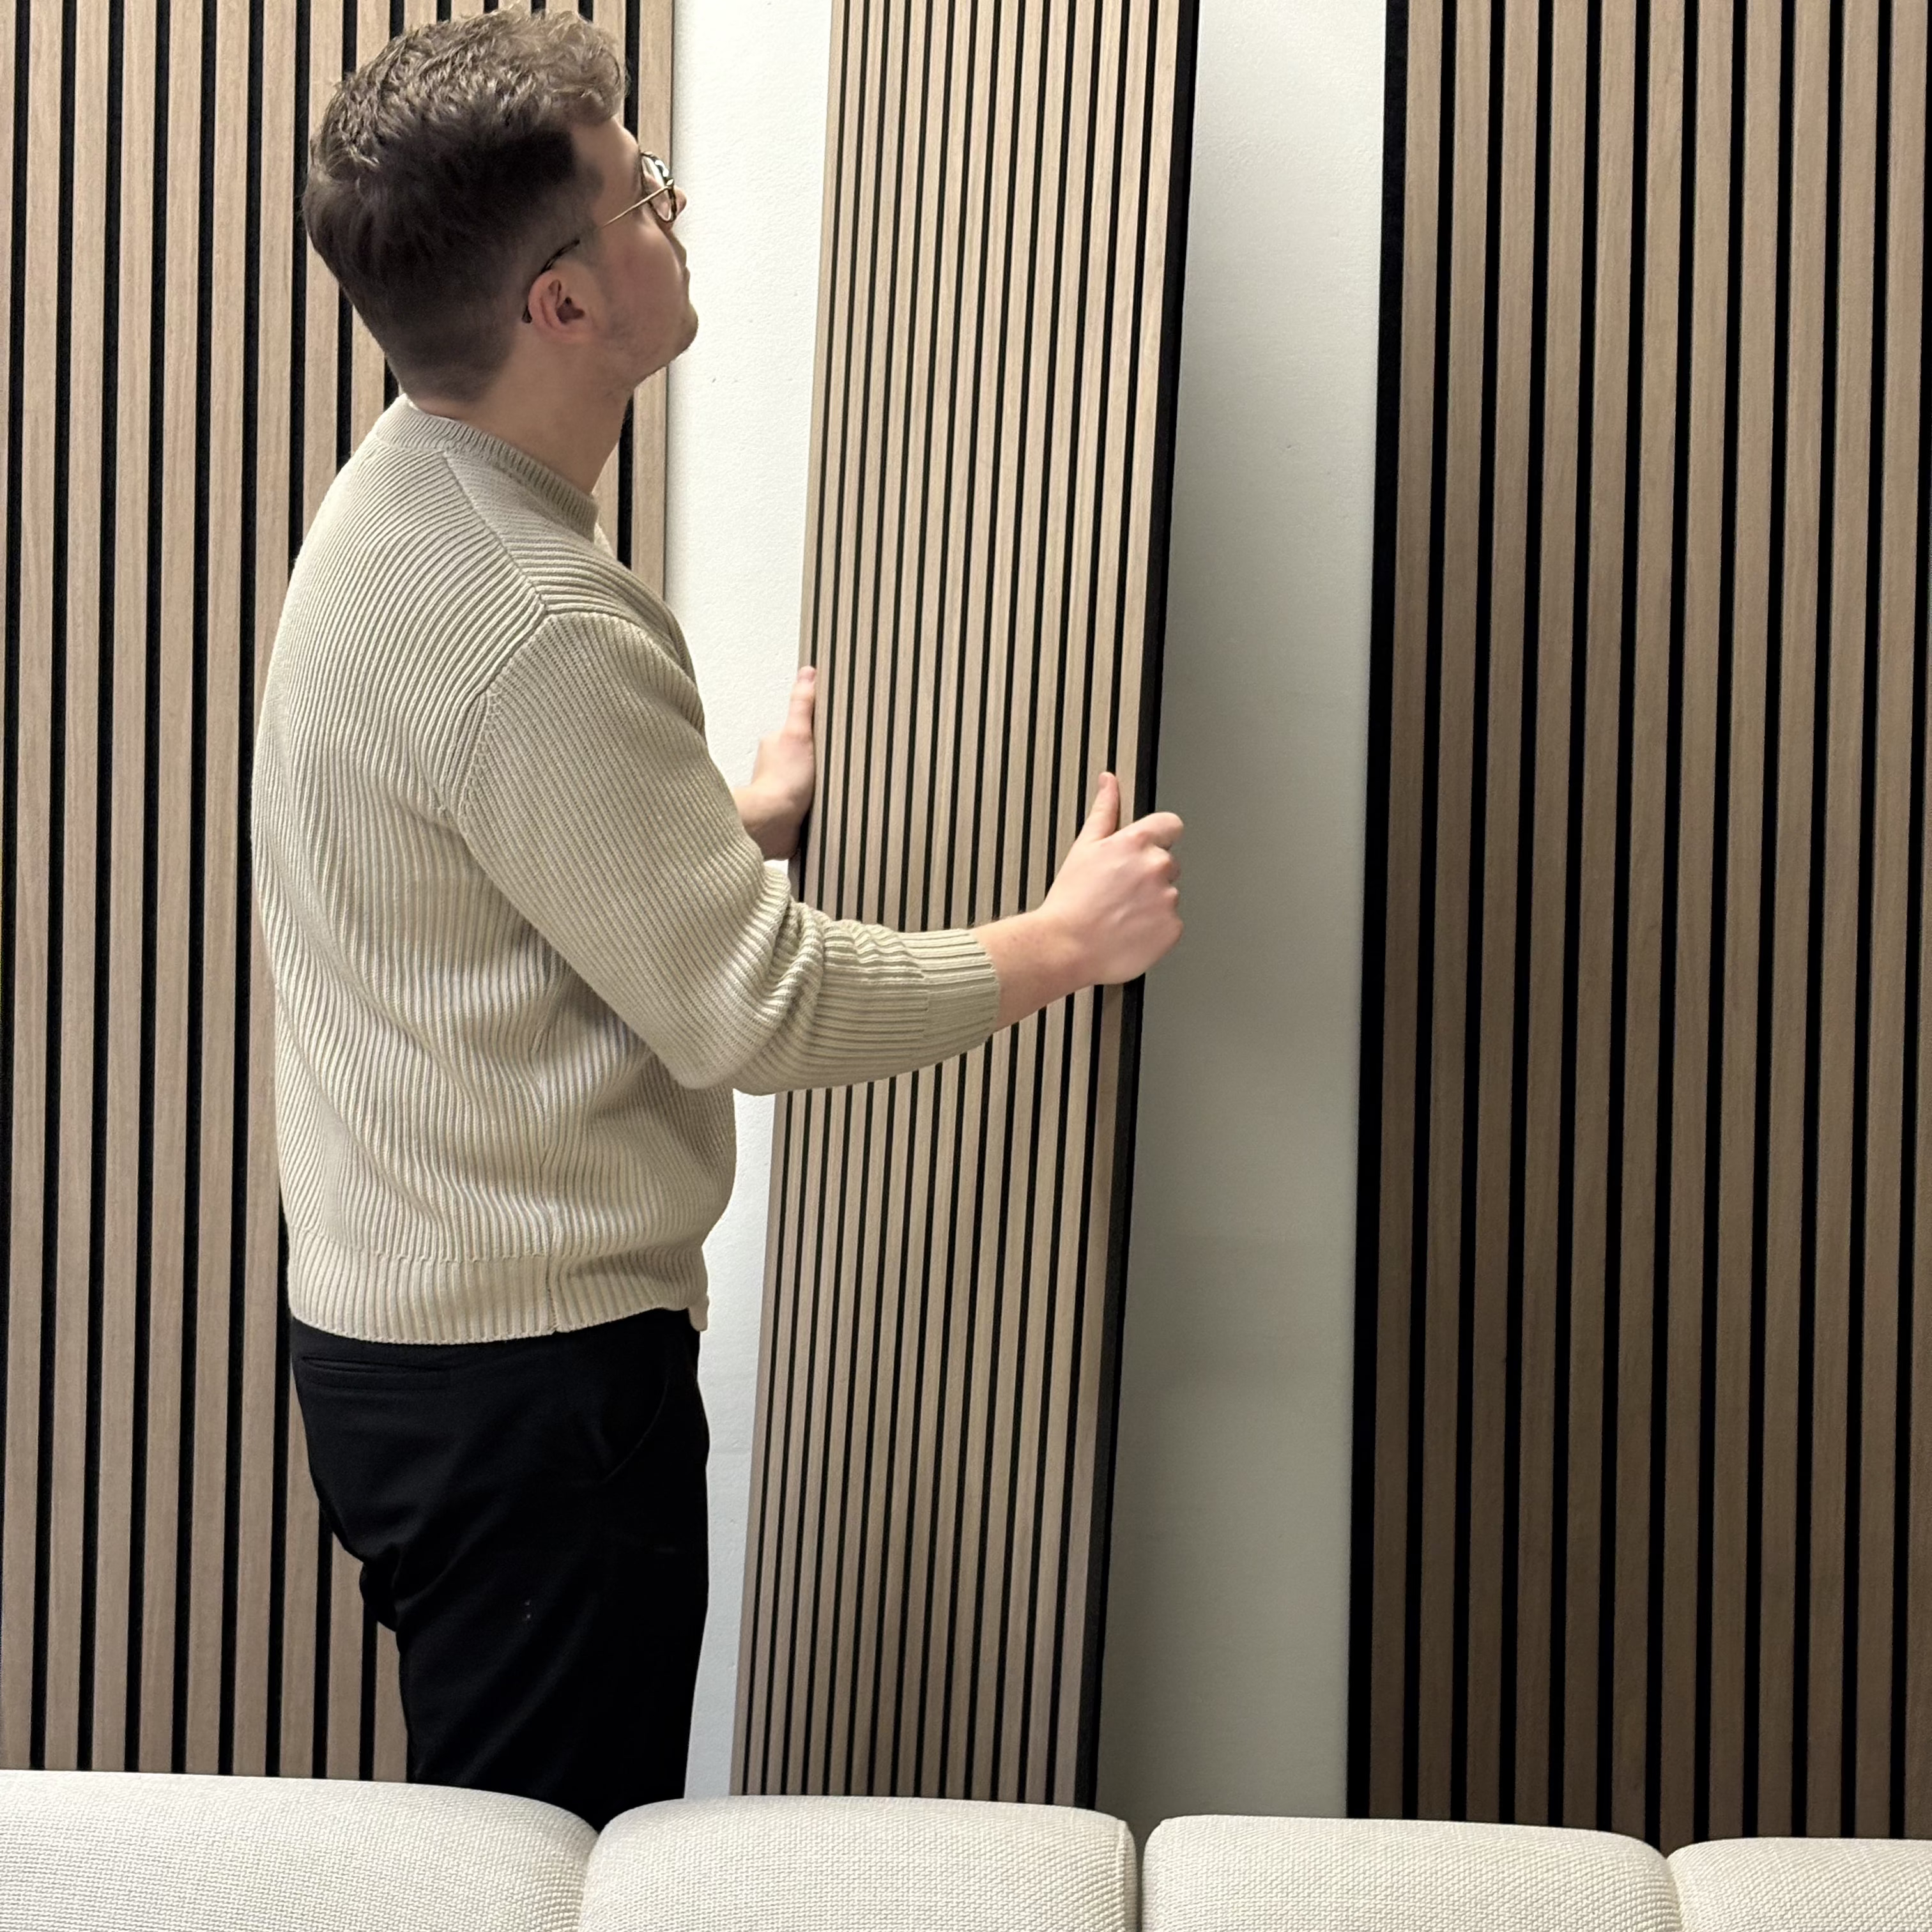
Acclimatisation of the panels
All our models - Premium Light Oak, Premium Light Brown Oak, Premium Smoked Oak och Premium Black Oak - require an acclimatization period of 7-10 days. During this time, the panels should be unpacked and allowed to “breathe.” To speed up the process, you can alternate between airing out the room by opening the windows and increasing the room temperature.
Measuring and Aligning
Preparations
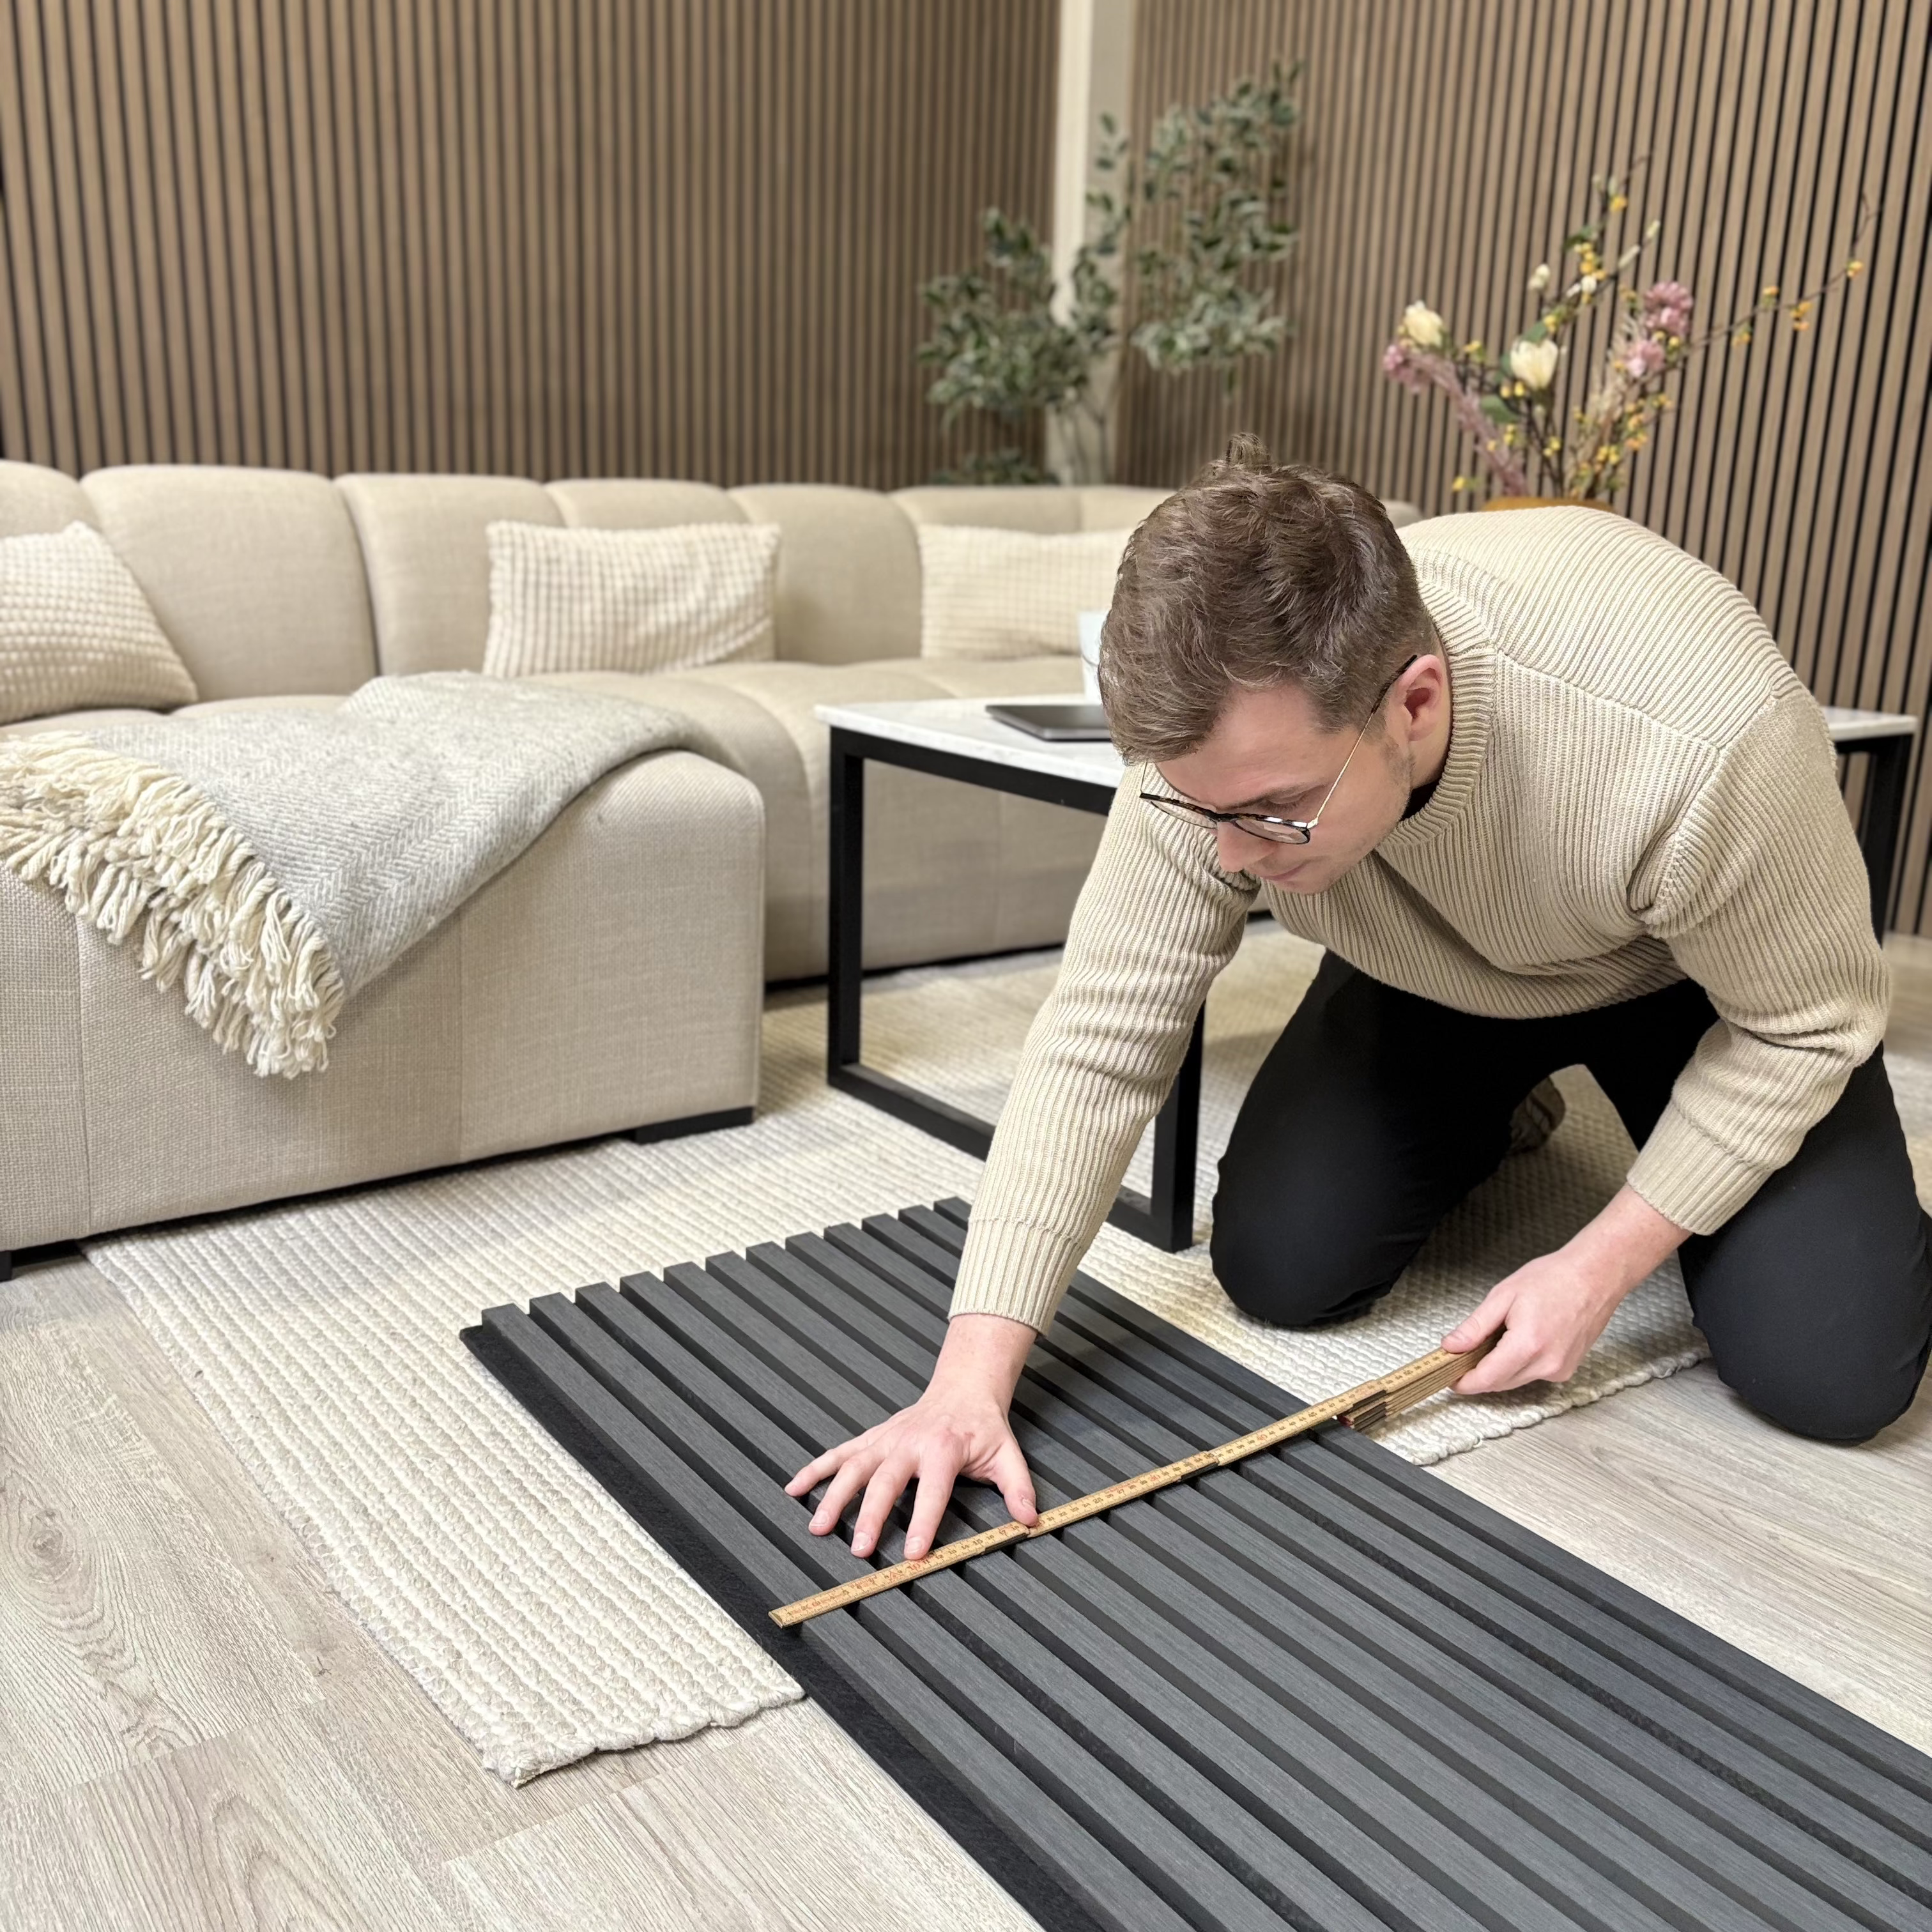
The first step is to prepare the surface where the panels will be installed. Wipe it clean and remove any obstacles such as screws or nails, then measure the area where the panels will go.
If the panels need to be cut, a circular saw gives the best result, but a jigsaw also works. To reduce the risk of splinters, score along the cutting line with a utility knife first and sand away any small splinters with fine sandpaper.
Please note that clips behind the felt hold the slats in place. When cutting, the slats on the cut side can come loose from the felt. If that happens, fix them back onto the felt with regular mounting glue.
For advice on cutting the panels for the best result, email contact@silentwood.com.
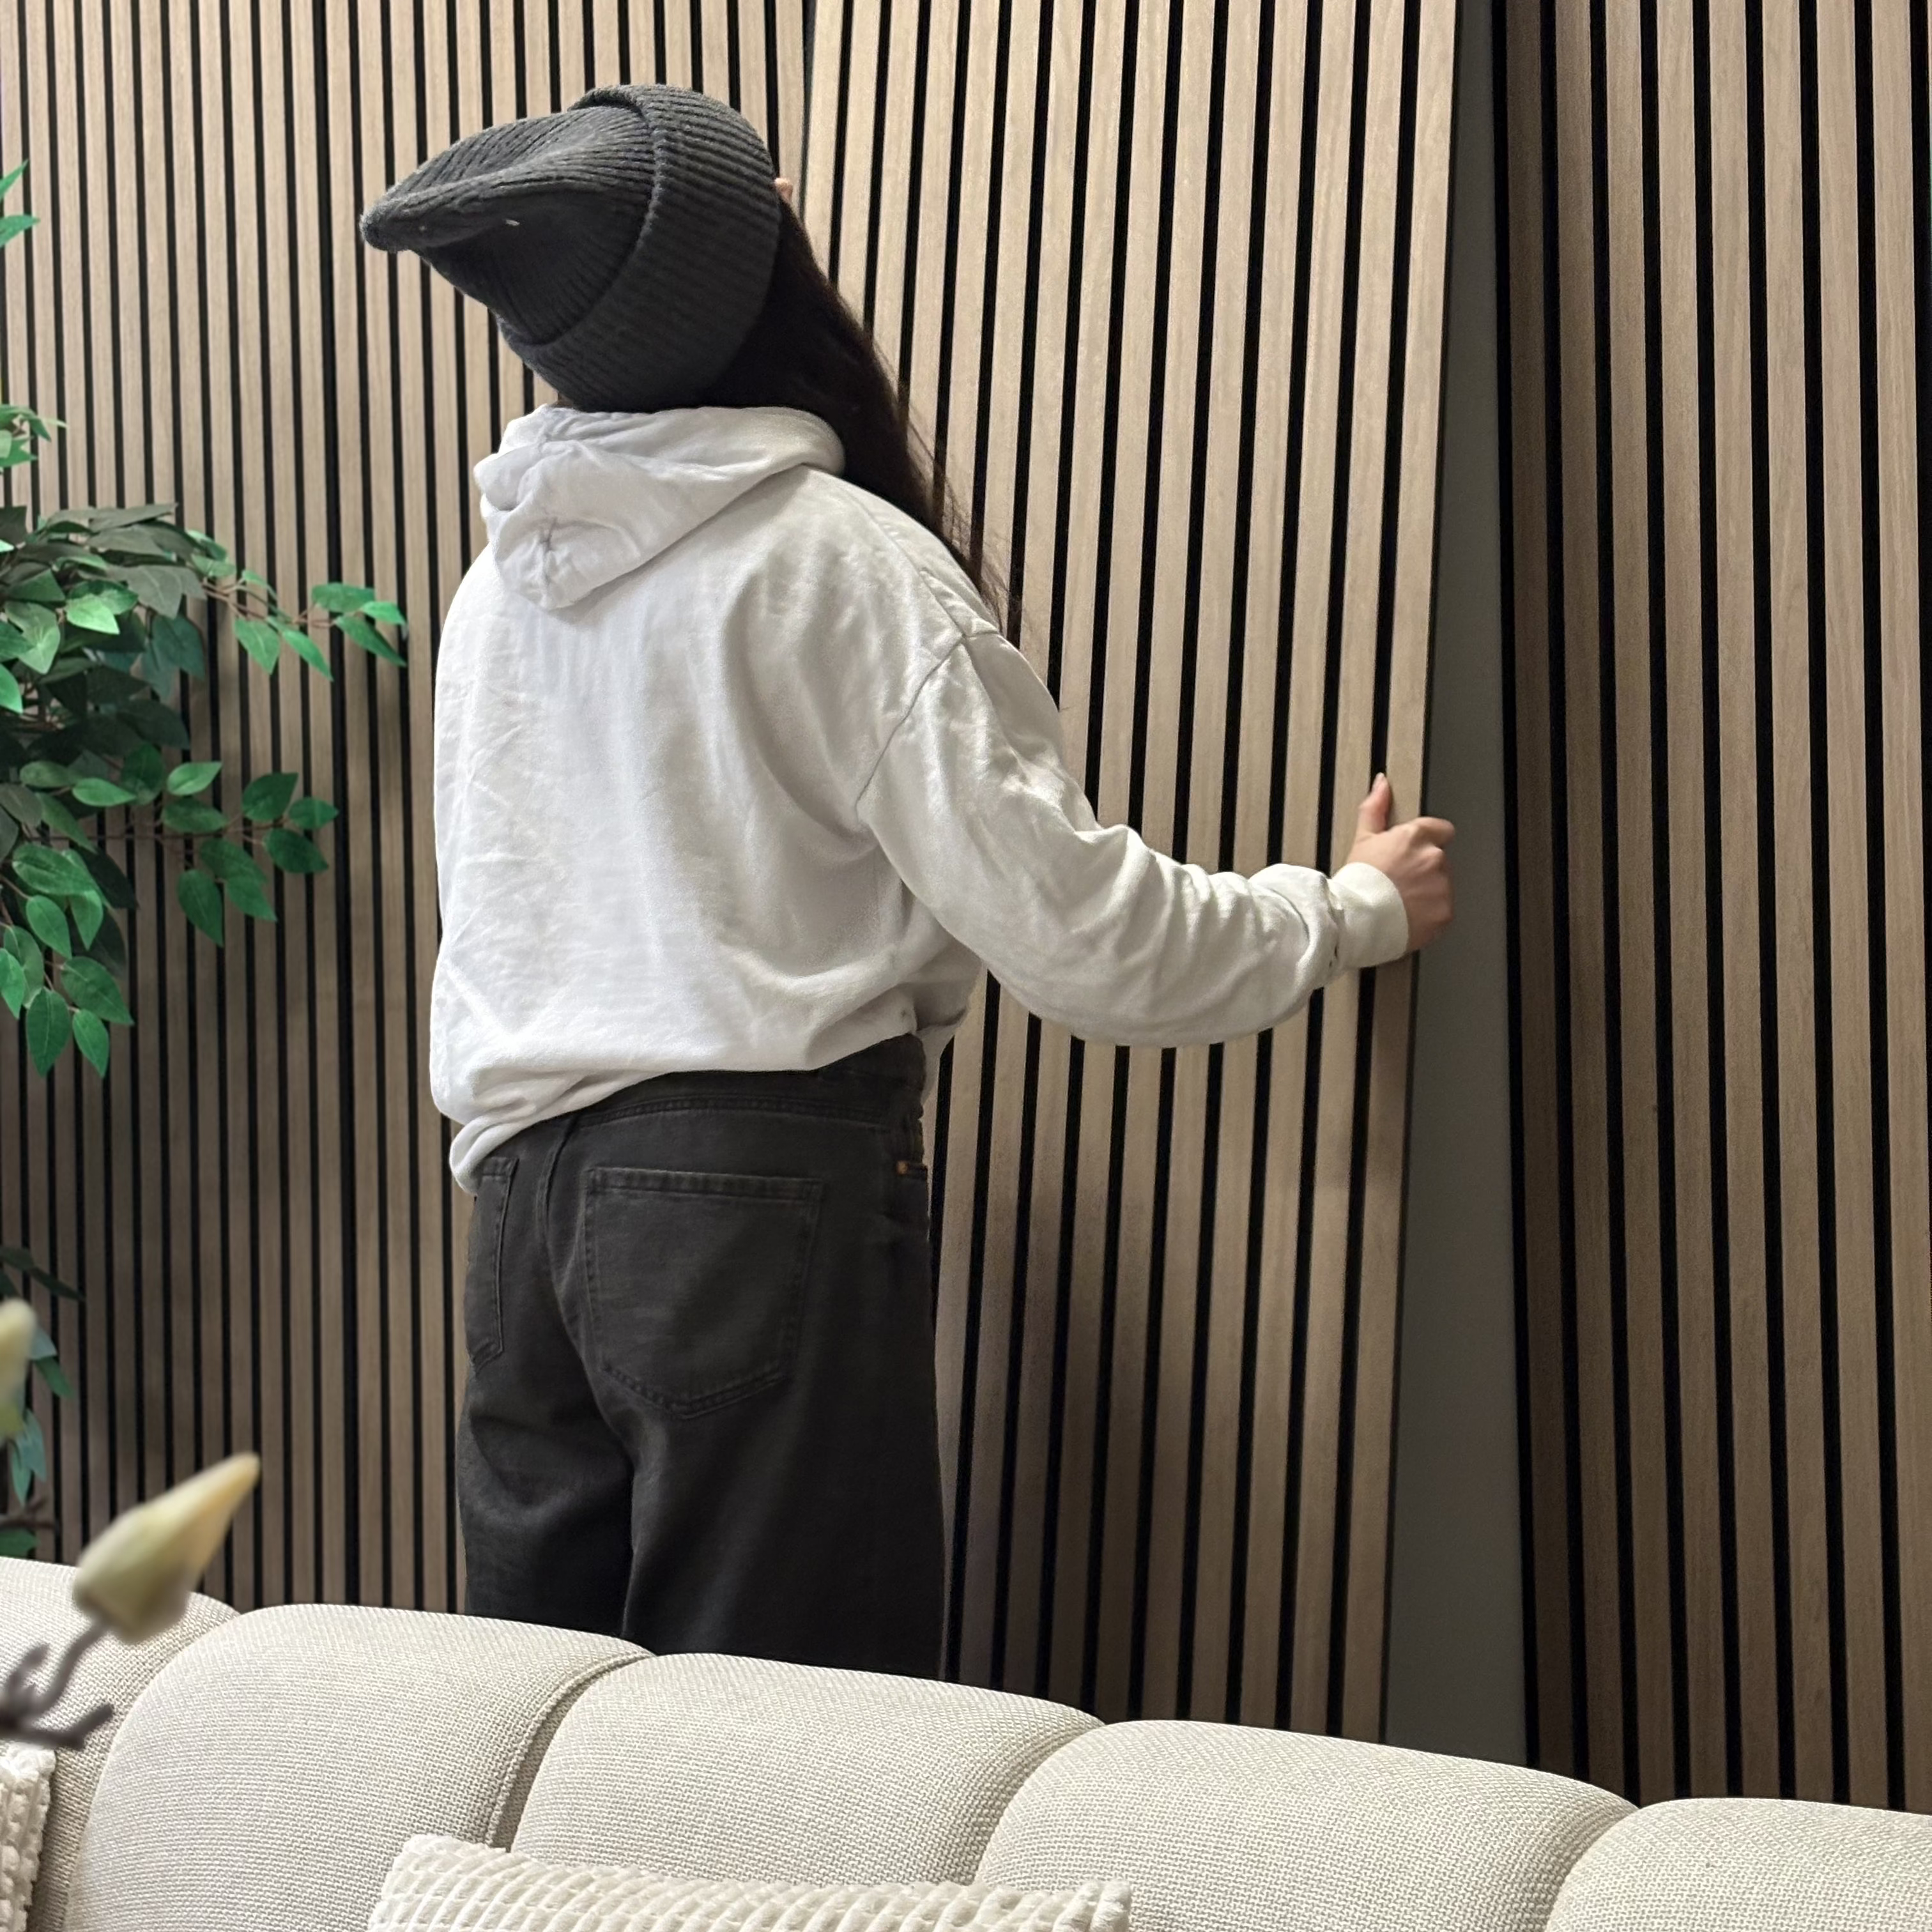
Install your panels
Installation
Once the surface is wiped clean and the panels are cut to size, simply apply a suitable mounting adhesive to the back of the panel, place it on the wall, and then secure it with screws to ensure it stays firmly and safely in place. This ensures that the panels remain securely mounted over time. Find your acoustic panel here.
Start with the real material.
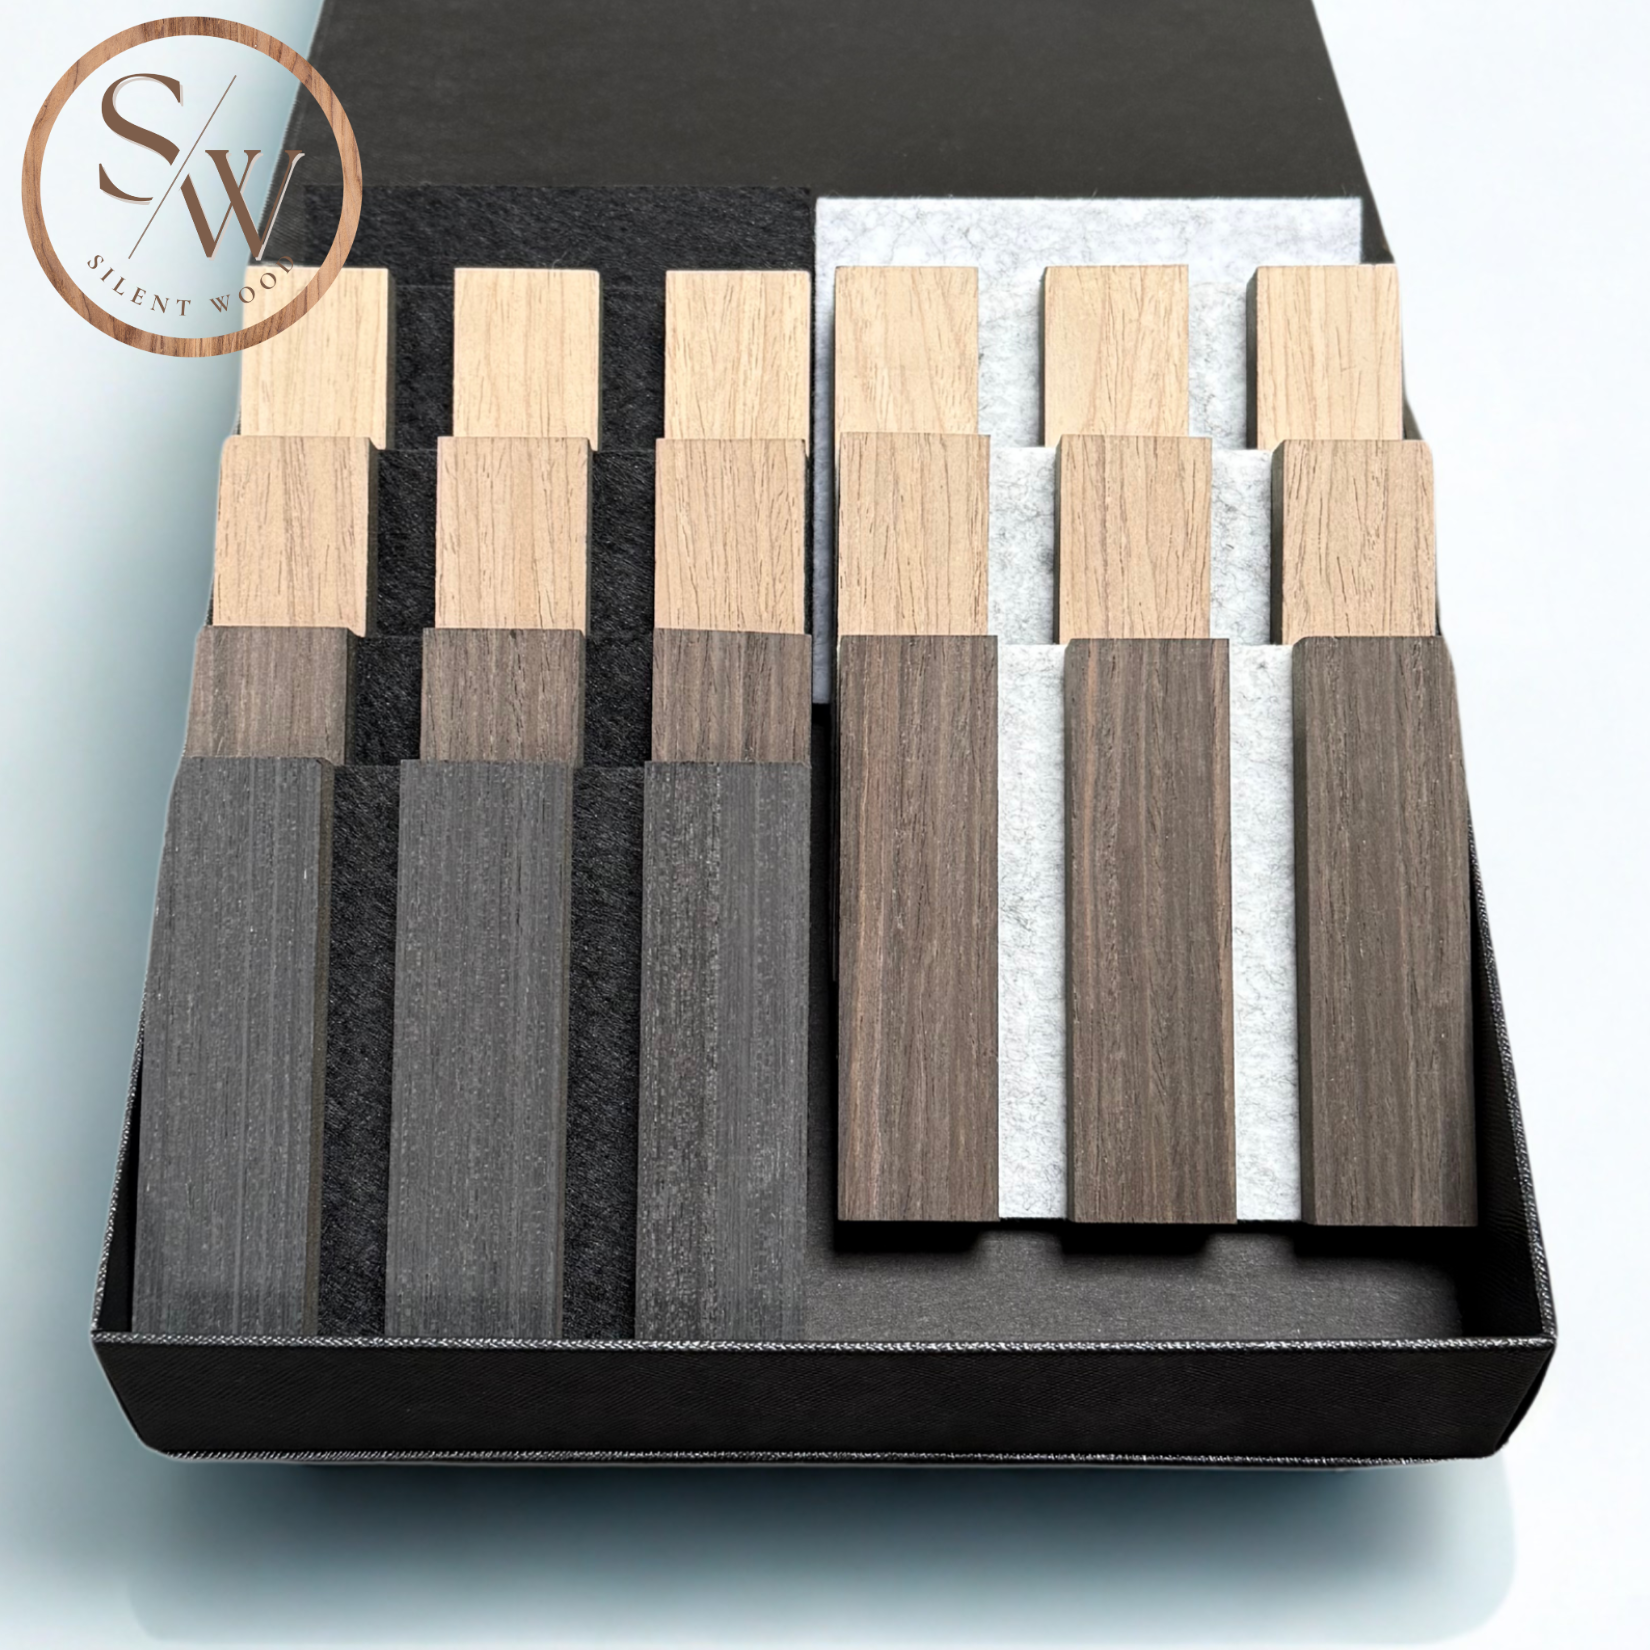
Wood looks different on a screen than it does on your wall. Order a free sample box and hold all four tones in your own light, at your own time of day.


