


Why your home office is the room where acoustic panels pay off the fastest
Why Acoustic Panels in the Home Office?
Better video call audio: Your laptop microphone picks up not just your voice but every reflection in the room. In a typical 10 m² home office with hard floors and bare walls, your voice sounds hollow and echoey. Acoustic panels behind you absorb exactly these reflections — your conversation partner hears a clear, professional tone. The difference is noticeable even without an expensive external microphone.
Less distraction, more focus: Every sound reflected off walls increases the ambient noise level in the room. Even quiet sounds — the fridge humming next door, traffic, family members — are amplified by reverberation. Panels with a felt backing absorb a significant portion of these reflections. The result: a quieter room that supports concentration throughout the workday.
Professional video call background: A wood veneer slat wall behind you looks better on Zoom, Teams, and Google Meet than a bookshelf, a blank white wall, or a virtual blur effect. It signals that you take your workspace seriously. In fields like consulting, sales, or creative work, that visual impression can make a real difference in how clients and colleagues perceive you.

4 Design Ideas for the Home Office
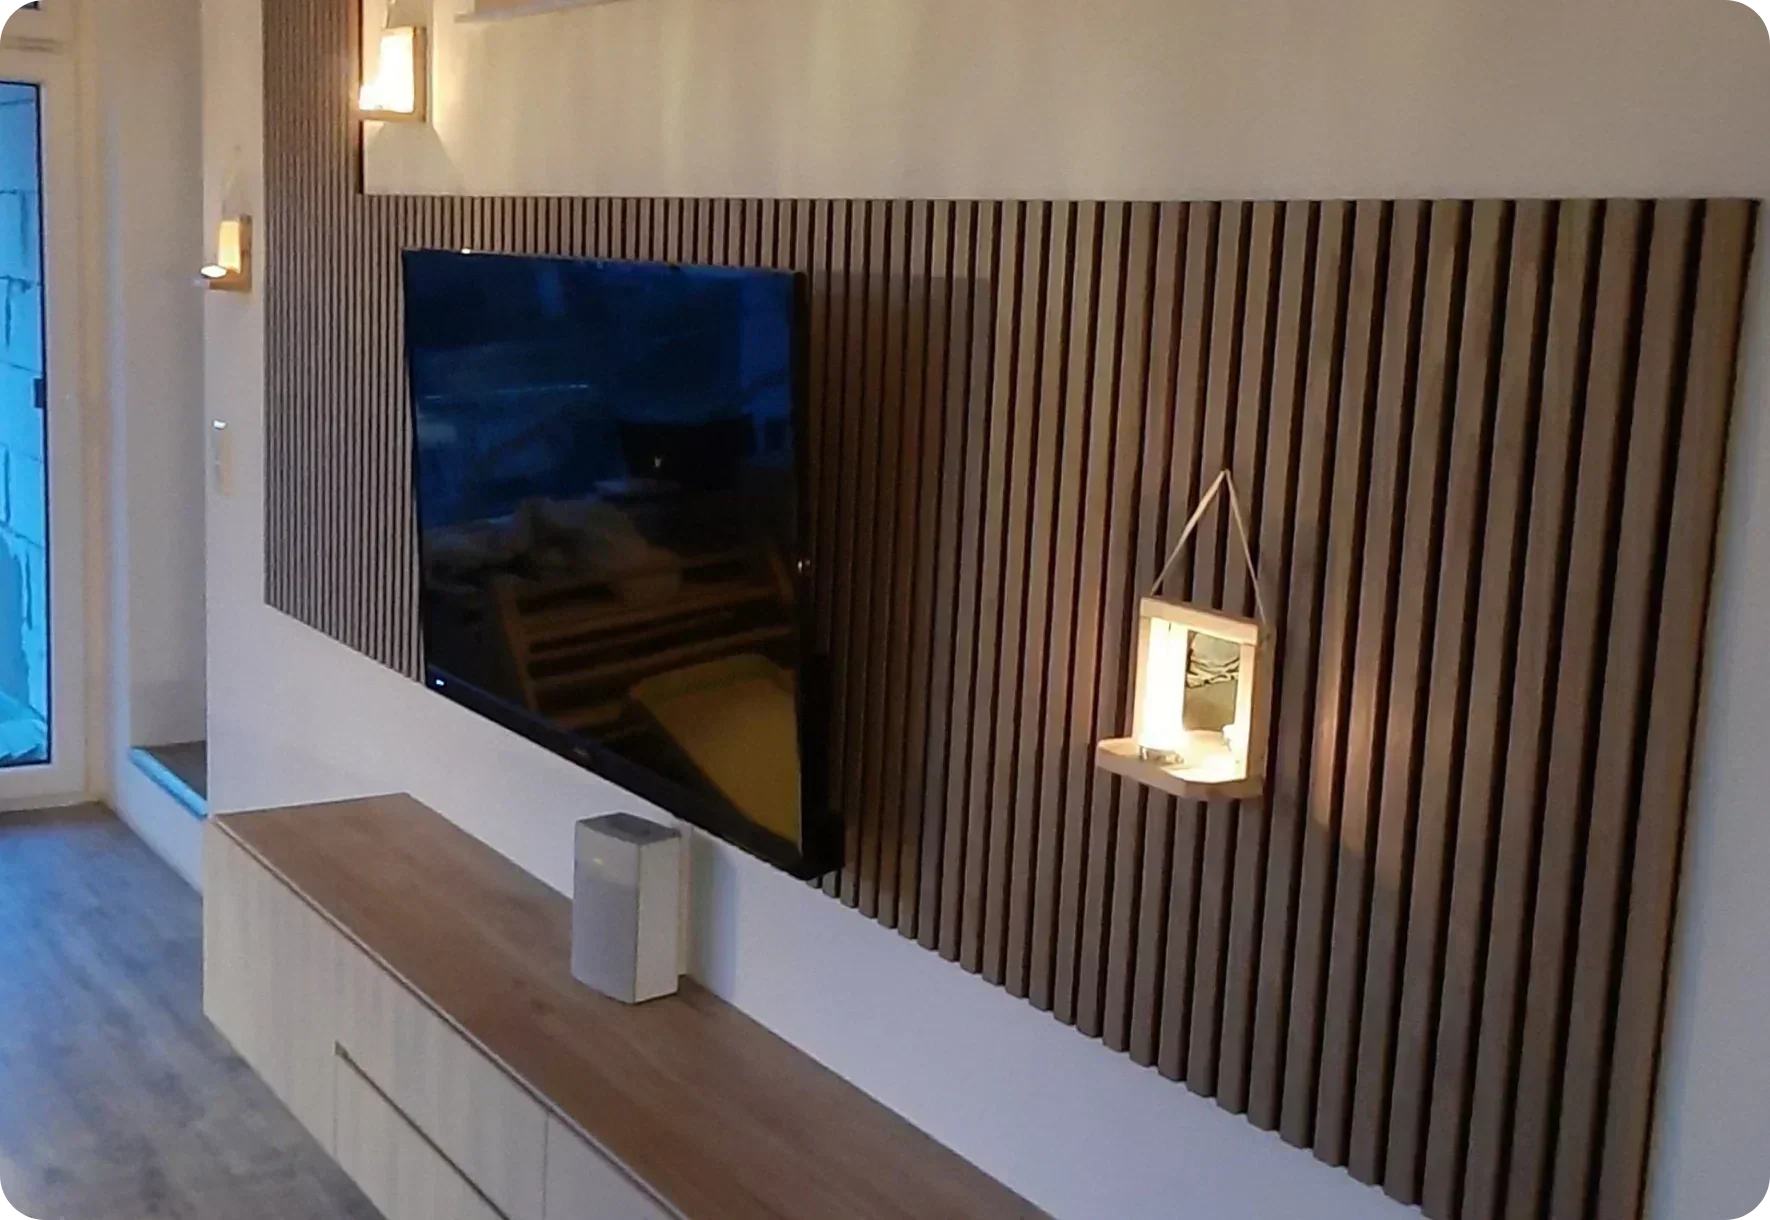
💡 1. Camera wall — minimum panels, maximum impact
Mount 3–4 panels directly behind your desk — just the area your webcam captures. For most setups, that's about 1.5–2 m wide, which is 3–4 Standard panels (52 cm each). In video calls, it looks like a full accent wall because the camera only shows that section.
Panels: 3–4 · Adhesive: 2–3 cartridges · Time: ~45–60 minutes
💡 2. Full accent wall
For maximum acoustic effect, cover the entire wall behind the desk. In a typical 3 m wide home office, that's 6 panels. This eliminates reverberation from the primary reflection surface almost completely — ideal if you regularly record podcasts, host webinars, or spend a large part of your day on calls.
Panels: 6 · Adhesive: 4 cartridges · Time: ~1.5–2 hours
💡 3. L-shape: back wall + side wall
If your desk sits in a corner, cover both adjacent walls. The L-shape catches sound from two directions and creates an acoustic "nook" that separates your work area from the rest of the room. Particularly effective in open living-working spaces where you don't have a dedicated room.
Panels: 5–8 · Adhesive: 4–6 cartridges · Time: ~2–3 hours
💡 4. Room divider as office boundary
Working from the living room? A freestanding room divider made from acoustic panels can separate your work area visually and acoustically from the living space. Flexible, no permanent walls, and easy to reconfigure when your layout changes.
Which Color for the Home Office?
| Color | How it looks on camera | Best for |
|---|---|---|
| Smoked | Warm, professional — flatters skin tones | Consulting, client calls, creative fields |
| Light | Bright, open, Scandinavian — modern and airy | Bright rooms, tech, start-ups |
| Black | Dark, serious background — studio look | Podcasts, content creation, executive presence |
| Light Brown | Natural, neutral — understated professional | All-rounder for any industry |

The Acoustic Difference — What Changes
A typical home office scenario: 10 m² room, hard floor, plaster walls, one window. Before panels, your voice bounces off the wall behind you, reflects off the desk surface, and returns to the microphone as a delayed echo. Your conversation partner hears you plus every reflection — muddy, distant, echoey.
After mounting 3–4 panels behind the desk: the primary reflection surface is treated. Your voice hits the panels and is absorbed instead of bouncing back. What remains is a cleaner, more direct sound — closer to how you'd sound in a recording studio or a well-treated meeting room.
What panels improve:
• Video call clarity (colleagues hear you, not the room)
• Concentration during deep work (fewer ambient reflections)
• Background appearance in calls (natural, professional, intentional)
• Perceived professionalism in client-facing interactions
What panels don't do:
• Block sound from traveling through walls (that's sound insulation, a different concept)
• Replace a proper external microphone for professional audio production
• Eliminate noise from outside the room entirely
For more on the difference between absorption and insulation: absorption vs insulation guide.
Installation in the Home Office
Home office installation is typically straightforward — most home offices are small to medium rooms with standard wall surfaces. Mounting adhesive (1 cartridge per ~1.5 panels) is sufficient for plasterboard and wallpapered walls. For concrete walls, add panel screws (15 per panel) for extra hold.
Installation time for the camera wall (3–4 panels): approximately 45–60 minutes. No special tools needed — just a caulking gun, spirit level, and pencil.
Renters: Adhesive-only mounting works perfectly and can be removed cleanly when you move. Full guide: mounting without drilling. Complete step-by-step: installation guide.
Podcast and Content Creator Setup
If you use your home office for podcast recording, video content, or voice-over work, acoustic treatment becomes even more important. The human voice occupies mid-range frequencies — exactly where felt-backed panels are most effective at absorption.
Minimum setup: Camera wall (3–4 panels) behind you. This handles the primary reflection and gives you a professional visual background.
Recommended setup: L-shape (5–8 panels) on two walls. This addresses reflections from two directions and creates a noticeably drier, more controlled sound environment.
Maximum setup: Full accent wall + side panels + ceiling island above the desk. Combined with bass traps in the corners, this approaches semi-professional studio acoustics — more than enough for podcast quality that competes with dedicated studios.
Frequently Asked Questions
Yes — and the difference is immediately noticeable. Panels behind you absorb the sound reflections that your microphone picks up as echo and reverb. Colleagues and clients notice the improved clarity right away, even without a professional microphone. 3–4 panels behind the desk are enough for a significant improvement.
For the webcam area: 3–4 panels. For the full wall behind the desk: 5–7 panels depending on room width. For maximum effect (podcast recording, heavy call schedules): L-shape with 8–10 panels on two walls. Use the size calculator for exact quantities.
Smoked is the most popular choice for home offices — the warm tone looks professional and flatters skin tones on camera. Black creates a studio look for content creators. Light works well in bright rooms with strong natural light. Avoid very light tones if your main light source is behind the panels — it can cause glare on camera.
Yes. Mounting adhesive attaches the panels without drilling — no holes, no wall damage. When you move out, remove the panels with a spatula and sand any minimal residue. Full guide: no-drill mounting.
For video calls and webinars: absolutely. For dedicated podcast or music production, panels are an excellent foundation — they handle the mid-range reflections that affect voice clarity most. For full studio-grade treatment, you can supplement with bass traps in the corners. But for most home podcast setups, an L-shape of panels delivers professional results.
No — panels absorb sound within the room (reducing echo and reverberation) but don't block sound from traveling through walls. That's the difference between sound absorption and sound insulation. If your main problem is noise from outside the room, panels won't solve it. If your problem is echo and reverb during calls, they will. More: absorption vs insulation.
Conclusion: The Upgrade Colleagues Notice Immediately
Acoustic panels in the home office are the upgrade with the fastest return on investment. Better sound quality on calls, a professional background on camera, and a quieter environment for focused work — all from a single-afternoon project. No other home office improvement delivers this much impact for this little effort. Start with the camera wall — 3–4 panels, one hour, and your next video call will sound different.
What does your new video call background look like?
Order a free sample box and hold it behind your desk — test it with your webcam before you decide.
Free sample box → View all panels →Acoustic improvements depend on room size, shape, surface materials, and the number of panels installed. Results described are based on typical home office scenarios. Video call quality also depends on microphone type, internet connection, and software settings.


Leave a comment
This site is protected by hCaptcha and the hCaptcha Privacy Policy and Terms of Service apply.