



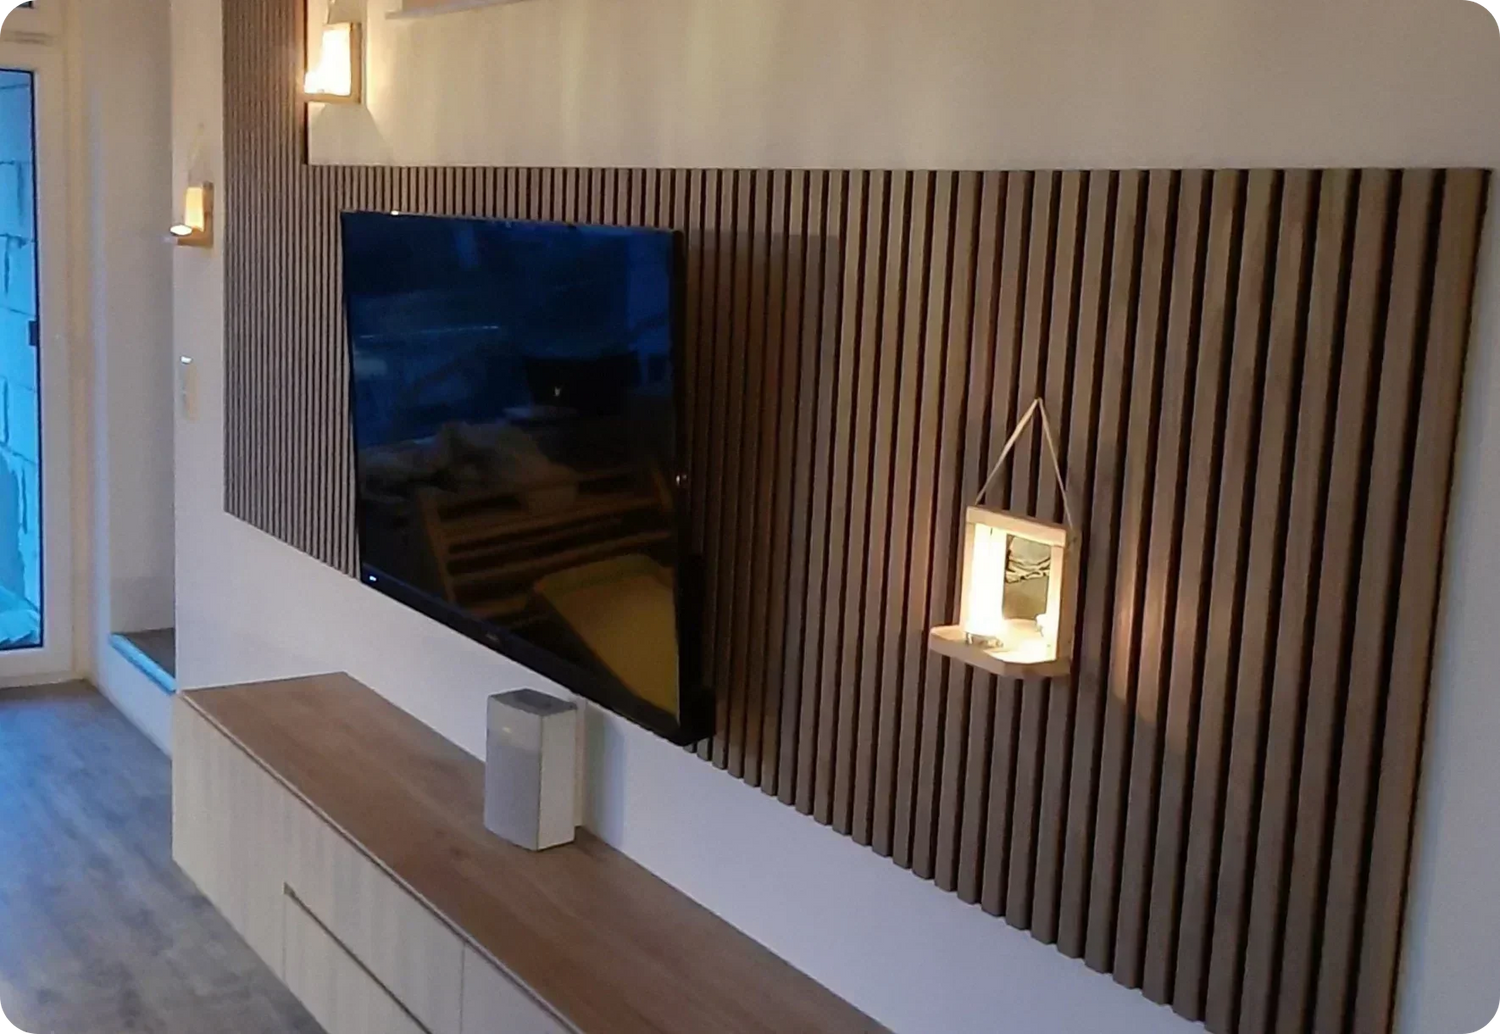
How to mount acoustic panels without a single drill hole — and remove them cleanly when you move
Why No-Drill?
Renter-friendly: In most rental agreements, drill holes beyond normal use need to be repaired when you move out. With 15+ screws per panel for a full accent wall, that's a lot of filling and patching. Adhesive mounting eliminates that entirely — no holes, no disputes during the move-out inspection.
Faster and simpler: No drill, no wall plugs, no dust. Adhesive-only mounting is not just renter-friendly — it's genuinely the fastest method: approximately 10 minutes per panel vs 20 minutes with screws. An 8-panel wall can be done in under 90 minutes.

The 5 Methods at a Glance
Method 1: Mounting Adhesive Best choice
Mounting adhesive is applied in S-shaped lines on the panel back. Press the panel against the wall, hold for 30–60 seconds, done. Full strength is reached after 12–24 hours of curing.
Hold strength: ⭐⭐⭐⭐⭐ — carries the panel weight (~4.5 kg) permanently and securely on plasterboard, wallpaper, and smooth plaster.
Removable: Yes. Lever a wide spatula between the panel and wall from the bottom up. Minimal adhesive residue can be sanded off or painted over.
Adhesive needed: 1 cartridge per ~1.5 panels. For an 8-panel accent wall: 6 cartridges.
Method 2: Double-Sided Mounting Tape (for lighter panels only)
Heavy-duty mounting tape is applied in strips on the panel back. Press and hold — immediately load-bearing.
Hold strength: ⭐⭐⭐ — suitable for lighter panels (under 3 kg). For heavier panels (~4.5 kg), risky long-term — especially in summer when heat softens the adhesive.
Removable: Usually, but adhesive residue is possible. Not recommended on delicate wallpaper.
Verdict: Only as a supplement to mounting adhesive, or for temporary/lightweight installations.
Method 3: Hook-and-Loop System (Dual Lock)
Industrial-strength hook-and-loop strips are applied to both the wall and panel back. The panels "click" in and can be removed and reattached at any time.
Hold strength: ⭐⭐⭐⭐ — industrial Dual Lock systems can hold significant weight. For a ~4.5 kg panel, you'll need approximately 4–5 strips of 15 cm each.
Removable: Conditionally — the strips peel off, but may take wallpaper with them on sensitive surfaces.
Best for: Situations where you want to remove and reattach panels frequently — redecorating, seasonal changes, or moving panels between rooms.
Method 4: Magnetic Mounting
Metal plates are glued to the wall, strong neodymium magnets are attached to the panel back. The panels are held magnetically.
Hold strength: ⭐⭐⭐ — depends on magnet strength and quantity. For heavier real wood veneer panels, you'll need at least 6–8 strong magnets (N52 grade).
Removable: Conditionally — metal plates need to be removed, adhesive residue possible.
Verdict: More complex and expensive than mounting adhesive without a clear advantage for most use cases. Only practical if you regularly remove and reattach panels.
Method 5: Leaning / Freestanding
The simplest approach: lean panels on the floor against the wall, bottom edge touching the wall, top edge tilted slightly forward. Alternatively, stand them on a low sideboard or shelf.
Hold strength: ⭐⭐ — stable from their own weight, but not secured against tipping.
Removable: 100% — no wall contact needed.
Verdict: Only for 1–2 panels as a decorative element — not for a full accent wall. Acoustic effect is reduced because there's no direct connection to the wall surface.
 Comparison Table: All 5 Methods
| Method | Hold | Clean removal | Best for |
|---|---|---|---|
| Mounting adhesive | ⭐⭐⭐⭐⭐ | ✅ Yes | 🏆 Best overall choice |
| Mounting tape | ⭐⭐⭐ | ⚠️ Conditional | Supplement only |
| Hook-and-loop (Dual Lock) | ⭐⭐⭐⭐ | ⚠️ Conditional | Frequent removal needed |
| Magnets | ⭐⭐⭐ | ⚠️ Conditional | Niche: regular removal |
| Leaning | ⭐⭐ | ✅ 100% | Decorative, 1–2 panels only |
Step-by-Step: Adhesive Mounting (No Drilling)
Quick guide for the recommended method. For the full detailed version: complete installation guide.
Clean the surface — remove dust, grease, and any loose plaster or paint. The wall must be dry. Freshly painted walls should cure for at least 4 weeks before mounting with adhesive.
Use a spirit level and pencil to draw a vertical reference line on the wall where the first panel will go. This ensures the entire row starts perfectly straight.
Apply mounting adhesive in S-shaped lines on the panel back, covering approximately 60–70% of the surface. One cartridge covers about 1.5 panels — use generously for a strong bond.
Position the panel along the reference line. Press firmly from top to bottom. Hold for 30–60 seconds. The initial grip is immediate, but full strength builds over the next 12–24 hours.
Push the next panel flush against the first. Check alignment with the spirit level. Repeat until the wall is covered.
Allow 12–24 hours for the adhesive to reach full strength. The room can be used during curing — just avoid leaning against or pressing on the panels.
Total time for 8 panels: approximately 80–90 minutes. No drill, no dust, no wall plugs. Adhesive needed: 6 cartridges.
How to Remove Panels When You Move Out
Removing adhesive-mounted panels is straightforward and takes about 30 minutes for a full accent wall:
Which Walls Work Best for No-Drill Mounting?
| Wall surface | Adhesive-only mounting | Notes |
|---|---|---|
| Plasterboard / drywall | ✅ Excellent | Ideal surface for adhesive. Clean removal. |
| Textured wallpaper (firmly attached) | ✅ Very good | Adhesive grips the texture well. Minor wallpaper damage possible on removal. |
| Smooth plaster | ✅ Very good | Strong bond. Clean removal with spatula. |
| Fleece wallpaper | ✅ Good | Works well when wallpaper is firmly attached to the wall. |
| Tiles | ✅ Good | Clean surface — adhesive bonds well and removes cleanly. |
| Raw concrete | ⚠️ Not ideal | Surface too rough and porous for adhesive alone. Consider screws or a subframe. |
| Loose wallpaper | ❌ Not recommended | Adhesive may pull the wallpaper off the wall. Re-attach wallpaper first or remove it. |
| Freshly painted (under 4 weeks) | ❌ Not recommended | Paint hasn't fully cured — adhesive may pull paint off. Wait at least 4 weeks. |
Frequently Asked Questions
Yes — mounting adhesive holds a ~4.5 kg panel permanently and securely on plasterboard, wallpaper, and smooth plaster. The full-surface bond distributes the weight evenly across the wall. This method has been used successfully by thousands of customers. On concrete or for ceiling installations, additional screws are recommended.
It's specifically designed for renters. Mounting adhesive leaves no drill holes. When you move out, remove the panels with a spatula and sand any minimal residue. That's significantly easier than filling and repainting 100+ screw holes from a full accent wall.
Best on plasterboard (drywall), firmly attached textured wallpaper, smooth plaster, and fleece wallpaper. Not recommended: raw concrete (too rough), loose wallpaper (adhesive pulls it off), or freshly painted walls (under 4 weeks old). For a full wall-type guide: installation guide.
One cartridge covers approximately 1.5 panels. For a 6-panel accent wall: 4 cartridges. For 8 panels: 6 cartridges. For 12 panels: 8 cartridges. Always round up — running out mid-project means waiting for delivery.
Yes. Scrape adhesive residue off the panel back with a spatula — the panel itself remains undamaged. With hook-and-loop mounting, panels are immediately reusable. Panels can be remounted in a new apartment with fresh adhesive.
Adhesive alone is not recommended for ceilings — gravity works against the bond permanently. Ceiling installations require screws (20 per panel) for secure, long-term hold. Adhesive is used as additional support alongside screws for ceiling mounting.
Conclusion: Drilling Is Optional — Not Required
For the vast majority of apartments and rental situations, mounting adhesive is all you need. No drilling, no dust, no disputes with the landlord. An 8-panel accent wall takes under 90 minutes to mount — and 30 minutes to remove cleanly when you move. The panels hold securely, the wall stays intact, and the result looks exactly the same as a screwed installation.
Start your project — no drill required.
Panels, adhesive, spirit level, pencil. That's the full kit for a renter-friendly accent wall.
View all panels → Free sample box →Adhesive performance depends on the wall surface condition, temperature, and humidity. Always test a small area first on sensitive surfaces. Removal results may vary depending on wallpaper type and age. The information provided is general guidance — specific rental agreements may have additional requirements regarding wall modifications.


Leave a comment
This site is protected by hCaptcha and the hCaptcha Privacy Policy and Terms of Service apply.