


Why the kitchen is the most underrated room for acoustic panels — and what to keep in mind
Why Acoustic Panels in the Kitchen?
The noisiest room in the house: Kitchens combine multiple noise sources — range hoods, dishwashers, blenders, running water — with surfaces that reflect everything: tiles, granite, glass, and stainless steel. The result is a room where sound bounces freely and conversations become difficult the moment an appliance turns on. Panels with a felt backing absorb these reflections and bring the ambient noise level down noticeably.
Open kitchens need acoustic treatment: In homes with open floor plans, kitchen noise travels directly into the living room. Panels on the dividing surface or the opposite wall create an acoustic separation — without building walls. The kitchen stays visually open while the sound stays contained.
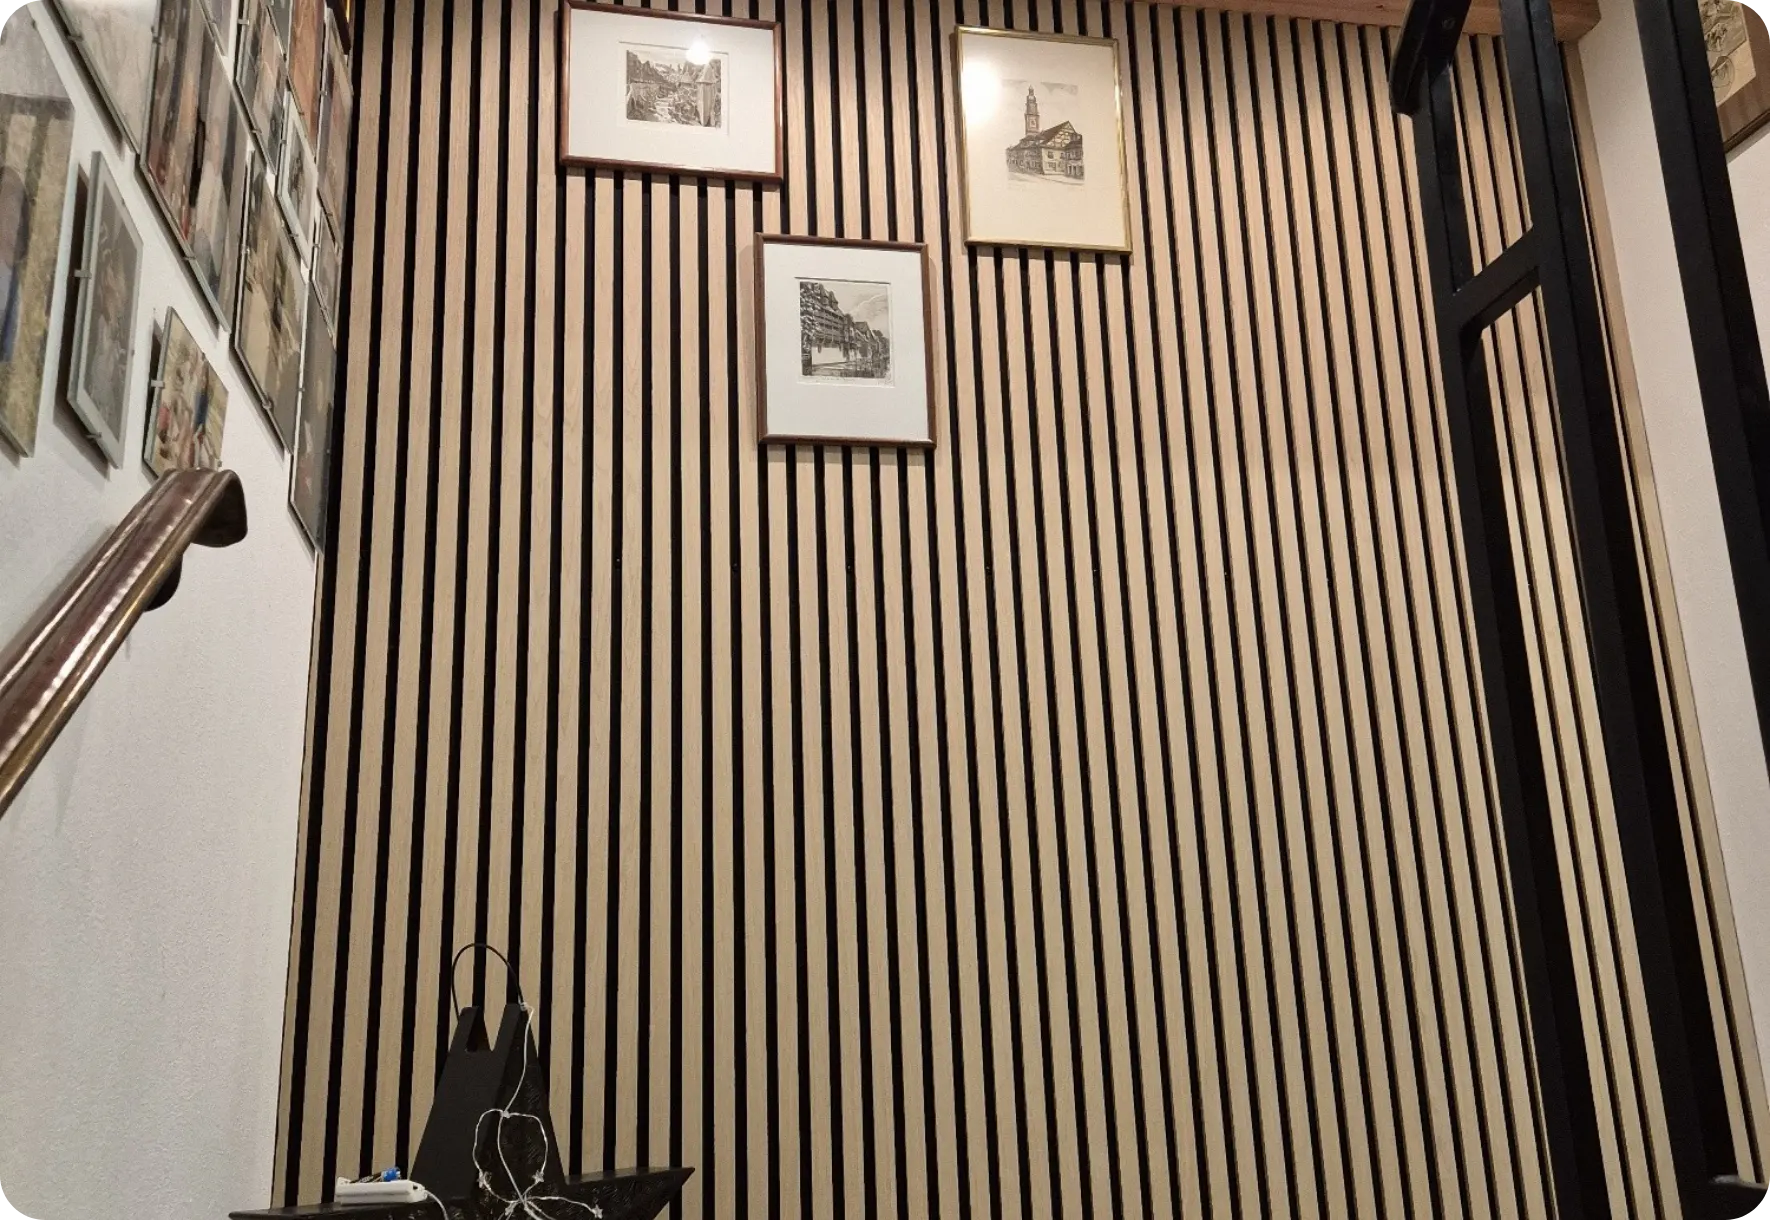
A design upgrade for the dining wall: The wall beside or opposite the kitchen counters is often the perfect spot. No splash water or grease fumes reach it, and the wood veneer slats bring warmth into a room otherwise dominated by cool, hard materials — tiles, metal, stone. It's the quickest way to make a kitchen feel less clinical and more inviting.

Where to Mount — and Where Not To
✅ 1. The dining wall — best overall choice
The wall behind or beside the dining table is the most popular placement. It's far enough from steam and grease, improves acoustics exactly where conversations happen, and creates a warm backdrop for meals. For a 2.5 m wide dining wall: 5 Standard panels.
Panels: 5 · Adhesive: 4 cartridges · Time: ~1.5 hours
✅ 2. Kitchen-to-living room transition
In open floor plans, a panel wall marks the visual boundary between cooking and living areas. It prevents kitchen noise from traveling freely into the living space while maintaining the open layout. The panels create a natural transition that connects both zones visually.
Panels: 4–6 · Adhesive: 3–4 cartridges · Effect: Acoustic zoning without walls
✅ 3. Kitchen island back panel
If your kitchen has an island or peninsula, its back side (facing the living area) is an excellent spot for panels. The vertical slats hide the often unattractive back of base cabinets while absorbing sound at the same time — functional and decorative in one move.
• Directly behind the stove or hob (steam, heat, grease splatter)
• Directly above or beside the sink (splash water)
• Inside the range hood zone (direct steam exposure)
• Anywhere with less than 60 cm distance to active cooking or washing areas
Moisture: What You Need to Know
The biggest question about acoustic panels in the kitchen: can they handle the humidity?
Short answer: Yes — if you maintain the right distance. Acoustic panels are designed for normal indoor humidity (40–60%). In a well-ventilated kitchen with a functioning range hood, this is easily achievable.
Real wood veneer vs plastic foil: Panels with real wood veneer are more resilient to humidity fluctuations than MDF panels wrapped in plastic foil. Foil-wrapped panels can swell and peel when exposed to moisture. Real wood veneer responds more elastically and handles normal kitchen humidity without issues. More on material differences: veneer vs plastic comparison.
• Mount at least 60 cm from stove, sink, and dishwasher steam vent
• Ensure the kitchen has adequate ventilation (range hood, window, or both)
• Wipe panels with a slightly damp microfiber cloth every 2–3 months
• Never spray water or cleaning products directly onto the panels
• Real wood veneer handles kitchen conditions better than plastic foil alternatives
 Color Recommendations for the Kitchen
| Color | Best for | Why |
|---|---|---|
| Light | Most kitchens — especially with white, grey, or wood fronts | The all-rounder. Keeps the room open. Dust and marks are less visible on lighter tones. |
| Smoked | Kitchens with dark fronts or natural stone countertops | Warm mid-tone that creates coziness in the dining area. Beautiful contrast with darker kitchen elements. |
| Light Brown | Versatile — works with most kitchen styles | Natural and neutral. Pairs well with both modern and traditional kitchens. |
| Black | Large, bright kitchens with high ceilings and generous proportions | A bold statement. In smaller kitchens, the dark tone can make the space feel smaller — choose Light instead. |
Order a free sample box and test the color next to your kitchen fronts — what works on screen can look different in person, especially under kitchen lighting (often a mix of overhead spots and under-cabinet lights). Full color advice: color guide.
Installation and Care
Installation
Kitchen installation follows the same process as any other room. Mounting adhesive (1 cartridge per ~1.5 panels) is sufficient for plasterboard and plastered walls. For tiled walls, add panel screws (15 per panel) for extra grip — adhesive alone may not bond as firmly on glazed tile surfaces.
Renters: adhesive-only mounting works on standard kitchen walls and can be removed cleanly. Guide: no-drill mounting. Full step-by-step: installation guide.
Kitchen-specific care
In a kitchen, airborne grease particles gradually settle on surfaces — including panels. The care routine is simple:
Every 2–3 months: Wipe the panel surface with a slightly damp microfiber cloth. This removes any grease film before it builds up. Do not spray water directly onto the panels — dampen the cloth first, then wipe.
Never use: Aggressive cleaning products, abrasive sponges, or steam cleaners. The wood veneer surface is durable but responds best to gentle cleaning.
Good to know: Real wood veneer is easier to maintain than plastic foil panels in kitchen environments. The natural surface doesn't peel or delaminate from humidity exposure the way foil edges can over time.
The Acoustic Difference in the Kitchen
Kitchens have a unique acoustic challenge: multiple simultaneous noise sources (appliances, water, conversation) combined with surfaces that reflect all of it (tiles, stone, glass, metal). The result is a room where adding just one soft, absorbing surface makes a disproportionate difference — because there are so few absorbing surfaces to begin with.
What panels improve in the kitchen:
• Conversation clarity at the dining table (less competing echo from appliances)
• Overall perceived noise level (reflections dampened, room sounds calmer)
• Comfort in open-plan kitchens (sound stays in the kitchen zone rather than traveling to the living area)
What panels don't do:
• Make appliances quieter (the source noise stays the same — the reflections decrease)
• Replace soundproofing between rooms (that's insulation, not absorption)
• Work as a kitchen backsplash (they are not waterproof and should not be in the splash zone)
Frequently Asked Questions
Yes — with the right placement. Mount them at least 60 cm away from direct steam and splash water sources (stove, sink, dishwasher vent). The best spots are the dining wall, the wall opposite the kitchen counters, or the transition to the living room. Real wood veneer panels handle kitchen humidity better than plastic foil alternatives.
At normal indoor humidity (40–60%) with proper ventilation: yes. Real wood veneer responds elastically to humidity fluctuations and handles typical kitchen conditions without issues. Avoid mounting directly in steam or splash zones. A functioning range hood or regular window ventilation keeps conditions within the safe range.
Wipe with a slightly damp microfiber cloth every 2–3 months. Don't spray water or cleaning products directly onto the panels — dampen the cloth first, then wipe gently. No abrasive sponges. With regular care, the panels stay in excellent condition for years.
They reduce the sound reflections the hood creates in the room — making the overall noise level feel lower. The hood itself doesn't get quieter, but the echo it causes is dampened noticeably. In a kitchen with 4–6 panels on the dining wall, the difference during cooking is clearly perceptible.
Light is the most versatile — it pairs with most kitchen fronts (white, grey, wood) and keeps the space feeling open. Smoked works beautifully with dark fronts or natural stone counters. Avoid Black in small kitchens — it can make the space feel smaller. Test with a free sample box next to your kitchen fronts before deciding.
Yes — adhesive works on tiles, though the bond may be weaker on glossy glazed surfaces. Adding screws (15 per panel) provides extra security. Alternatively, screw into the grout lines where the substrate behind the tile is accessible. Full mounting guide: installation guide.
Conclusion: The Kitchen Deserves Better Acoustics
No other room combines this much noise with this many hard, reflective surfaces. Acoustic panels on the dining wall or at the kitchen-to-living-room transition solve the problem elegantly — and turn a functional space into a design feature at the same time. The key is placement: at least 60 cm from steam and water, on a wall where the panels can do their acoustic work without exposure to direct cooking conditions. The result is a kitchen that sounds as good as it looks.
Does wood veneer belong in your kitchen?
Order a free sample box and hold it next to your kitchen fronts — under your kitchen lights, at the wall you're considering.
Free sample box → View all panels →Acoustic panels are designed for normal indoor environments with humidity levels between 40–60%. They are not waterproof and should not be mounted in direct contact with steam, splash water, or cooking surfaces. Adequate ventilation (range hood, windows) is recommended. Acoustic improvements depend on room size, surface materials, and panel quantity. Care instructions are general guidelines — always test cleaning products on an inconspicuous area first.


Leave a comment
Ovo je web-mjesto zaštićeno sustavom hCaptcha, čija pravila zaštite privatnosti i uvjeti pružanja usluge vrijede.