


Installation and inspiration
How does the installation work?
The installation process with acoustic panels
Once you have received your acoustic panels, start by unpacking them from the boxes. If you have not yet identified the material on which the panels will be mounted, do so now. To install the panels correctly, you should first determine the type of wall or ceiling they will be attached to. Drywall usually requires wall plugs and screws, while masonry walls require stronger plugs and screws. For extra stability, it is a good idea to combine adhesive and screws, regardless of the wall type.
Acclimatize your panels
Acclimatization of the panels
All our models – Premium Light Oak, Premium Light Brown Oak, Premium Smoked Oak, and Premium Black Oak – require an acclimatization period of 3–5 days. During this time, the panels should be unpacked and allowed to “breathe.” To speed up the process, you can alternate between ventilating with open windows and increasing the room temperature.
Measuring and adjustment
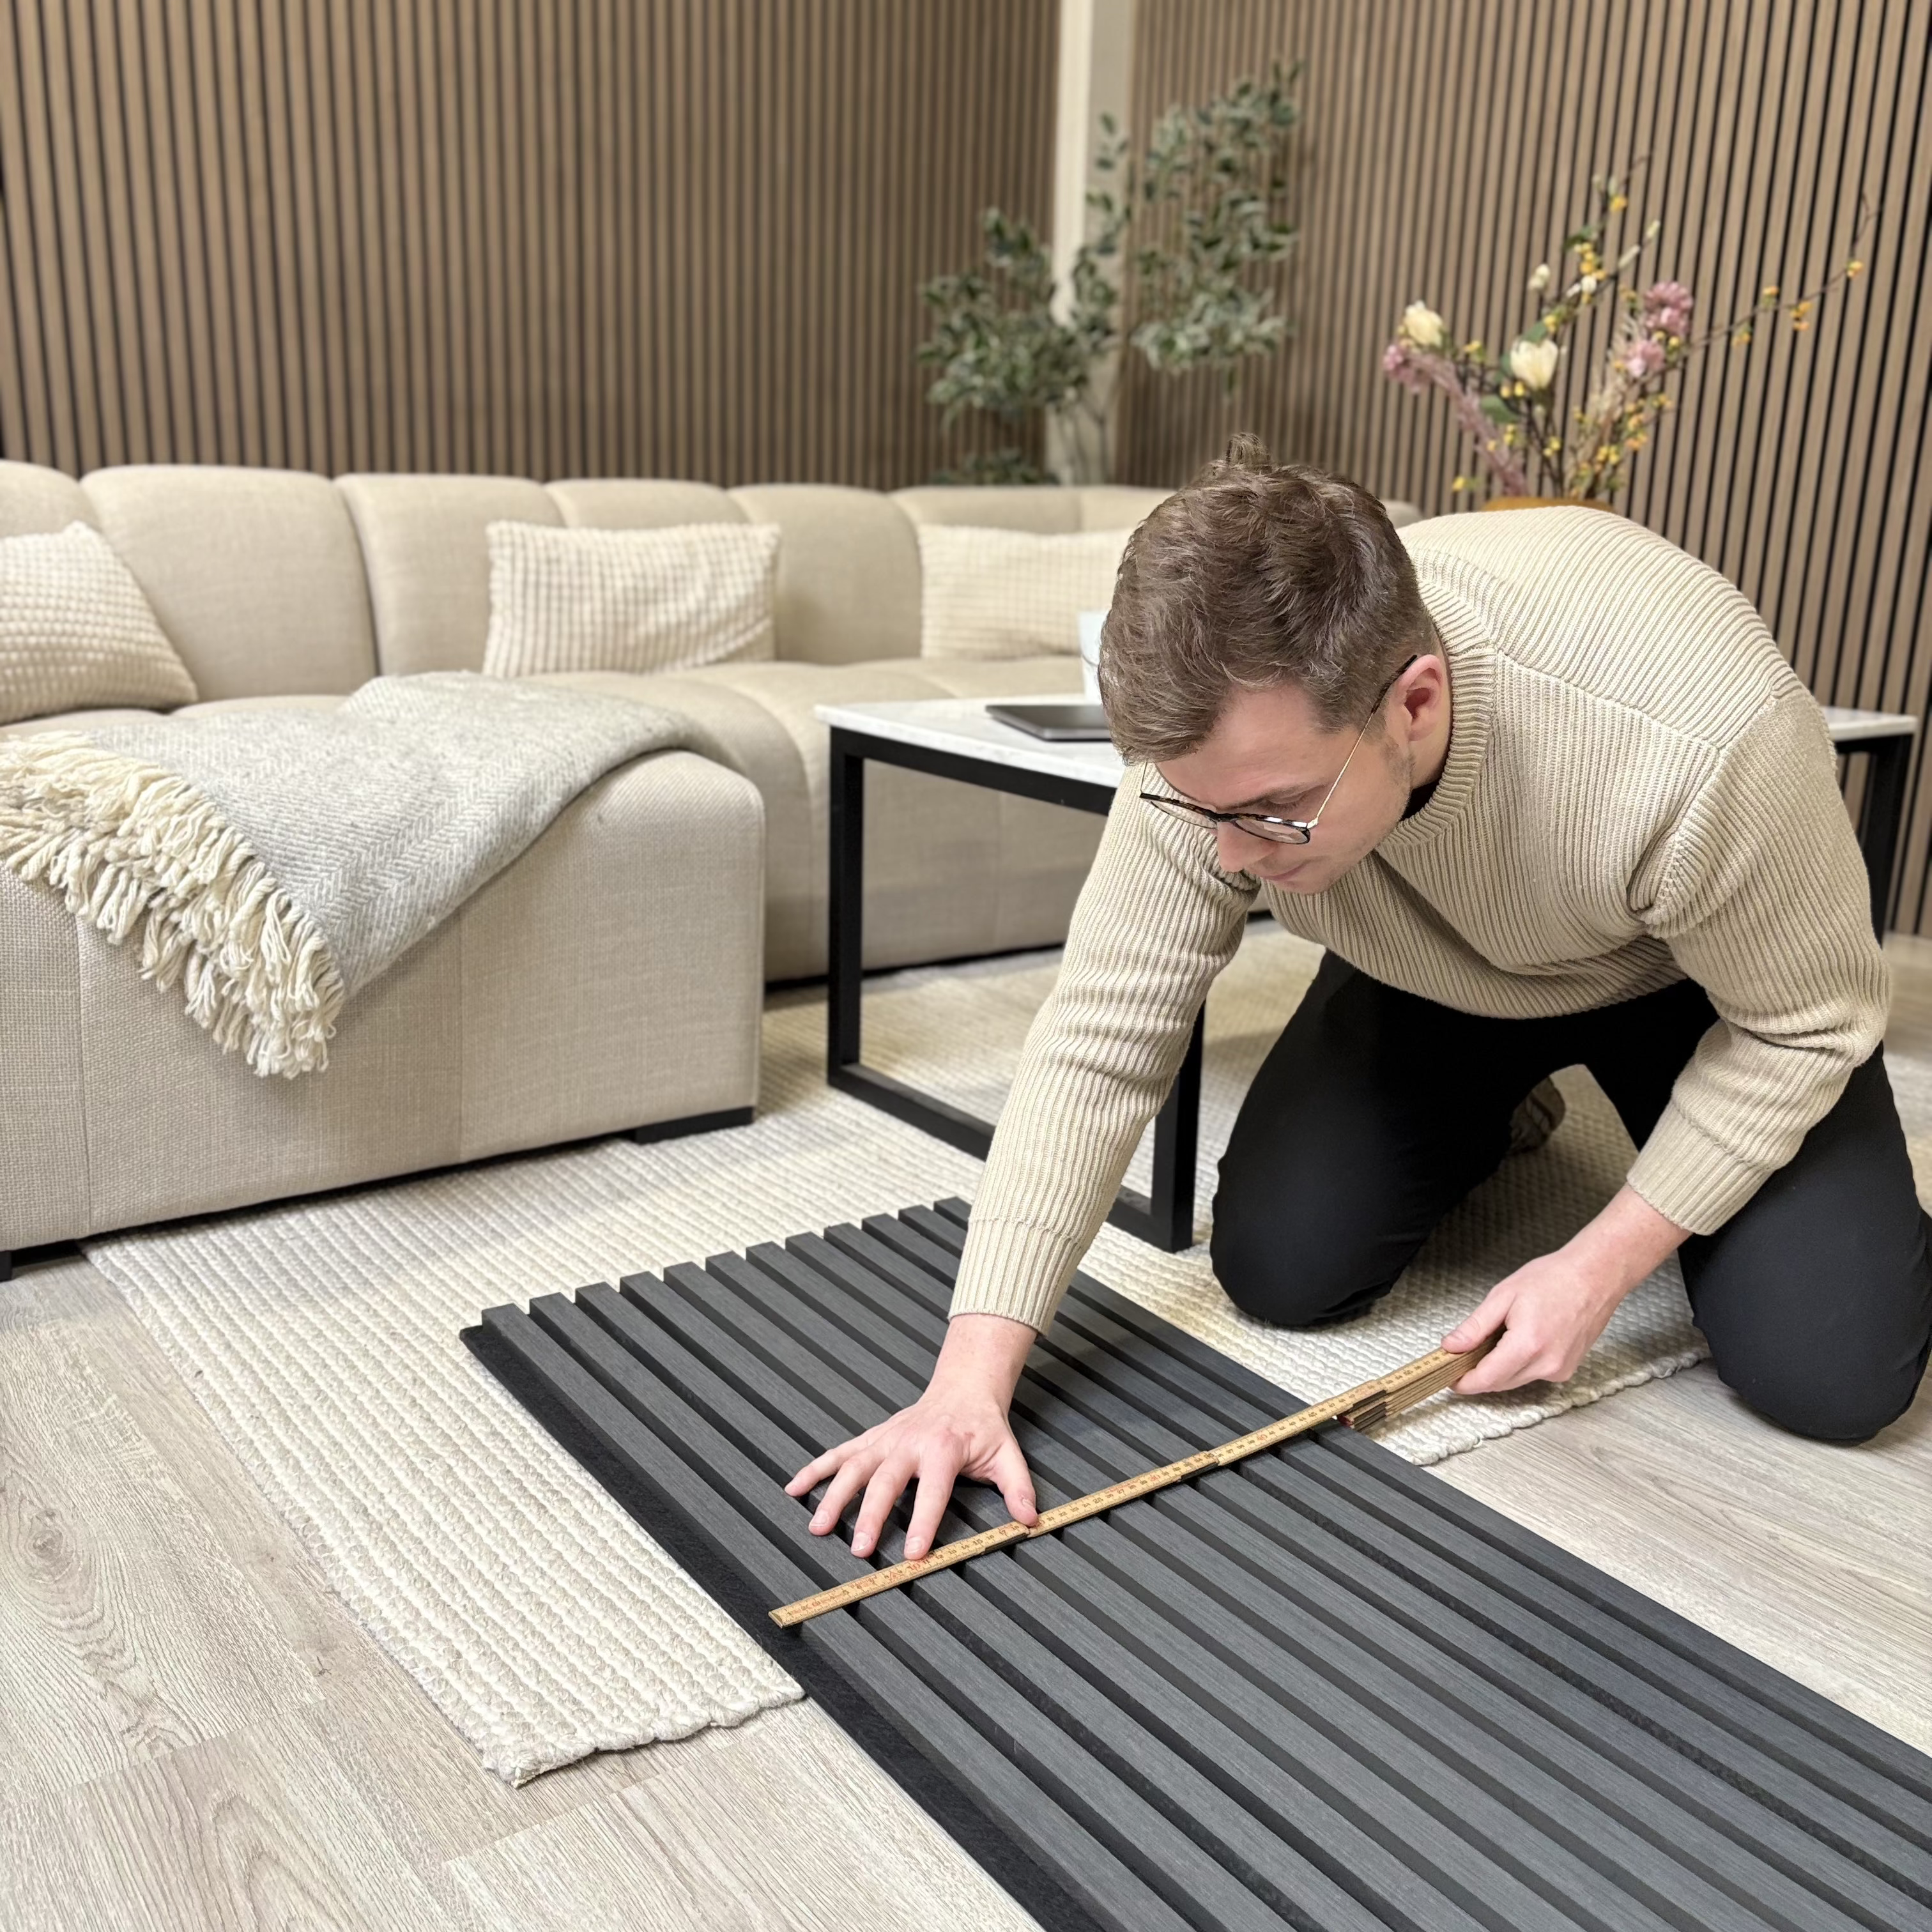
Preparations
The first step is to prepare the surface where the panels will be installed. Wipe it clean and remove any obstacles such as screws or nails. Next, measure the area where the panels will be placed and cut the panels to the desired size. For the best results, we recommend using a circular saw to cut the wooden panels, although a jigsaw can also be used.
To minimize the risk of splinters, you can start by scoring along the cutting line with a utility knife, which significantly reduces the chance of chipping. Any small splinters along the edge can easily be removed by lightly sanding with fine sandpaper.
Install your panels
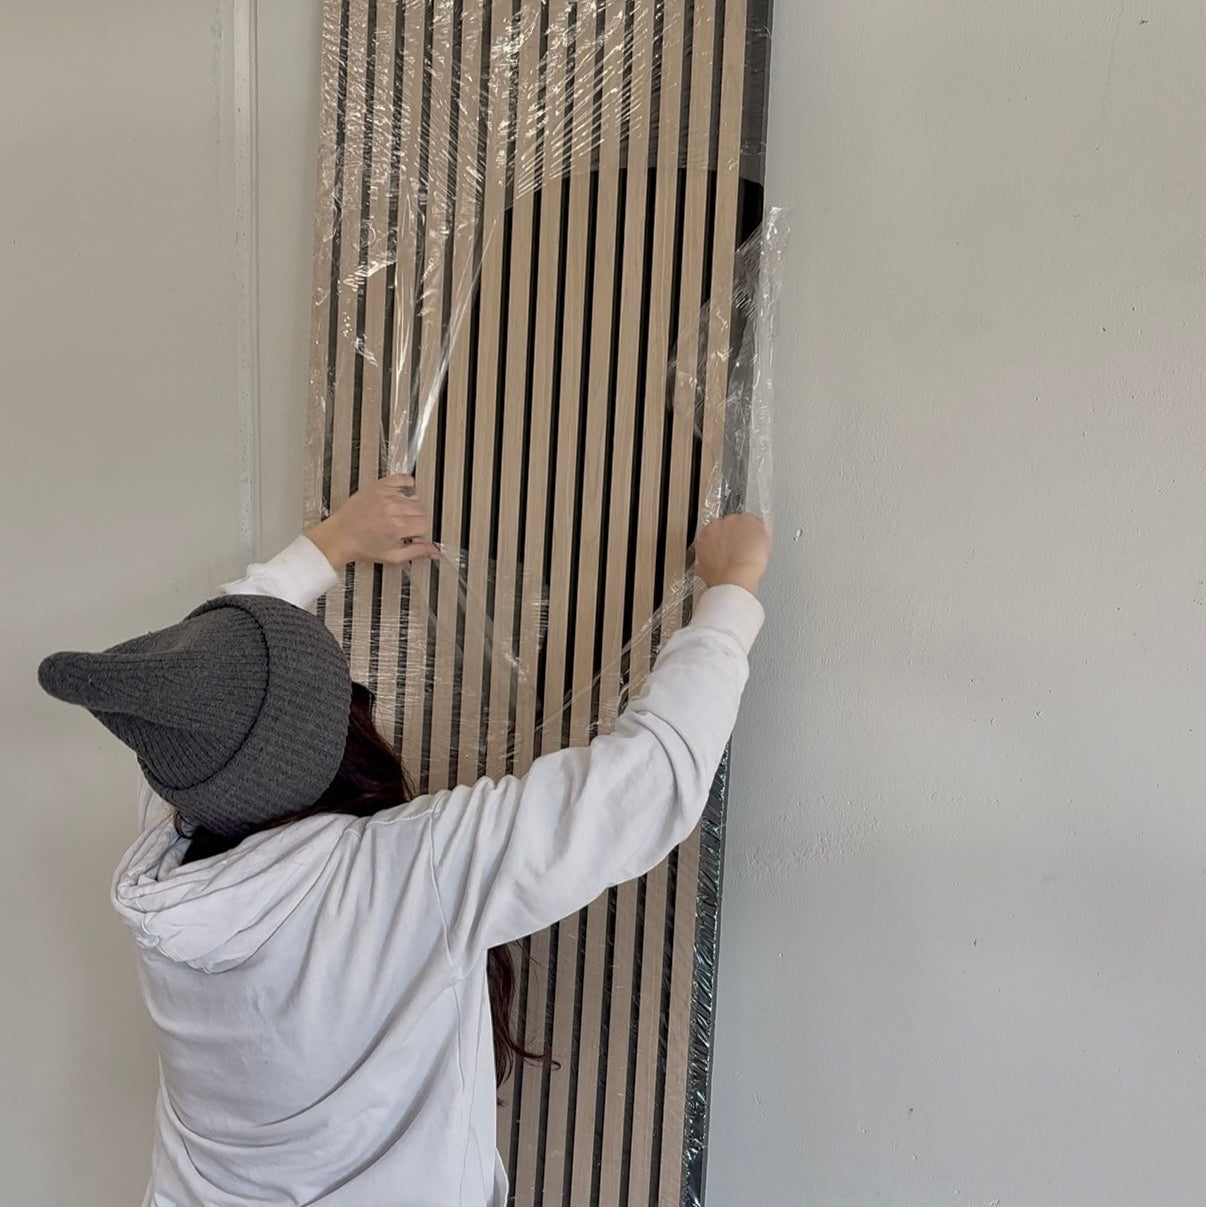
Installation
Once the surface is cleaned and the panels are cut to size, simply apply a suitable mounting adhesive to the back of the panel, place it on the wall, and then secure it with screws to ensure it is properly and safely fixed. This guarantees that the panels will stay in place over time.

Installation of panels
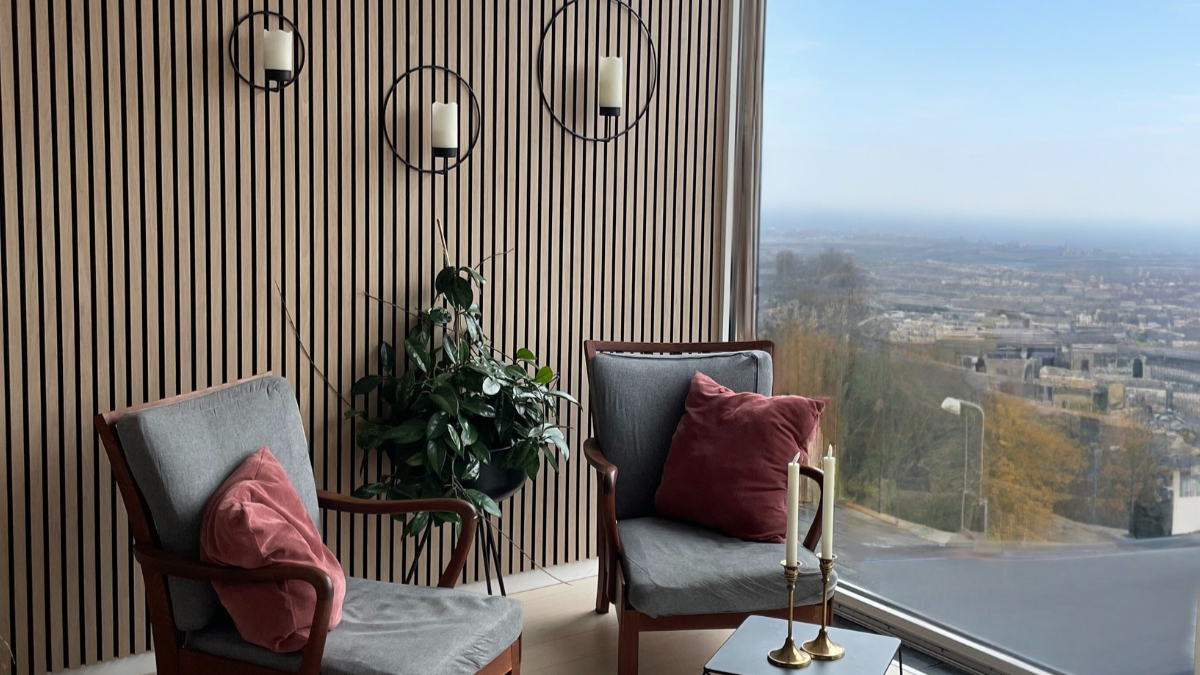
Before/after installation of acoustic panels
Here you can see an example of what a room looks like before and after the installation of acoustic panels. In addition to the clear improvement in acoustics, you will also experience the warm and inviting atmosphere that the natural wood expression brings to the room.
The acoustic panels effectively absorb sound and create a more pleasant sound environment, while the warm tones of the wood add a cozy and natural feeling. This makes the room both functional and aesthetically appealing – a combination that is quickly noticeable in everyday life as well as on special occasions.

Before

After
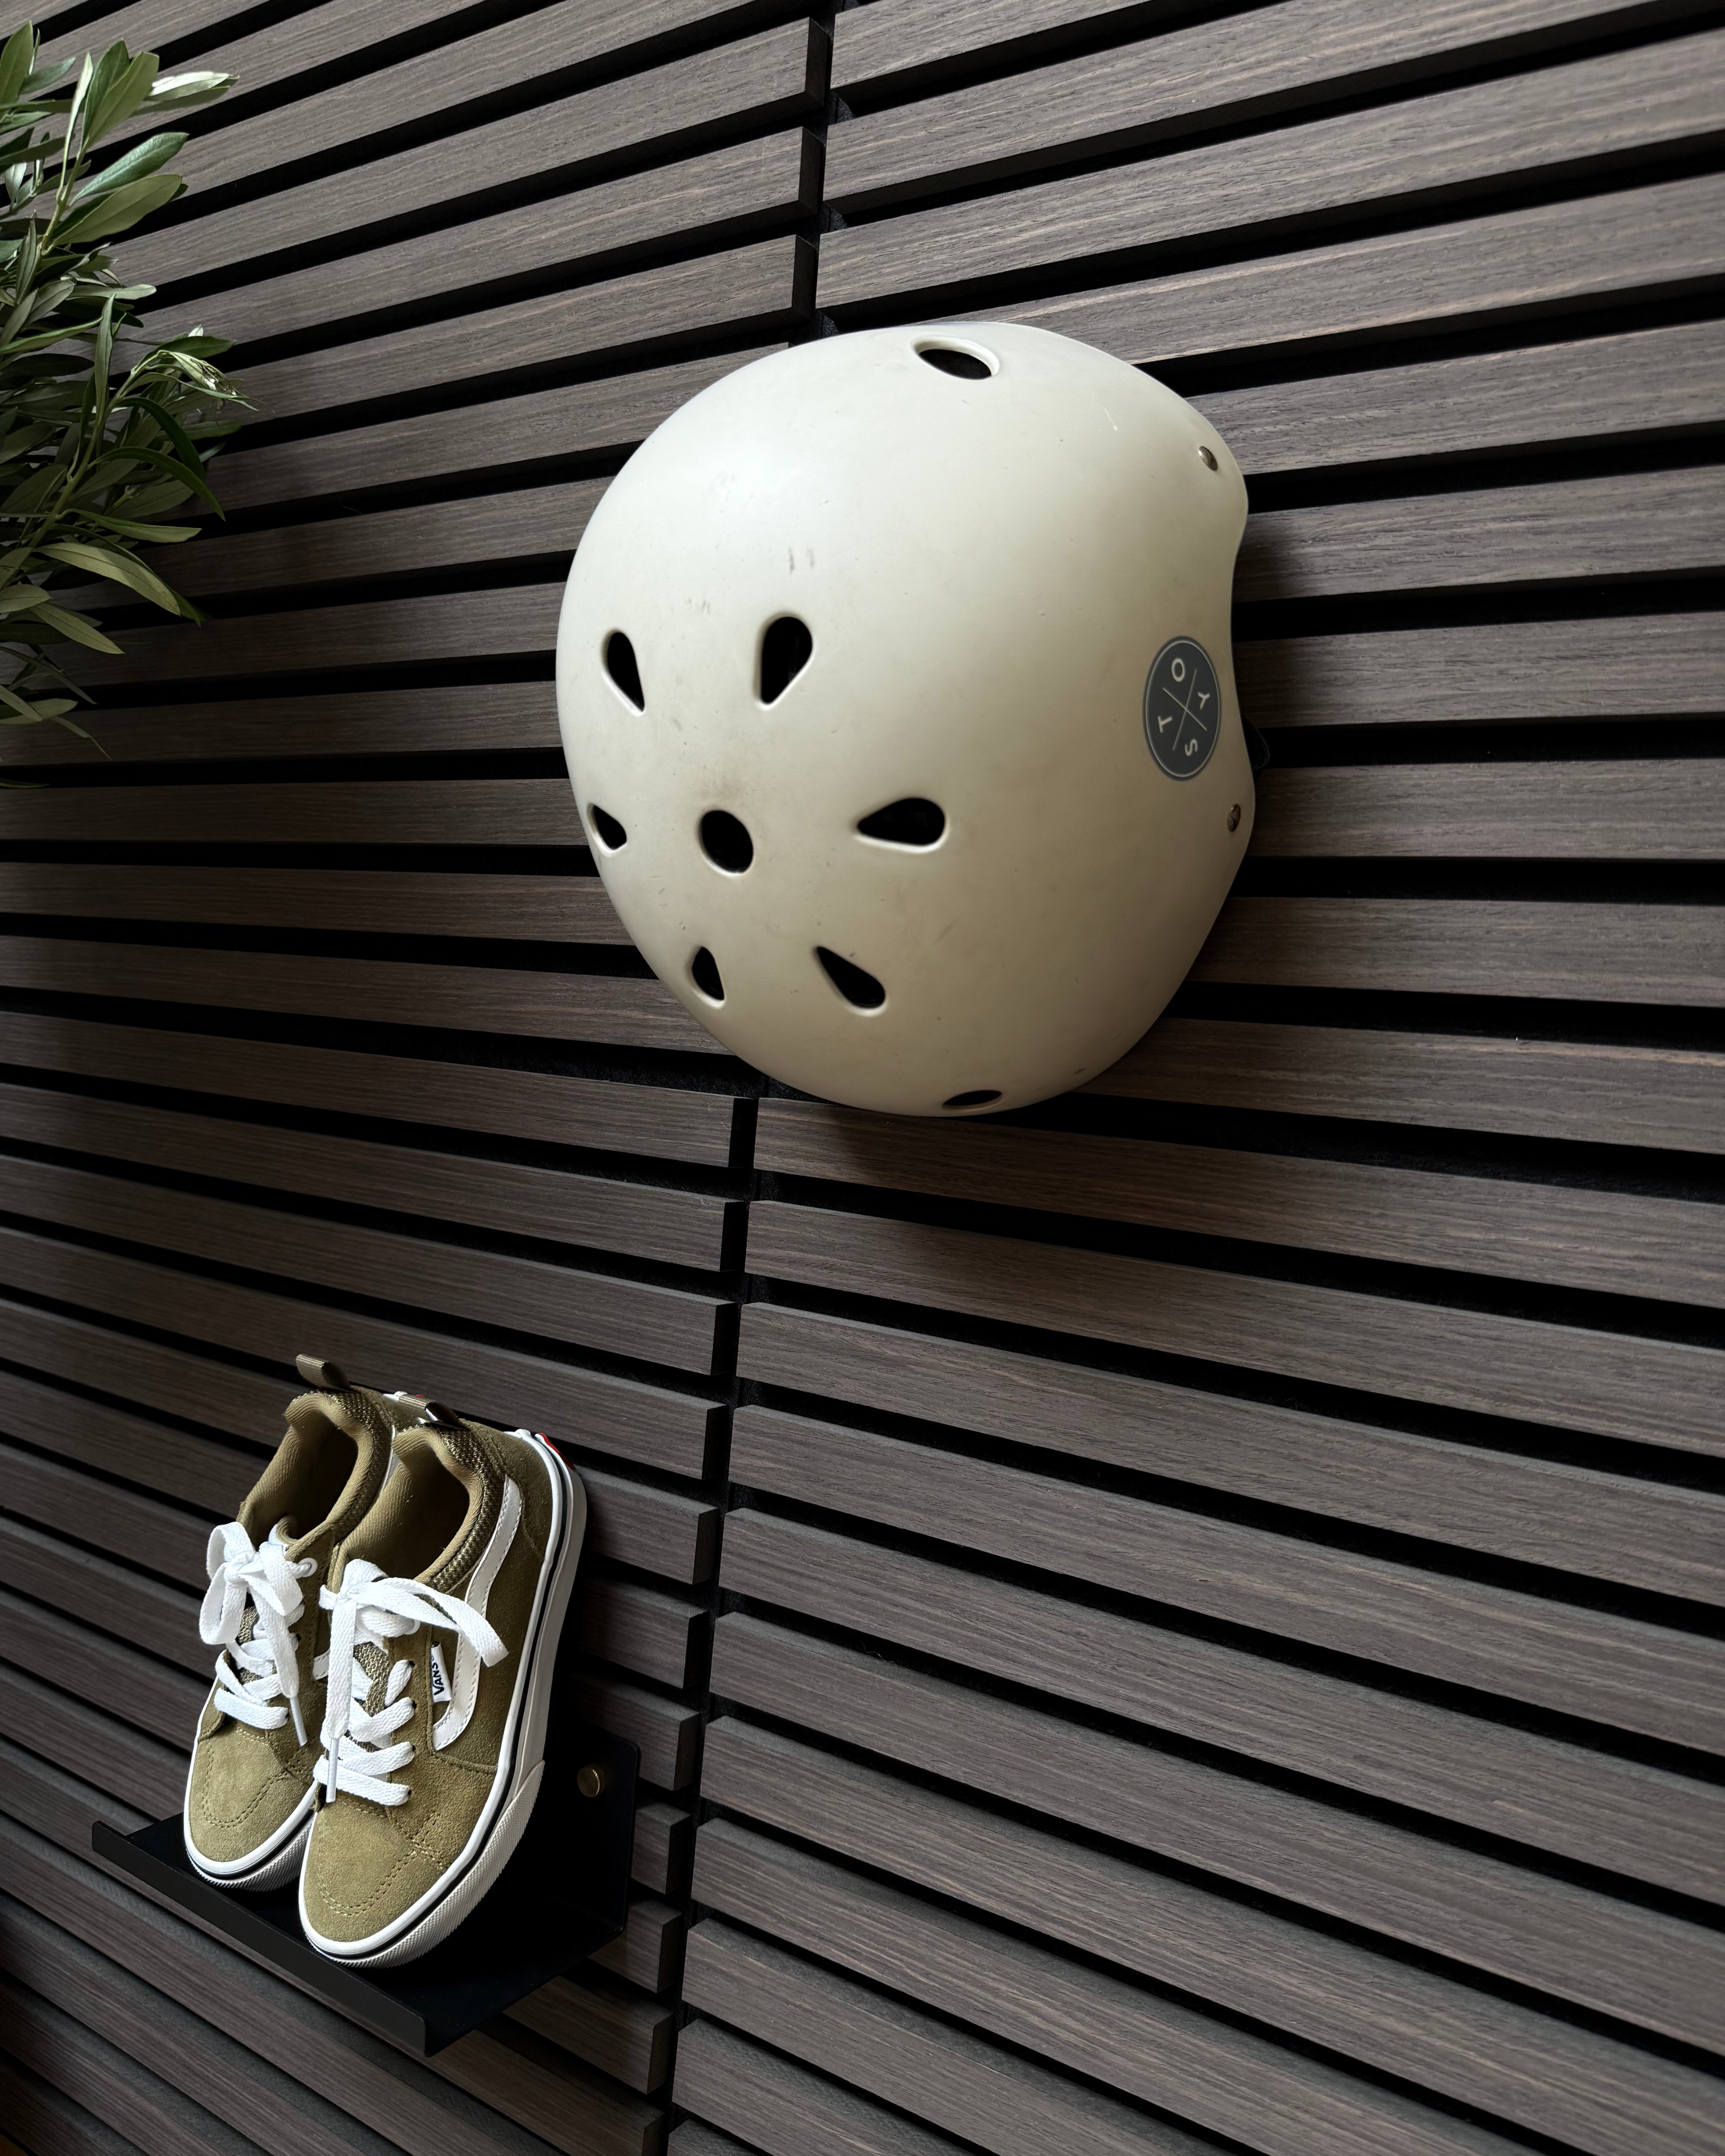
How do you create better acoustics?
Acoustics
Acoustics is about how sound moves and interacts with its surroundings. When we talk about good acoustics in a room, it often means reducing unwanted noise, minimizing echo, and creating a pleasant sound experience.
Felt absorbs sound by capturing sound waves in its open fiber structure, which reduces reverberation. The slats break up and diffuse the sound, especially when combined with a felt backing. Together, they create an effective solution for improved acoustics.
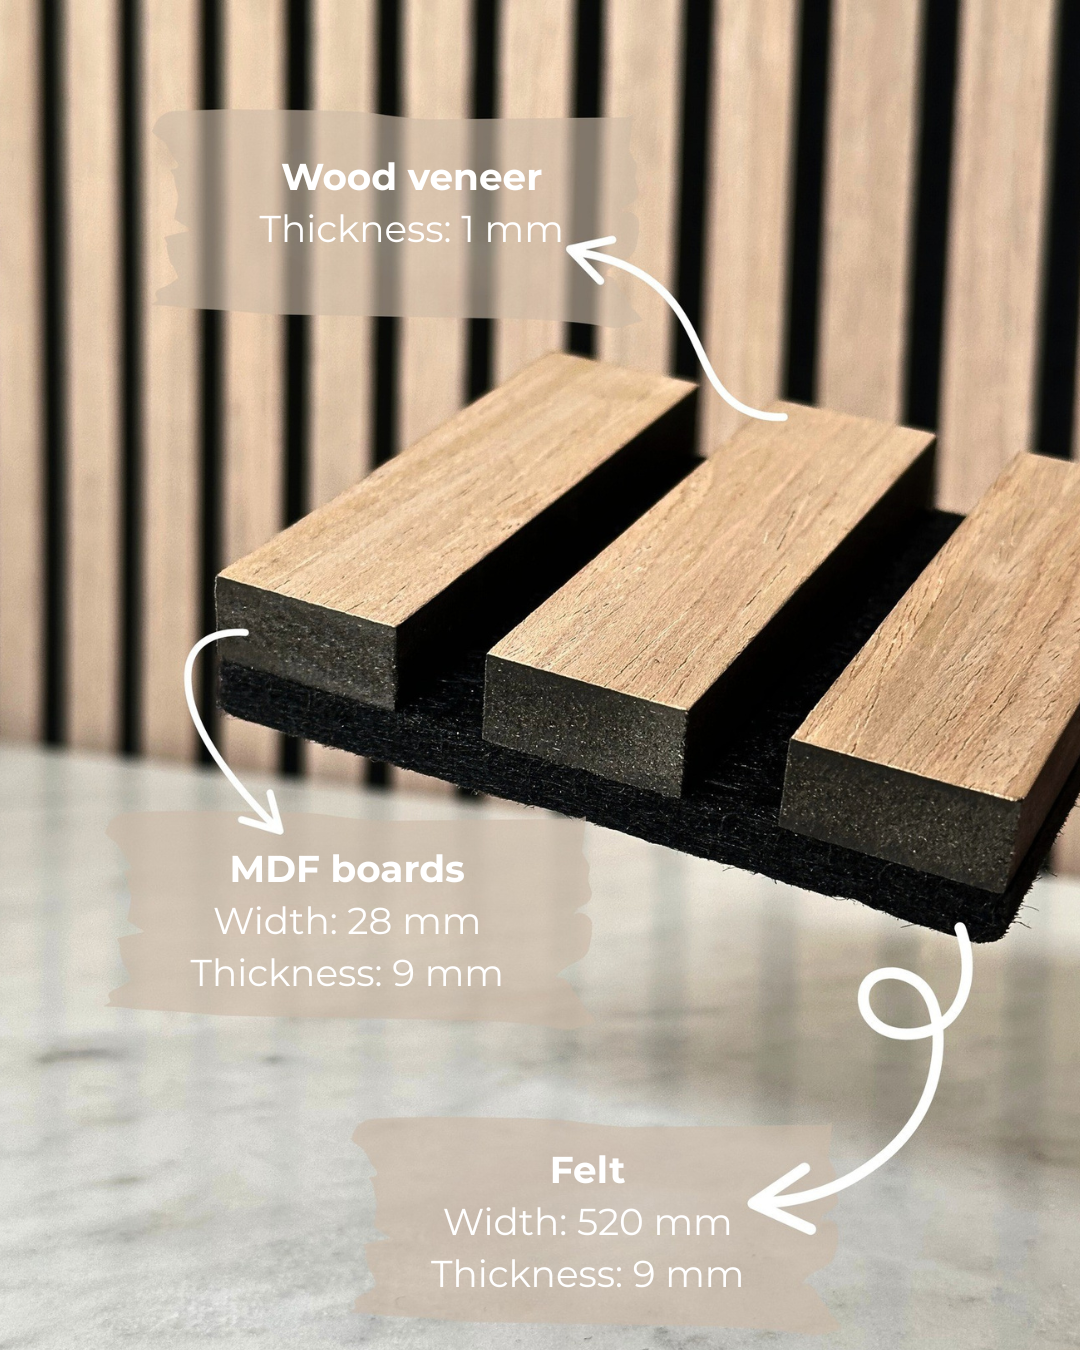
Material
MDF boards
Function
Provide stability and help absorb low-frequency sounds while also improving sound insulation.
Material
Felt
Function
Absorbs sound waves, especially high-frequency sounds, and reduces reverberation, thereby improving the room’s acoustics.
Material
Wood veneer
Function
Acoustic panel design with a wood pattern that reflects Nordic style and natural textures.
Can anyone install acoustic panels?
Easy installation
Acoustic panels are easy to install, as they can be mounted directly on the wall using screws or mounting adhesive. They are often delivered in ready-made modules that are simple to adjust and assemble. In addition, the installation requires only minimal tools, making it a quick and convenient DIY project.

FAQ
Do the panels help with acoustics?
Yes, acoustic panels improve acoustics by absorbing sound waves, which reduces sound reflections and reverberation in the room. This, in turn, makes the sound clearer and more pleasant. To achieve a noticeable effect, however, it is necessary to install several panels, especially in larger rooms, since individual panels are not sufficient to cover the full acoustic needs of a space.
How do you install panels?
To install panels correctly, you should first identify the type of wall or ceiling on which the panel will be mounted. Drywall usually requires wall plugs and screws, while masonry walls require stronger plugs and screws. For extra stability, it is a good idea to combine adhesive and screws, regardless of the wall type. Start by applying a suitable adhesive to the back of the panel, place it on the wall, and then secure it with screws to ensure it is firmly and safely attached. This guarantees that the panels will stay in place over time.
How do I cut my panels in the best way?
For the best results, we recommend using a circular saw to cut your wooden panels, although a jigsaw can also be used. To minimize the risk of splintering, you can start by scoring along the cutting line with a utility knife, which significantly reduces the chance of chipping. Any small splinters along the edges can easily be removed by lightly sanding with fine sandpaper.
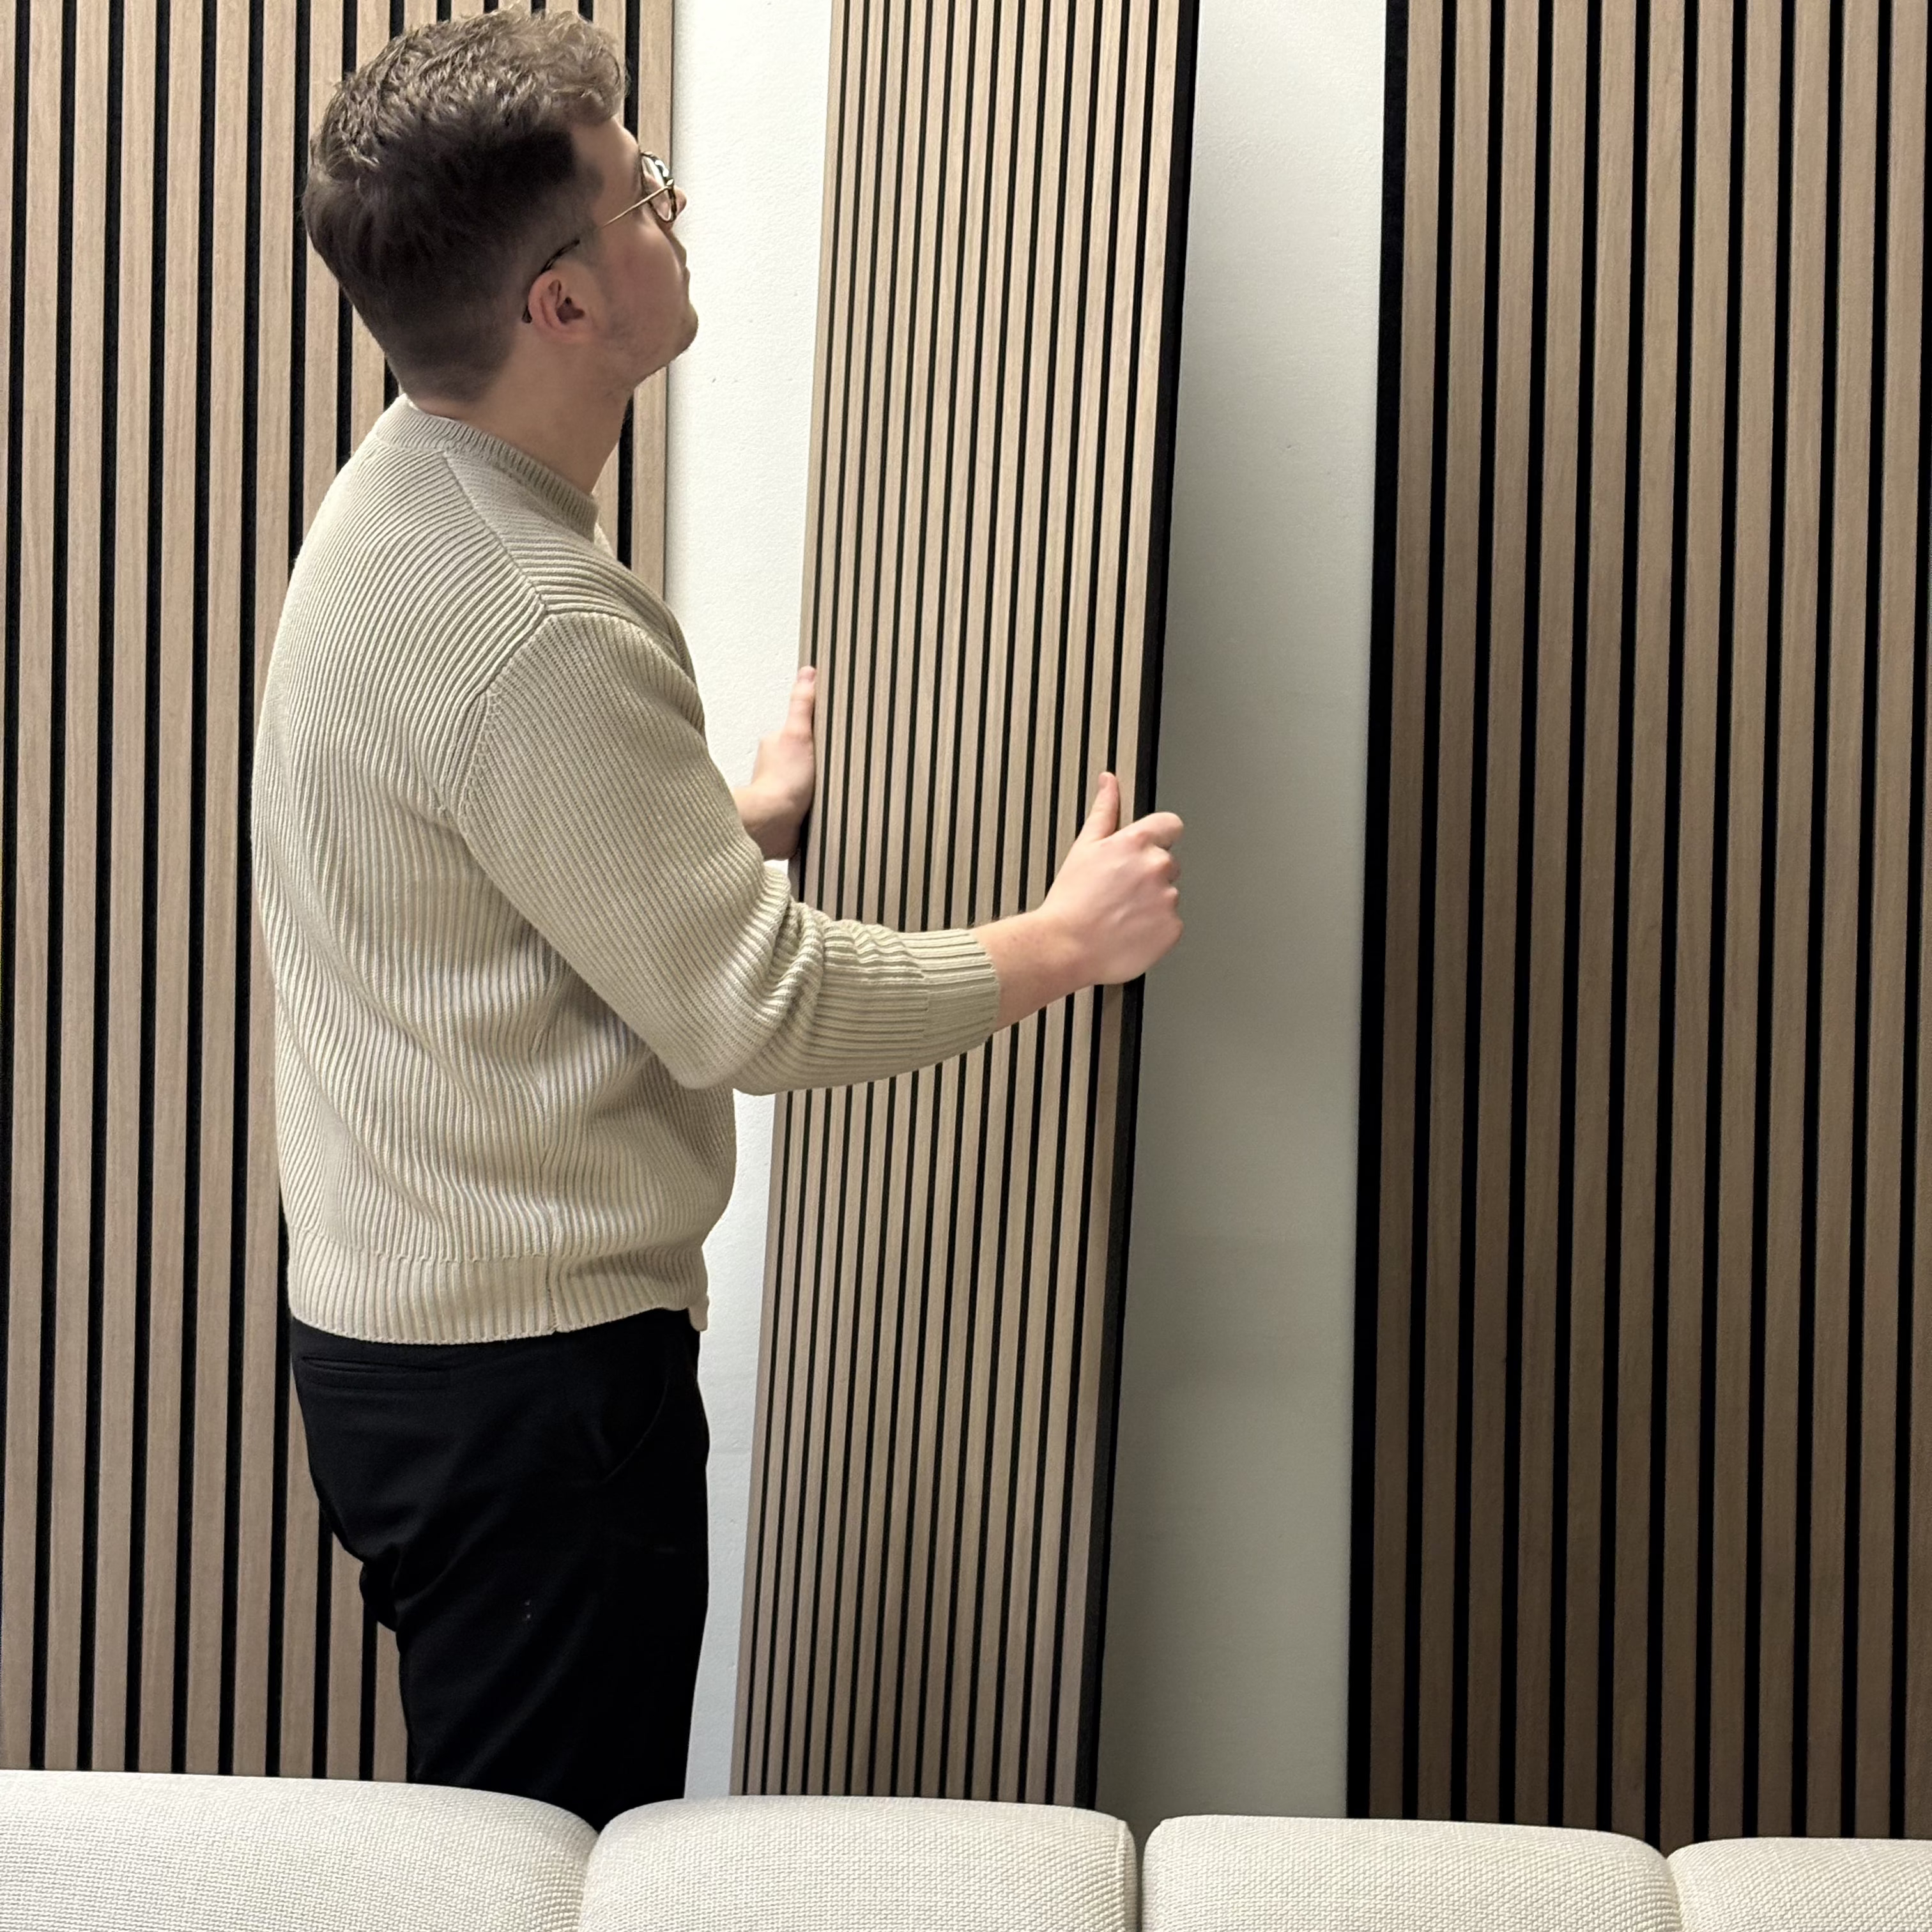
How do I connect the panels vertically?
Several of our customers have successfully placed their panels in vertical extension to create a seamless connection when the ceiling height exceeds 242 cm. Many report achieving the best results by shortening the connecting edge by 2 cm on both panels, which provides a more even and precise joint.
What is acclimatization of panels?
All our models – Premium Light Oak, Premium Light Brown Oak, Premium Smoked Oak, and Premium Black Oak – require an acclimatization period of 3–5 days. During this time, the panels should be unpacked and allowed to “breathe.” To speed up the process, you can alternate between ventilating with open windows and increasing the room temperature.
Can I install my acoustic panels outdoors?
Our panels are designed for indoor use, as the felt backing cannot withstand high levels of moisture.
How many screws are needed per panel?
We recommend using 15 screws per panel when mounting on a wall, distributed with 3 screws across the width and 5 screws along the length. For ceiling installation, we recommend 25 screws per panel, distributed with 5 screws across the width and 5 screws along the length, to ensure optimal stability.
Can the panels be glued to the wall?
Yes, it is possible to glue the panels directly to the wall, but you should be aware that the adhesive may damage the wall or wallpaper if you choose to remove the panels. When using mounting adhesive, one tube is enough for approximately 1.5 panels.
Where do we advise against installing your panels?
We generally advise against placing the panels in bathrooms due to the high humidity. We also recommend avoiding installation near wood-burning stoves, as the material may be flammable.


