


Indirect lighting behind slat panels is the interior upgrade architects love — and something anyone can easily do themselves
Why LED + Acoustic Panels?
3D effect: Acoustic panels already have a three-dimensional surface thanks to their slat structure. Indirect light from the side or above can enhance this depth — each slat casts its own shadow, turning grooves into light channels. During the day, panels look elegant; at night with LED lighting, they can become a true feature.
Ambience without ceiling lights: Indirect lighting behind panels can replace or complement the main lighting in many rooms. In the bedroom, it can replace bedside lamps (LED behind the headboard). In the living room, it can create a lounge atmosphere. At the TV wall, bias lighting (light behind the TV) may help reduce eye strain while watching films.
Cost-to-impact ratio: An LED strip can transform an already attractive panel wall into an architectural feature. Few accessories at that price point deliver such a strong visual impact.
Which LED Strip?
| Feature | Recommendation | Why |
|---|---|---|
| Color temperature | Warm white (2700–3000 K) | Cozy, complements wood, enhances the room |
| Alternative | Neutral white (4000 K) | Cleaner, brighter, can work well for home office |
| RGB (color changing) | Optional, generally not recommended | Often looks unnatural on real wood. Exception: gaming rooms |
| Brightness | 300–600 lumens/m | Enough for ambience, not glaring |
| Length | 2–5 m (depending on wall width) | Top edge or side — measure the required length |
| Mounting | Self-adhesive (3M backing) | Easiest installation, sticks to wall and panel edge |
| Dimmer | Yes, recommended | Full brightness is often too strong — 30–50% is typically enough for ambience |
Our recommendation: A warm white, dimmable LED strip (2700 K, ~500 lumens/m, self-adhesive) with remote or app control.
Where to Place the LED Strip?
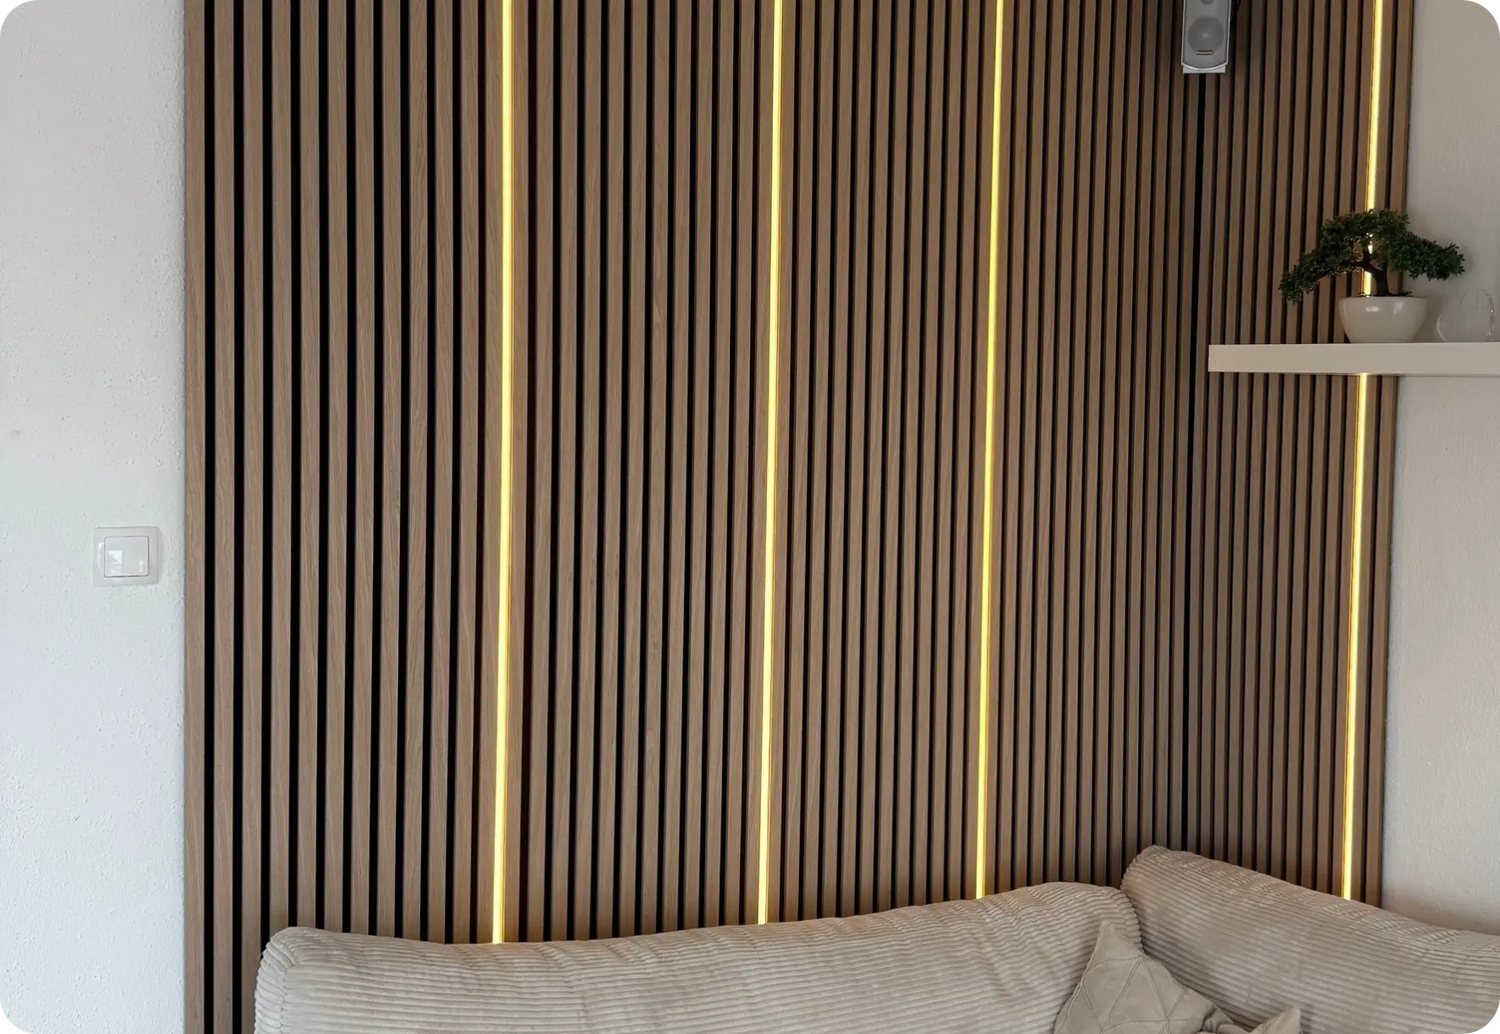
Position 1: Top edge (most popular)
The LED strip is placed on the top edge of the last panel or on the wall directly behind the panel edge. The light shines upward toward the ceiling, creating a soft halo above the entire panel wall. The slats can cast vertical shadows — often the most dramatic effect.
Often works well for: living room feature walls, TV walls, bedroom headboards.
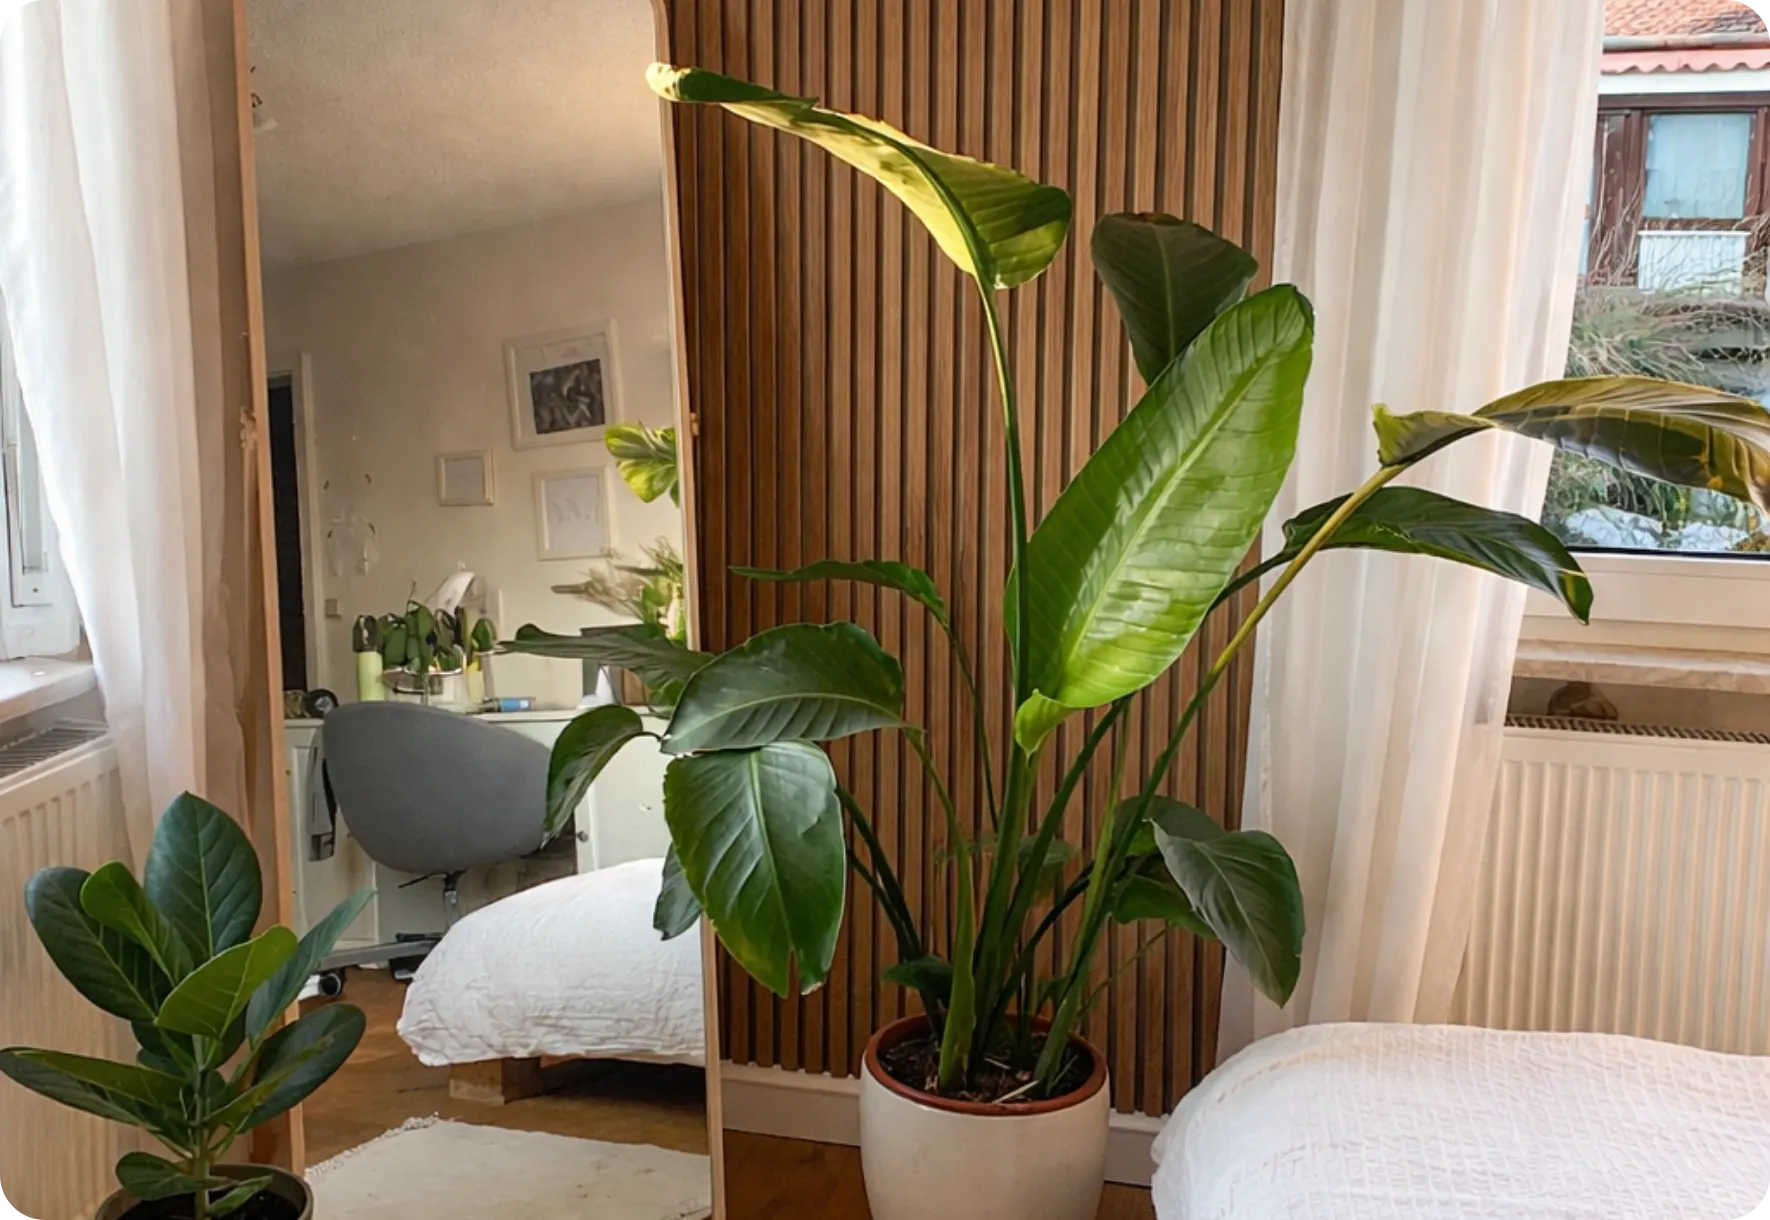
Position 2: Side (one or both sides)
The strip is placed vertically behind the left and/or right panel edge. The light spreads sideways and can emphasize the depth of the slat grooves — each groove becomes a bright line, each slat a shadow. Often especially striking on Black Oak, where contrast is strongest.
Often works well for: niches, partial wall sections, narrow panel areas.
Position 3: Bottom edge
Less common but can be very effective: the strip is placed at the baseboard and shines upward. This can create a "floating" effect — the panel wall appears to hover above the floor. Typically works only if a 2–3 cm gap is left between the panel and the floor.
Often works well for: modern minimalist spaces, hallways, entrance areas.
Position 4: All around (halo frame)
All four edges illuminated — top, bottom, left, and right. This can create a full light frame around the panel wall, turning it into a glowing architectural feature. Most complex, but often the most impressive.
Often works well for: partial wall installations, TV walls, design statements.
Installation: Step by Step
Choose where the strip will go (top, side, bottom). Measure the required length and add 10–20 cm extra — trimming is easy (at marked cut points), extending is not.
This is the crucial step: the LED strip should ideally be installed BEFORE the outermost panel is mounted. Stick the strip either directly onto the wall (1–2 cm behind the planned panel edge) or onto the back of the panel edge itself. Route the cable downward behind the panels toward the nearest power outlet.
Install the panels as normal (installation guide). The outer panel edge hides the LED strip — only the light is visible, not the strip. Ensure a 1–2 cm gap between the top edge and ceiling (or wall) so light can escape.
Turn on the LEDs and check the effect in darkness. If too bright → dim to 30–50%. If individual hotspots are visible → move the strip 1–2 cm deeper behind the edge. Ideal result: even glow with no visible light source.
Time required: approximately 15–20 minutes extra on top of normal panel installation.
Which Panel Color Works Best with LED?
| Panel color | LED effect | Recommended LED color |
|---|---|---|
| Black Oak | ⭐⭐⭐⭐⭐ strongest contrast, often the most dramatic | Warm white (2700 K) |
| Smoked Oak | ⭐⭐⭐⭐ warm, cozy, boutique hotel feel | Warm white (2700–3000 K) |
| Light Brown Oak | ⭐⭐⭐ subtle golden glow | Warm white (3000 K) |
| Light Oak | ⭐⭐⭐ subtle, less contrast in glow | Neutral white (4000 K) |
The rule of thumb: the darker the panel, the stronger the LED effect tends to be. Black Oak + warm white LED is a combination many customers find impressive. More on color selection: color guide.
Frequently Asked Questions
It is easiest to install the LED strip BEFORE mounting the outer panel. Retrofitting is possible but more difficult: you can slide a thin LED strip (5–8 mm) into the gap between panel and wall/ceiling, or mount it visibly on the top edge — less elegant, but functional.
Warm white (2700–3000 K) for living spaces — it tends to complement wood tones and can create a cozy atmosphere. Neutral white (4000 K) can work well for home offices or modern interiors. RGB (color-changing) is generally best for gaming rooms — on real wood it often looks unnatural.
Modern LED strips generate very little heat (typically max. 40–50 °C surface temperature). This is generally far below levels that could affect MDF or wood veneer. There is typically no fire risk and no material damage, even during long-term use.
Run the cable behind the panels down to the nearest outlet. The 2.1 cm installation depth generally provides enough space for a flat LED cable. Alternatively: use a cable channel along the baseboard or have an electrician place a hidden outlet behind the panels.
Conclusion: A Small Addition with a Big Impact
LED lighting behind acoustic panels is one of the strongest impact-to-effort upgrades in interior design. Around 15 minutes of work and your feature wall can transform in the evening into an architectural light element that looks like a professional design installation. If you are installing panels, planning the LEDs from the start is worth it — the effort is minimal, the potential effect is considerable.
The wall is the canvas. Light is the finishing touch.
Discover Silentwood panels → Free sample box →LED specifications, pricing and installation complexity may vary by product and retailer. Light effects depend on panel color, room conditions and LED placement. Prices mentioned in this article correspond to the current prices at the time of publication and are subject to change.


Zostaw komentarz
Ta strona jest chroniona przez hCaptcha i obowiązują na niej Polityka prywatności i Warunki korzystania z usługi serwisu hCaptcha.