


Have you ever felt that the sound in your living room is a bit too echoey, or that the décor is missing that special touch? With acoustic panels, you can solve both problems at once: create a pleasant sound environment and give your living room a modern, stylish look. Best of all, this can easily be done as a DIY project—without needing extensive handyman skills. Read on and get inspired to transform your living room with acoustic panels.
Sound and Design: Why Acoustic Panels Work in the Living Room
Living rooms in modern homes often have large open spaces, hard floors, or high ceilings, which can cause acoustic issues. Sounds from conversations, the TV, and music bounce around, creating reverberation. Acoustic panels can make a big difference: they absorb sound so it doesn’t reflect back as disturbing noise or echo. By mounting the panels strategically on the walls, you’ll immediately notice a calmer, more subdued sound environment without disruptive reverberation.
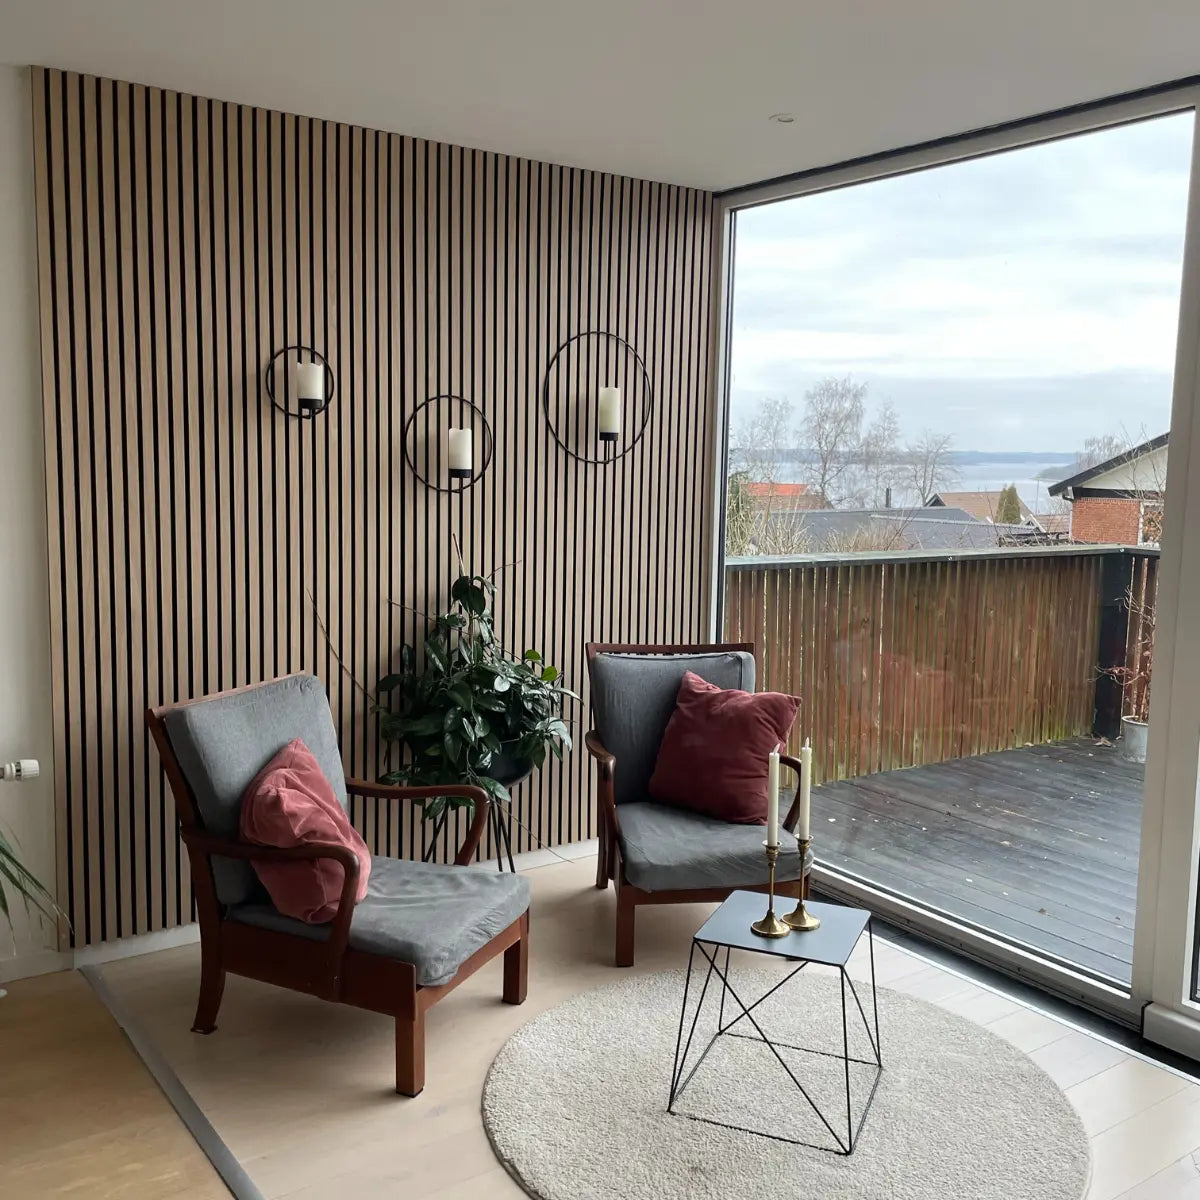
Acoustic panels have become increasingly popular in Swedish homes in recent years—and for good reason. In addition to their sound-dampening effect, they also give the home a fresh, modern look. Wooden slats in different tones fit perfectly into the Nordic interior style, which emphasises natural materials and clean lines.
How to Integrate Your TV with Acoustic Panels – Function Meets Design
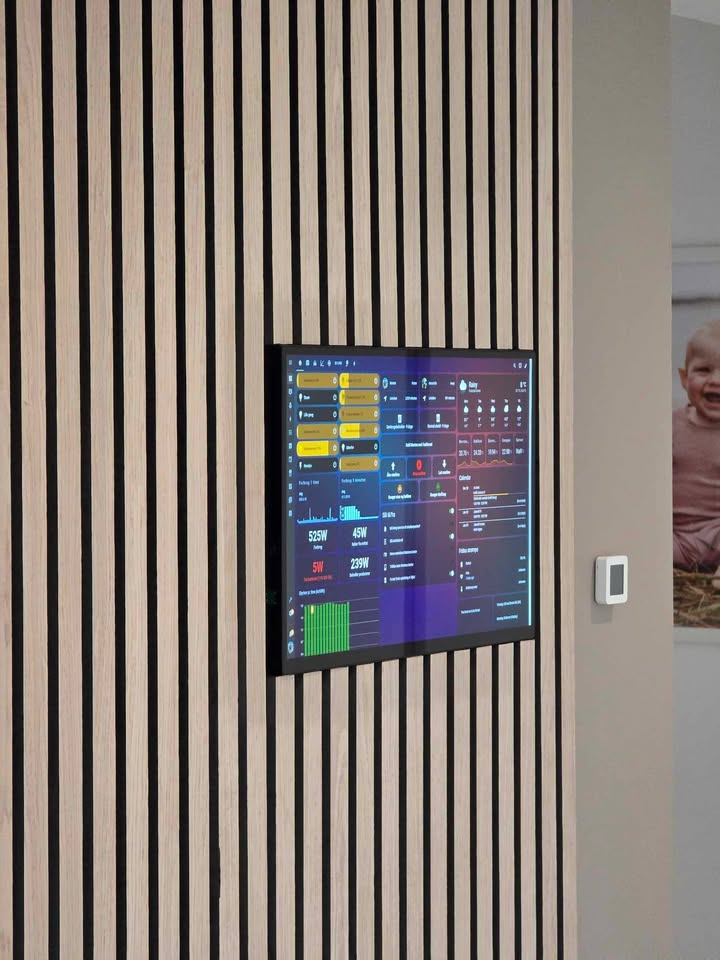
Do you have acoustic panels on the wall where your TV will be mounted? Here’s a step-by-step suggestion for mounting your TV neatly and effectively on a wall with acoustic panels:
1. Choose the right wall
First, identify the wall in the living room where the TV naturally fits—typically opposite the sofa or in a corner without too much glare from windows. The acoustic panels can cover the whole wall or just the area behind the TV as a “TV panel,” creating a defined and exclusive zone.
2. Mount the panels first – not afterwards
Always install the acoustic panels before hanging up the TV. This ensures a clean finish without having to work around the wall bracket later. Mark the TV’s placement and, if necessary, cut a small hole in the panels where the bracket will be fixed to the wall behind. Panels can be easily cut with a fine-tooth saw or multi-cutter.
3. Screw through the panels
Use strong wall plugs and screws, and mount your TV bracket through the acoustic panels into the wall behind. Acoustic panels are typically made with wooden slats on a felt or MDF backing, which is easy to drill through. Measure carefully and use a spirit level—a crooked TV is especially noticeable against a wall with vertical slats.
4. Hide the cables elegantly
Use cable covers behind the panels or route cables through the felt layer so they don’t hang visibly under the TV. Alternatively, cut a small channel behind the panels and run cables inside the wall for a completely clean, floating look.
5. Consider lighting or framing
Want to take it a step further? Add a slim LED strip behind the TV or along the edge of the acoustic panels for a floating light effect—adding both depth and warmth. You can also frame the area with a black trim or painted border to enhance contrast and make the TV zone stand out even more.


Leave a comment
This site is protected by hCaptcha and the hCaptcha Privacy Policy and Terms of Service apply.