


Felszerelés és inspiráció
Hogyan zajlik a felszerelés?
Az akusztikus falpanelek felszerelési folyamata
Miután megkaptad az akusztikus falpaneleket, kezdd azzal, hogy kicsomagolod őket a dobozokból. Ha még nem döntötted el, melyik felületre szeretnéd felszerelni a paneleket, most érdemes megtenned. A helyes felszereléshez először azt kell meghatároznod, milyen típusú falra vagy mennyezetre kerülnek. A gipszkarton falak általában tipliket és csavarokat igényelnek, míg a falazott falak erősebb tipliket és csavarokat. A nagyobb stabilitás érdekében minden falfelületnél ajánlott a ragasztást és a csavarozást kombinálni.
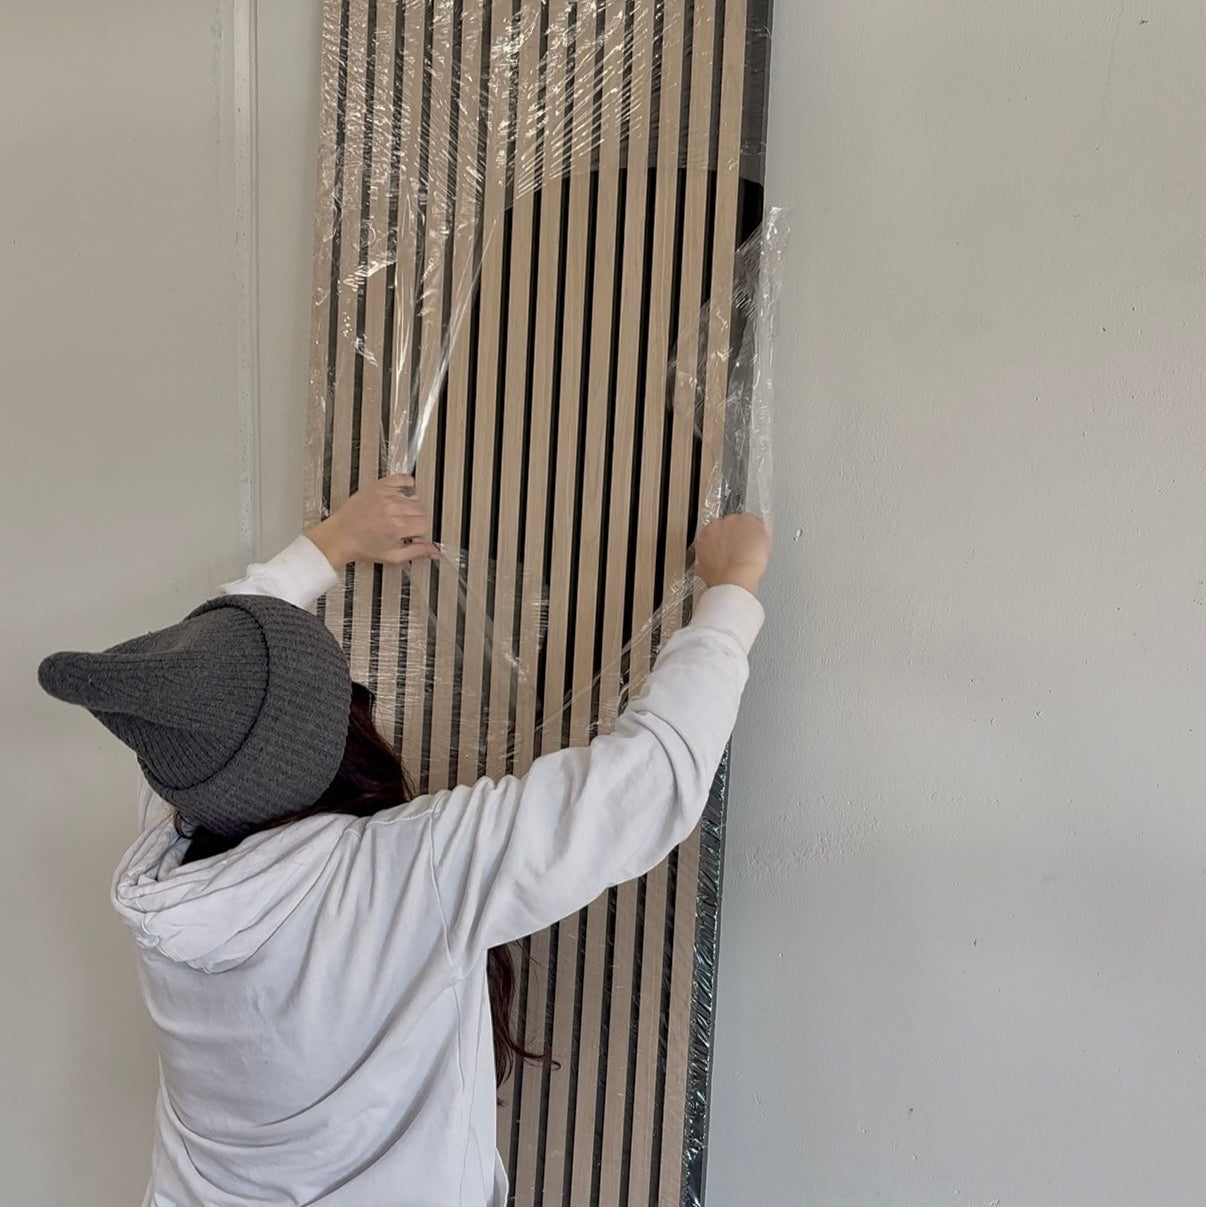
Akklimatizálja a paneljeit
A panelek akklimatizálása
Minden modellünk – Premium Light Oak, Premium Light Brown Oak, Premium Smoked Oak és Premium Black Oak – 3–5 napos akklimatizációs időt igényel. Ez idő alatt a paneleket ki kell csomagolni, és hagyni kell, hogy „lélegezzenek”. A folyamat felgyorsítása érdekében váltogathatja a helyiség szellőztetését (ablaknyitással) és a szoba hőmérsékletének növelését.
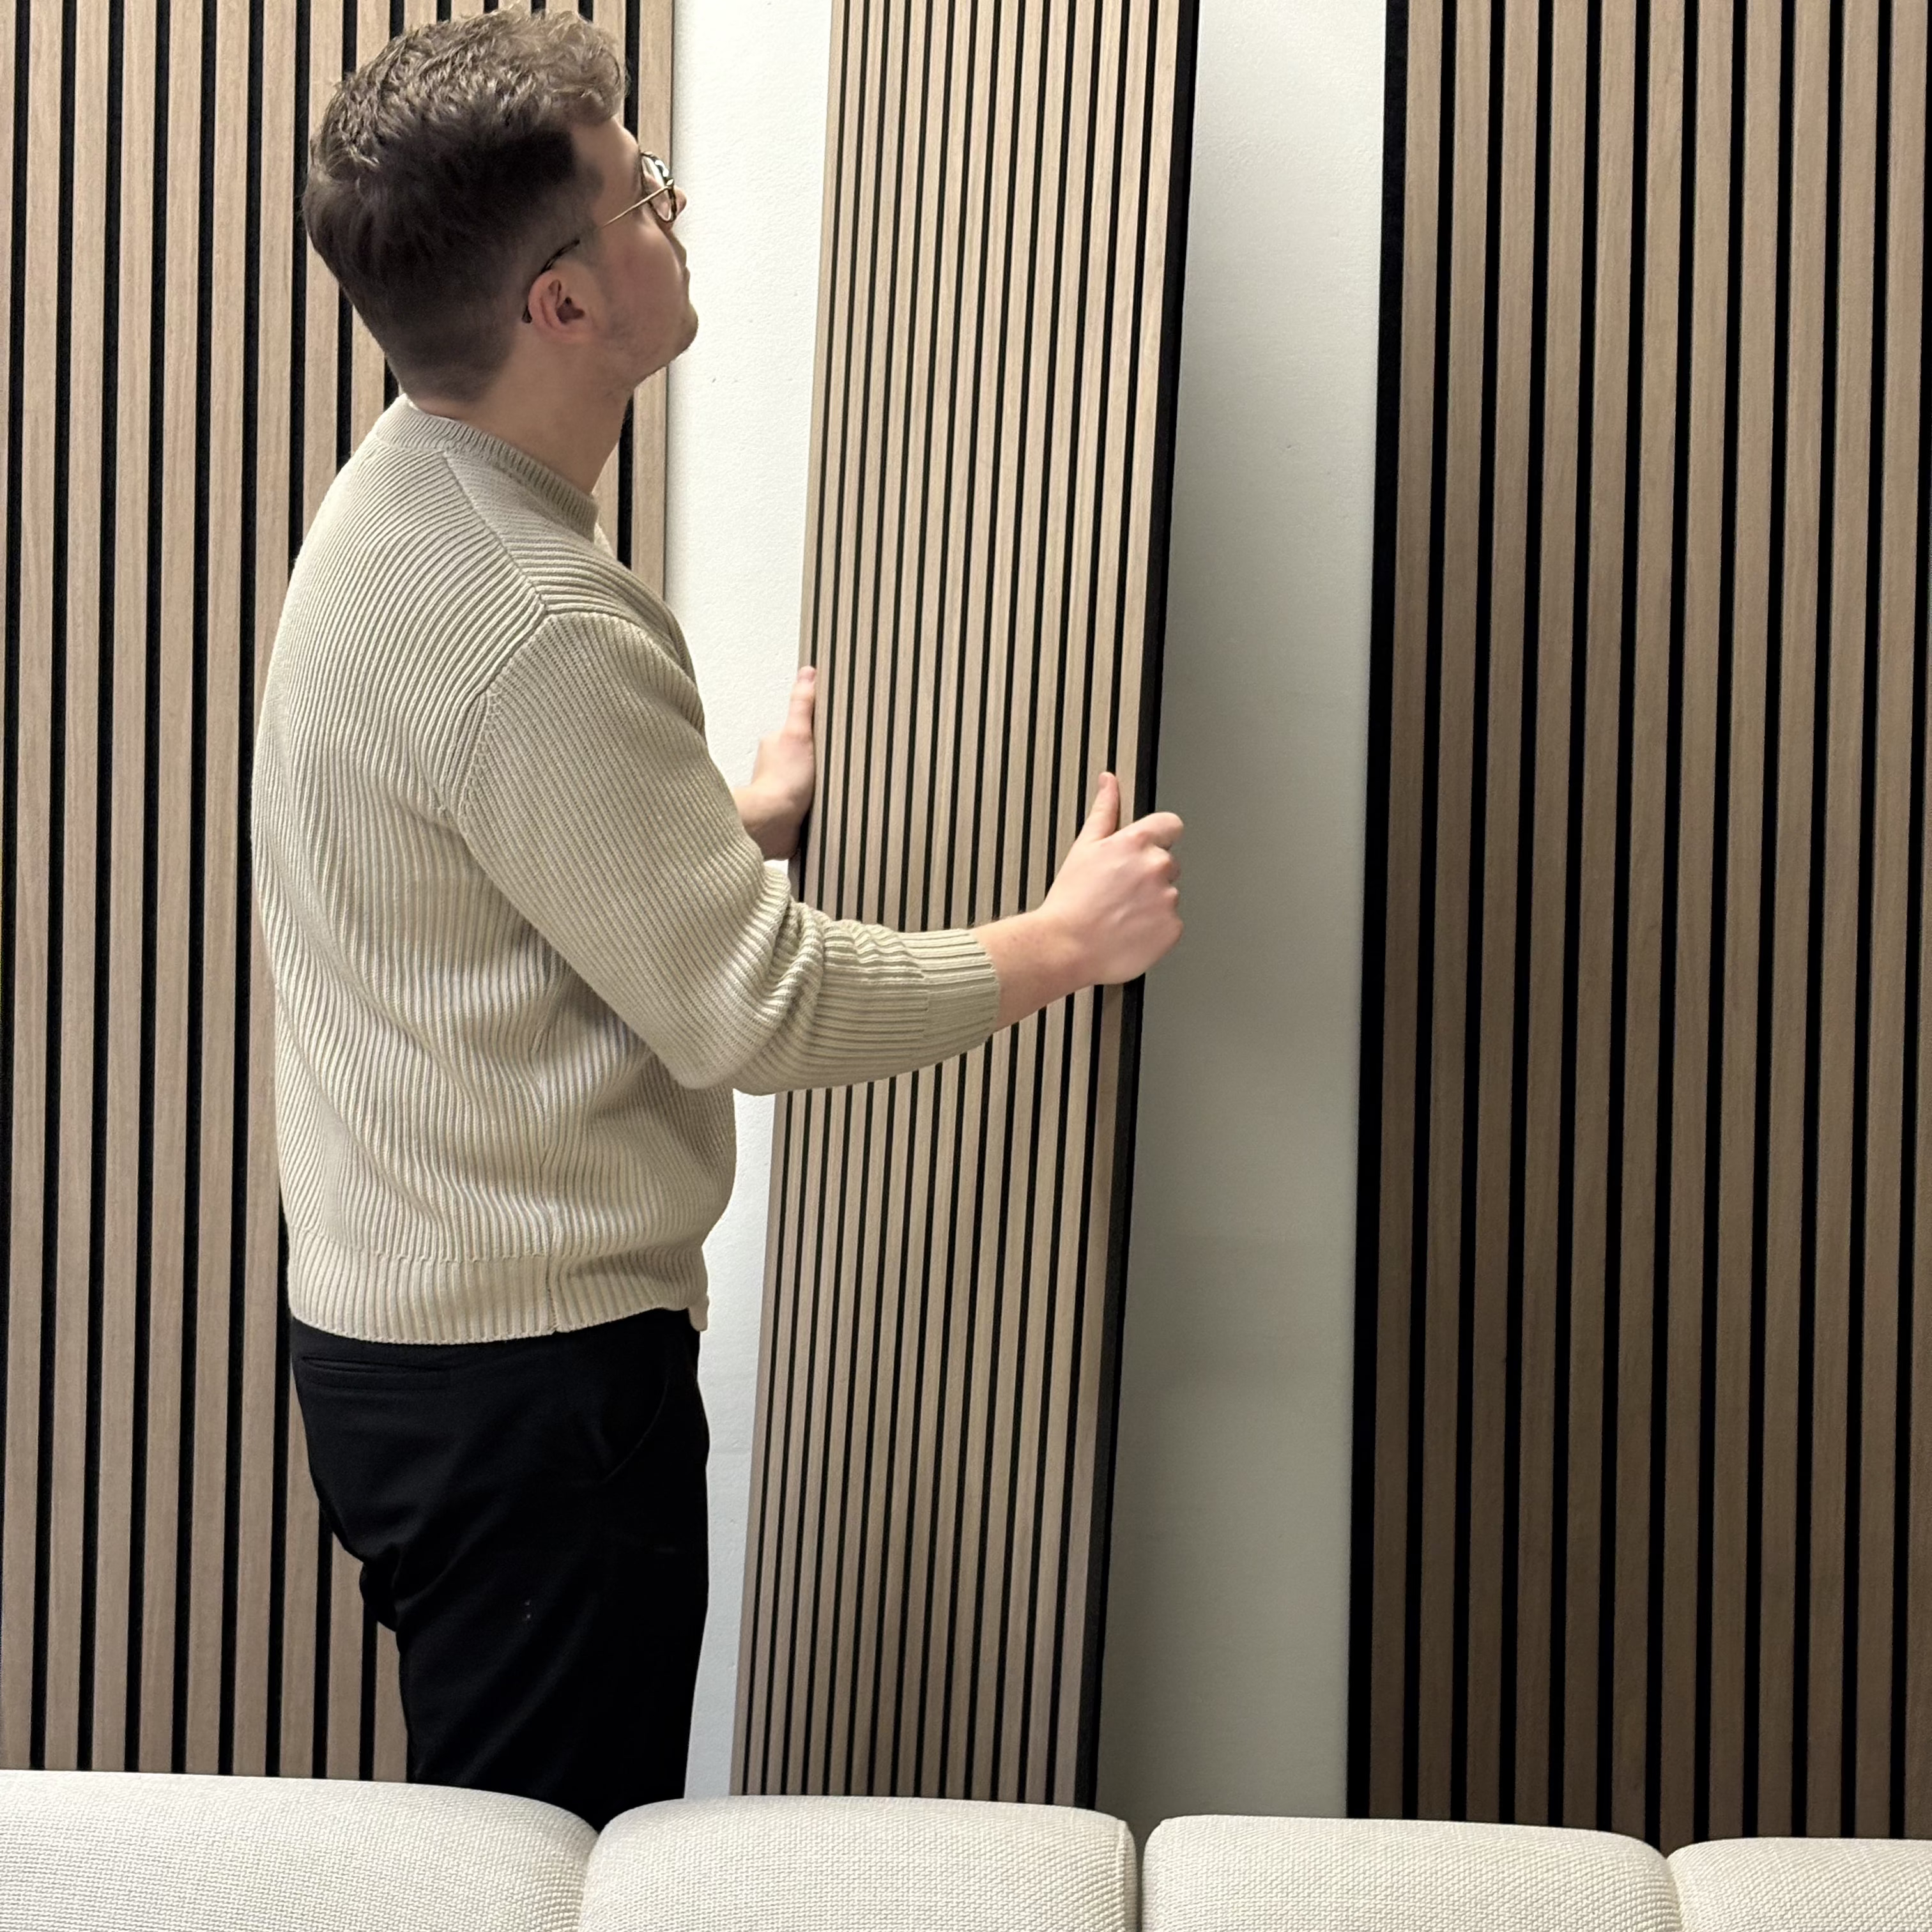
Mérés és igazítás
Előkészületek
Az első lépés a felület előkészítése, ahová a paneleket felszereled. Tisztítsd meg a felületet, és távolíts el minden akadályt, például csavarokat vagy szögeket. Ezután mérd le azt a területet, ahová a panelek kerülnek, és vágd őket a kívánt méretre. A legjobb eredmény érdekében a fa panelek vágásához körfűrész használatát javasoljuk, de dekopírfűrész is alkalmas. A szilánkosodás kockázatát csökkentheted, ha sniccerrel elővágod a vágási vonalat, ami jelentősen mérsékli a lepattogások esélyét. Az esetlegesen megjelenő apró szilánkokat finom szemcséjű csiszolópapírral könnyedén eltávolíthatod.
Szerelje fel a paneljeit
Telepítés
Miután megtisztítottad a felületet, és a paneleket a megfelelő méretre vágtad, vigyél fel megfelelő szerelőragasztót a panel hátoldalára, majd helyezd fel a falra, és rögzítsd csavarokkal, hogy biztosan és stabilan a helyén maradjon. Ez garantálja, hogy a panelek hosszú távon is biztonságosan rögzítve maradjanak.
A panelek telepítése
Akusztikus falpanelek felszerelése előtt/után
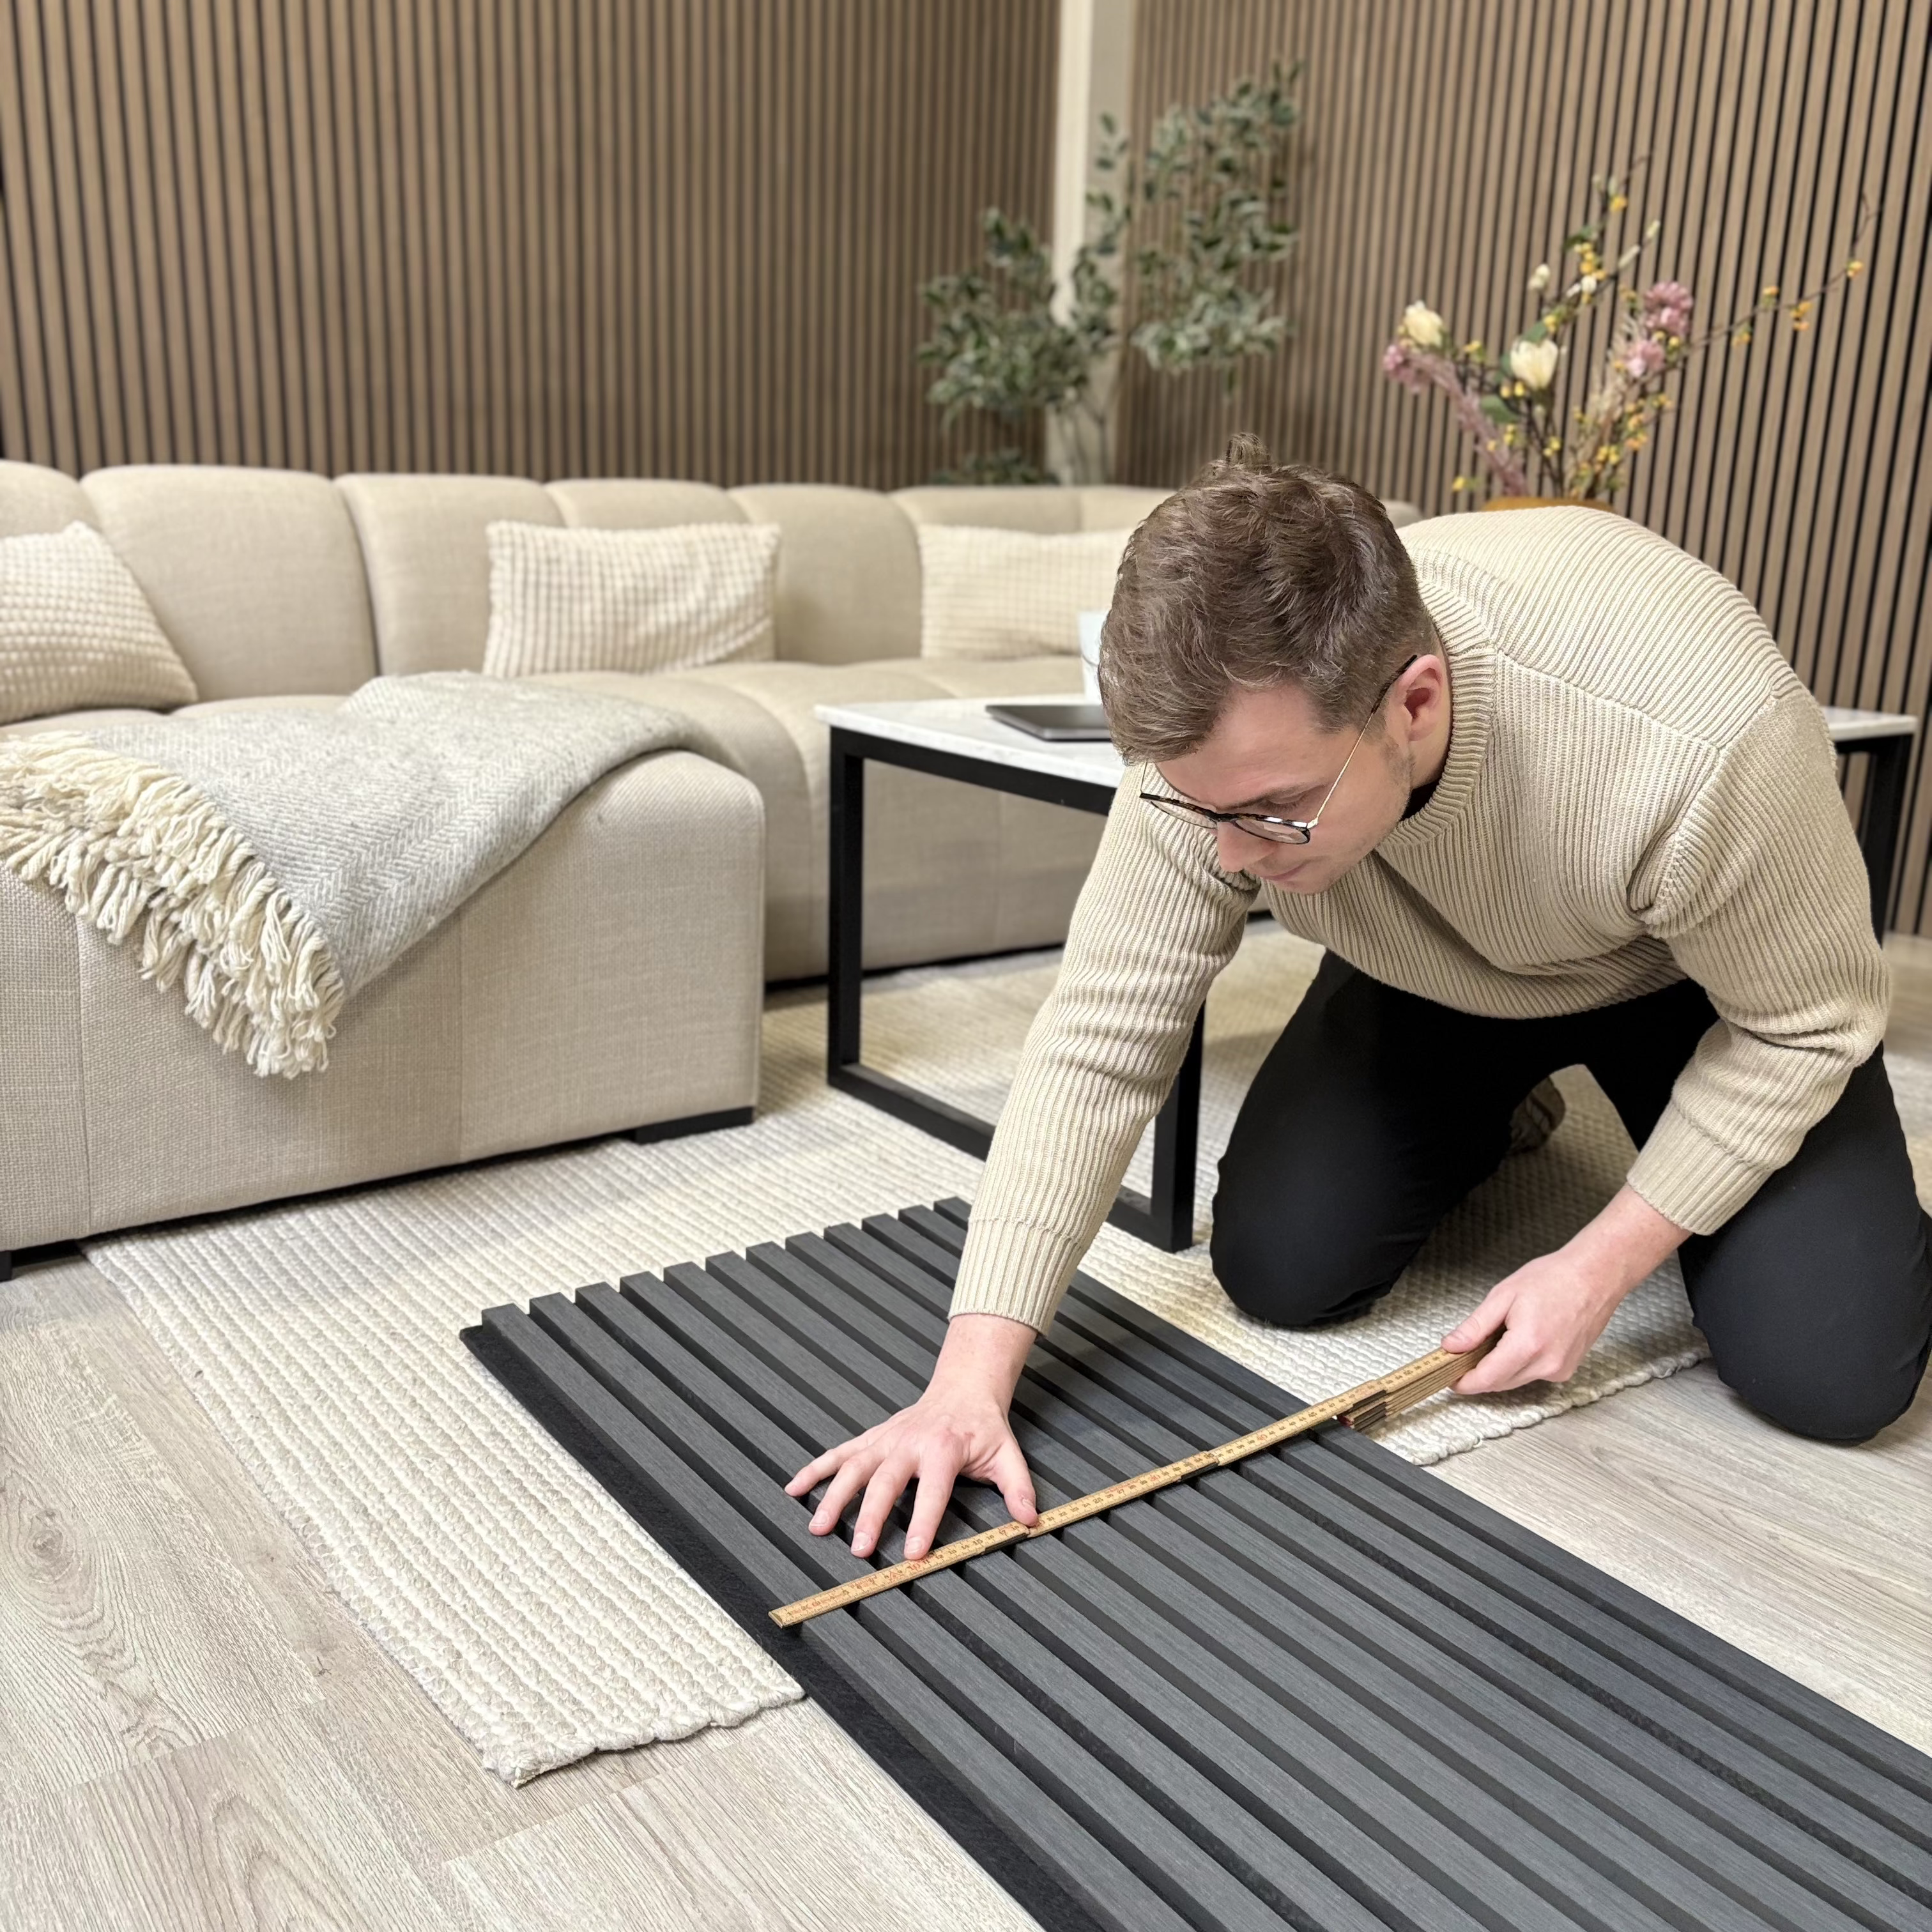
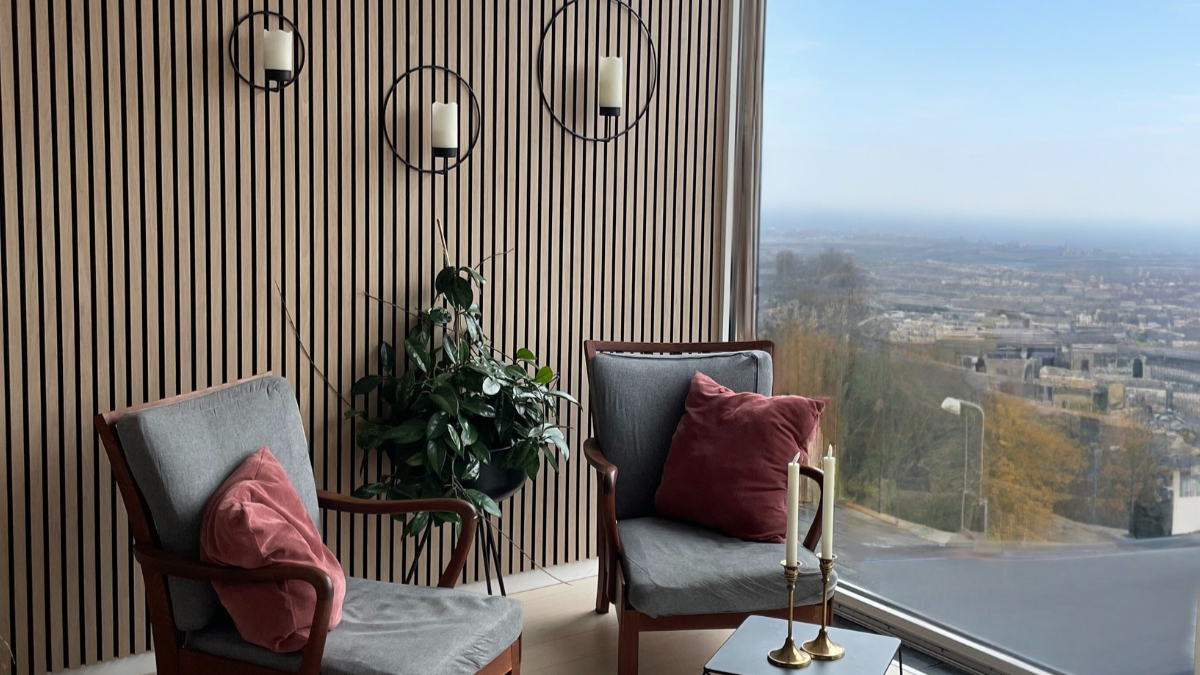
Itt láthatsz egy példát arra, hogyan néz ki egy helyiség az akusztikus falpanelek felszerelése előtt és után. Az akusztika egyértelmű javulása mellett megtapasztalhatod azt a meleg és hívogató hangulatot is, amelyet a természetes fa megjelenése ad a térnek.
Az akusztikus falpanelek hatékonyan elnyelik a hangot, és kellemesebb hangkörnyezetet teremtenek, miközben a fa meleg tónusai otthonos és természetes érzetet kölcsönöznek. Ennek köszönhetően a helyiség egyszerre lesz funkcionális és esztétikailag vonzó – egy olyan kombináció, amely a mindennapokban és különleges alkalmakkor is gyorsan észrevehető.

Előtte

Utána
Hogyan lehet jobb akusztikát létrehozni?
Akusztika
Az akusztika arról szól, hogyan terjed és hogyan lép kölcsönhatásba a hang a környezetével. Amikor egy helyiség jó akusztikájáról beszélünk, ez általában a nem kívánt zaj csökkentését, a visszhang minimalizálását és egy kellemes hangélmény megteremtését jelenti.
A filc elnyeli a hangot azáltal, hogy nyitott roststruktúrájába befogja a hanghullámokat, így csökkenti a visszaverődést. A lécek megtörik és szórják a hangot, különösen akkor, ha filc hátlappal vannak kombinálva. A két elem együtt hatékony megoldást nyújt a jobb akusztika eléréséhez.
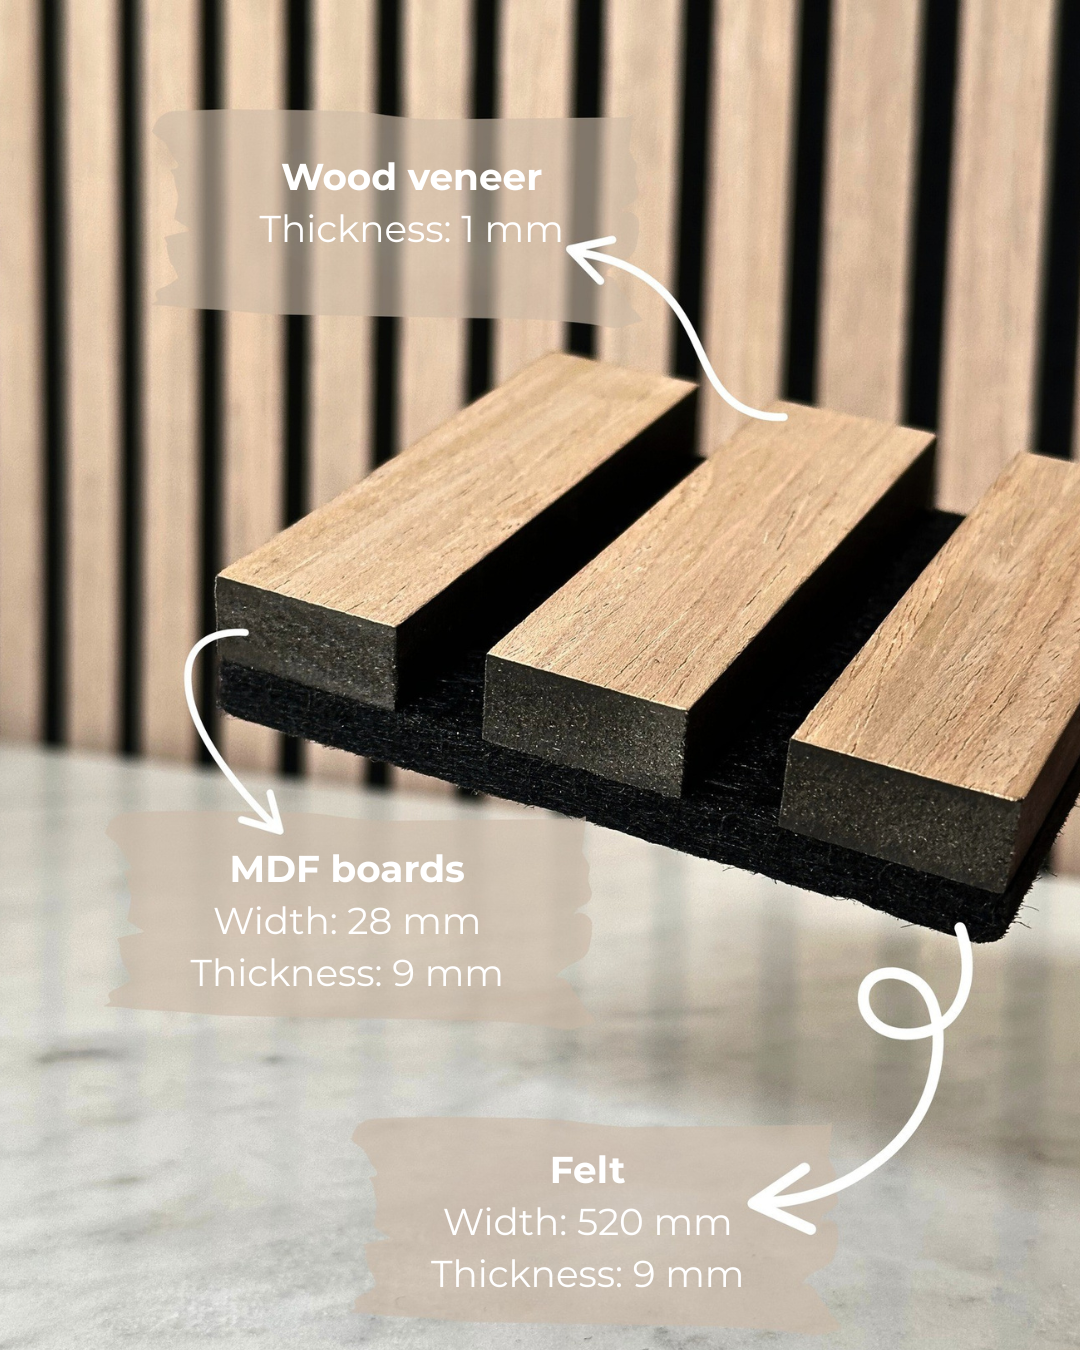
Anyag
MDF lapok
Funkció
Stabilitást biztosítanak, segítenek elnyelni az alacsony frekvenciájú hangokat, és javítják a hangszigetelést.
Anyag
Filc
Funkció
Elnyeli a hanghullámokat – különösen a magas frekvenciájú hangokat –, és csökkenti a visszhangot, ezáltal javítja a helyiség akusztikáját.
Anyag
Fa furnér
Funkció
Fa mintázatú akusztikus panel kialakítás, amely a skandináv stílust és a természetes textúrákat tükrözi.
Bárki fel tudja szerelni az akusztikus paneleket?
Egyszerű felszerelés
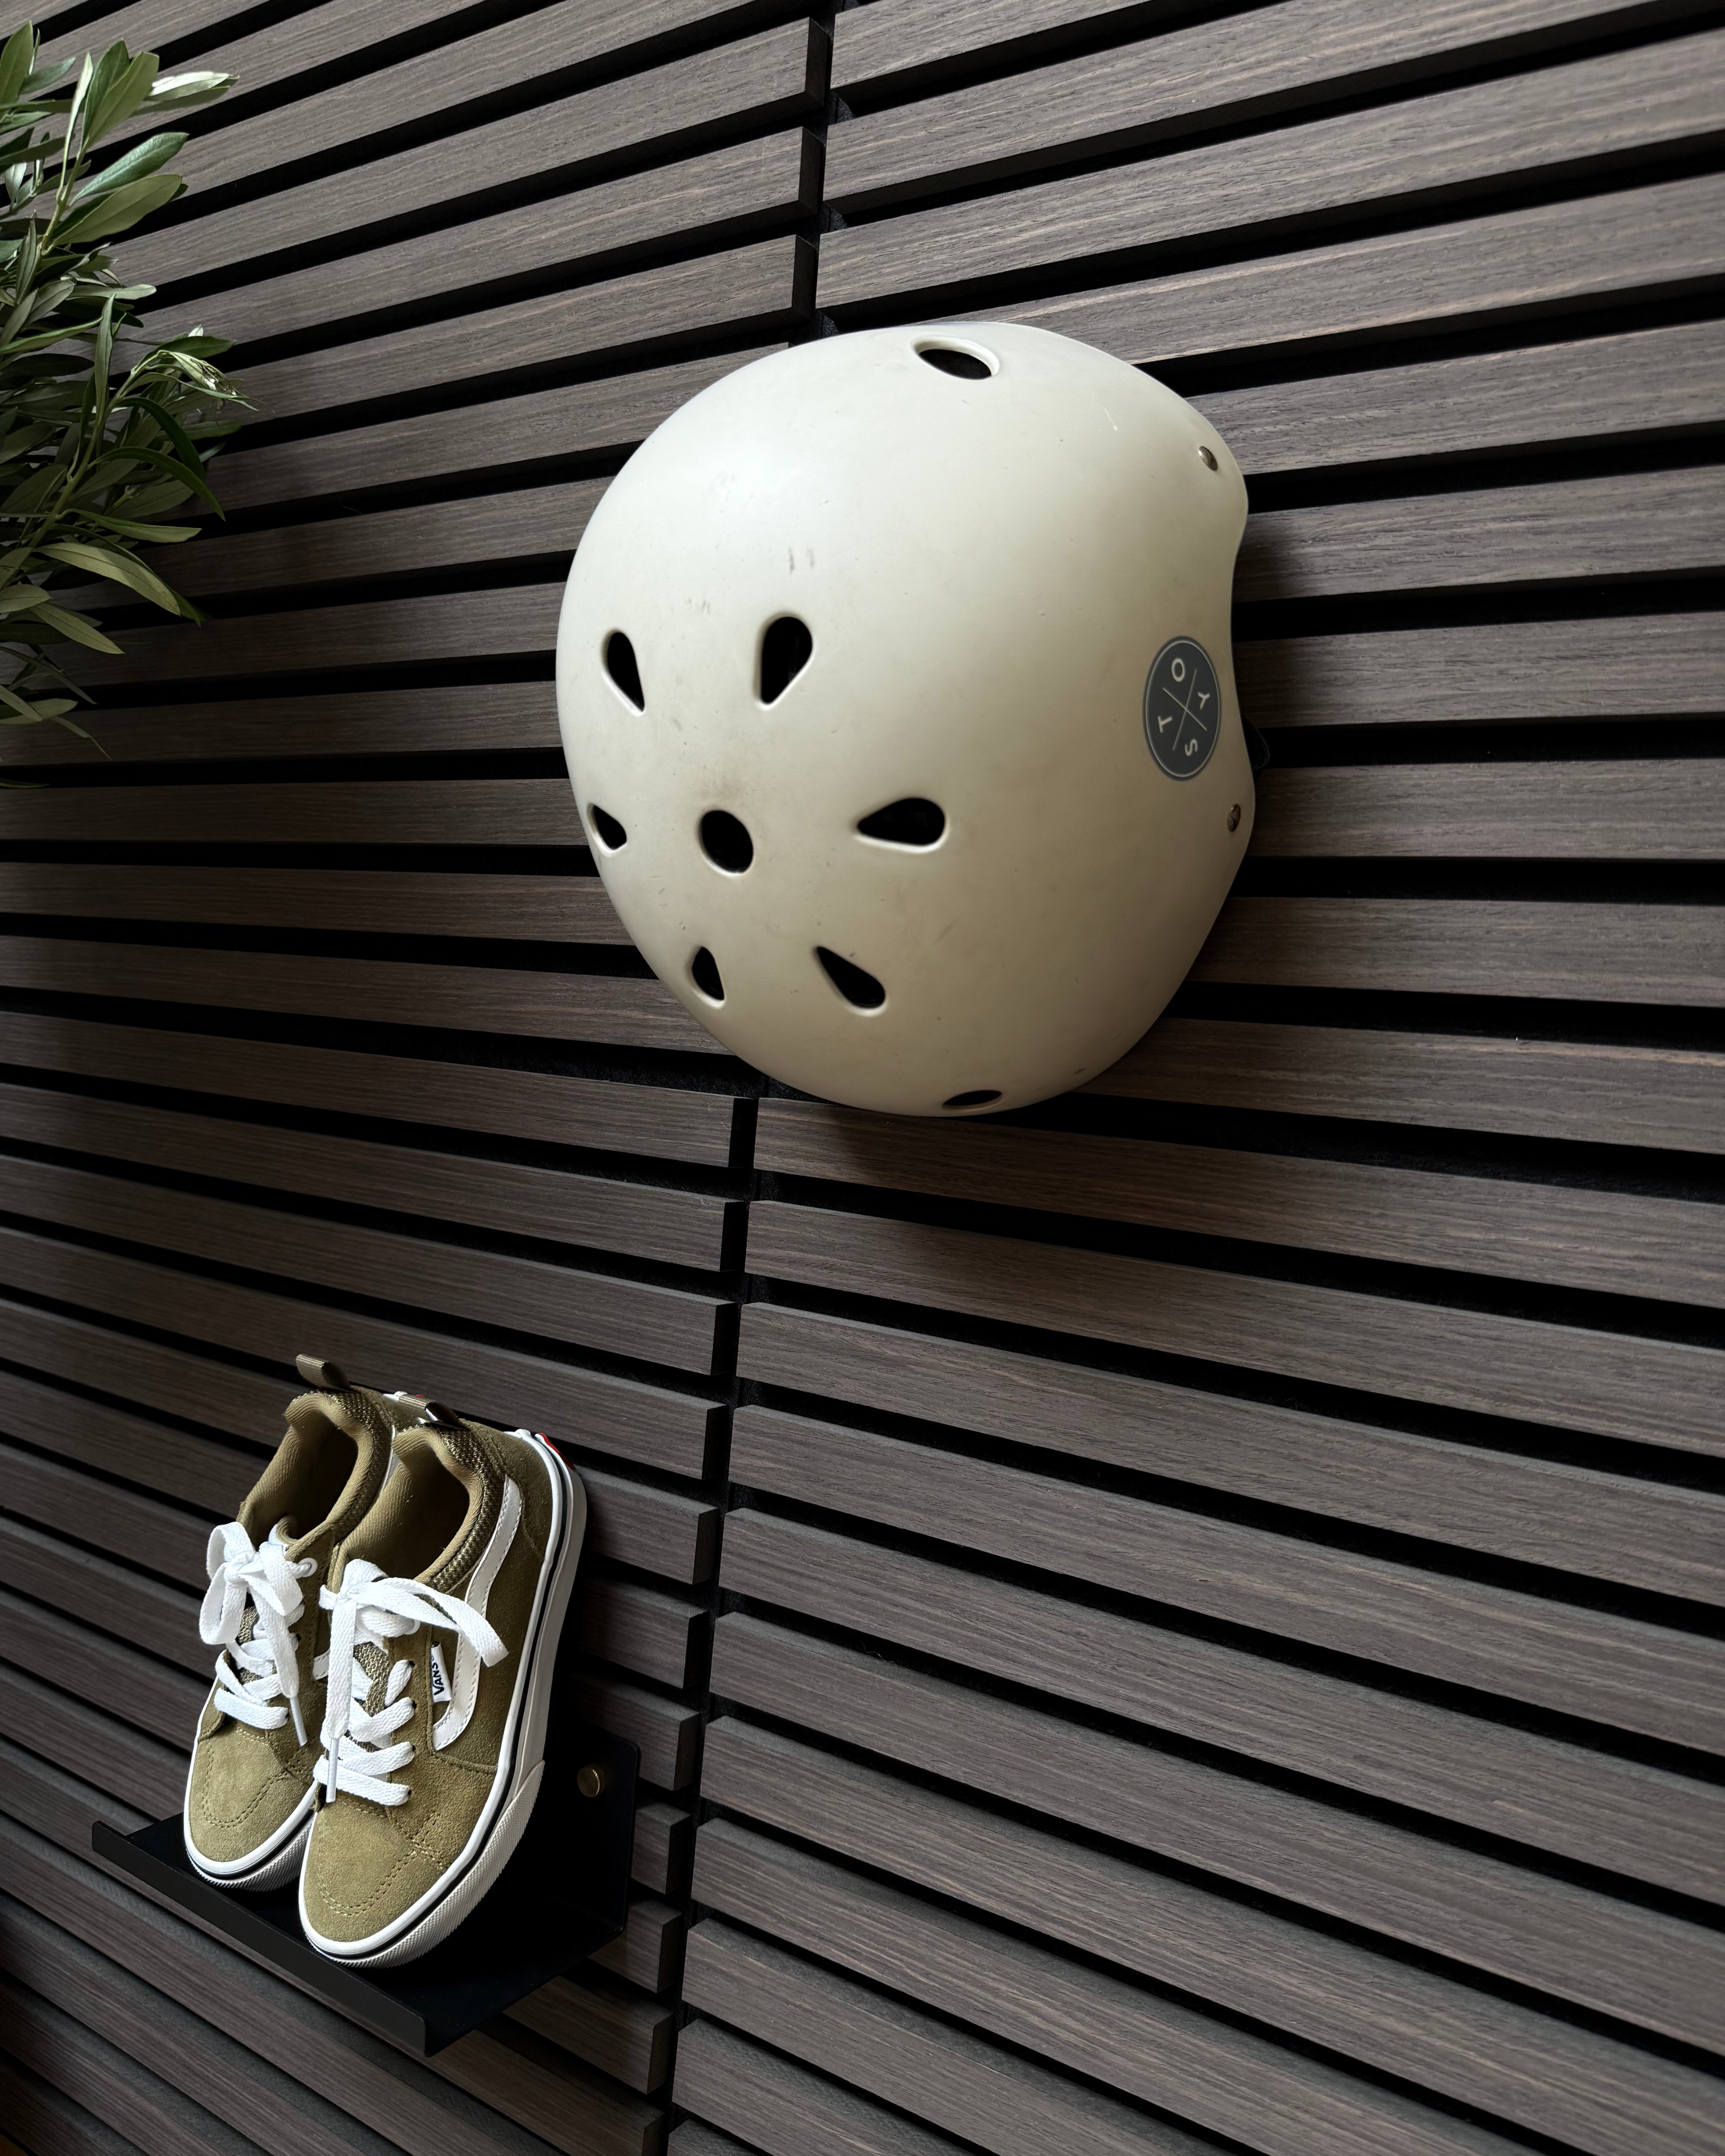
Az akusztikus panelek könnyen felszerelhetők, mivel közvetlenül a falra rögzíthetők csavarokkal vagy szerelőragasztóval. Gyakran előre összeállított modulokban érkeznek, amelyek egyszerűen méretre igazíthatók és összeilleszthetők. Emellett a felszereléshez csak minimális szerszámokra van szükség, így gyors és kényelmes barkácsprojektet jelentenek.

GYIK
Segítenek a panelek az akusztikán?
Igen, az akusztikus panelek javítják az akusztikát azáltal, hogy elnyelik a hanghullámokat, ami csökkenti a hangvisszaverődést és a visszhangot a helyiségben. Ennek hatására a hang tisztábbá és kellemesebbé válik. A jól érzékelhető eredményhez azonban több panel felszerelése szükséges – különösen nagyobb terekben –, mivel egyetlen panel önmagában nem elegendő egy helyiség teljes akusztikai igényének lefedéséhez.
Hogyan kell felszerelni a paneleket?
A panelek helyes felszereléséhez először határozd meg, milyen típusú falra vagy mennyezetre kerülnek. A gipszkarton falak általában tipliket és csavarokat igényelnek, míg a falazott falak erősebb tipliket és csavarokat. A nagyobb stabilitás érdekében minden falfelületnél érdemes a ragasztást és a csavarozást kombinálni. Kezdd azzal, hogy megfelelő ragasztót viszel fel a panel hátoldalára, majd helyezd fel a falra, és rögzítsd csavarokkal, hogy biztosan és biztonságosan a helyén maradjon. Ez garantálja, hogy a panelek hosszú távon is stabilan rögzítve maradjanak.
Hogyan tudom a paneleket a legjobban méretre vágni?
A legjobb eredmény érdekében javasoljuk, hogy a fa paneleket körfűrésszel vágd, de dekopírfűrész is használható. A szilánkosodás kockázatát csökkentheted, ha sniccerrel elővágod a vágási vonalat, ami jelentősen mérsékli a lepattogások esélyét. Az éleken megjelenő apró szilánkokat finom szemcséjű csiszolópapírral könnyedén eltávolíthatod.
Hogyan csatlakoztassam a paneleket függőlegesen?
Több vásárlónk is sikeresen helyezte el a paneleket függőleges toldással, amikor a mennyezet magassága meghaladta a 242 cm-t. Sok visszajelzés szerint a legszebb eredményt akkor éred el, ha mindkét panel csatlakozó éléből kb. 2 cm-t levágsz, így egyenletesebb és pontosabb illesztést kapsz.
Mi a panelek akklimatizálása?
Minden modellünk – Premium Light Oak, Premium Light Brown Oak, Premium Smoked Oak és Premium Black Oak – 3–5 napos akklimatizálási időt igényel. Ez idő alatt a paneleket ki kell csomagolni, és hagyni kell, hogy „lélegezzenek”. A folyamat felgyorsításához váltogathatod a szellőztetést nyitott ablakokkal és a helyiség hőmérsékletének megemelését.
Felszerelhetem az akusztikus paneleket kültéren?
Paneleink beltéri használatra készültek, mivel a hátoldali filc nem képes ellenállni a magas páratartalomnak és a nedvességnek.
Hány csavarra van szükség panelenként?
Falra történő rögzítés esetén panelenként 15 csavar használatát javasoljuk, 3 csavarral a szélesség mentén és 5 csavarral a hossz mentén elosztva.
Mennyezetre történő felszerelésnél panelenként 25 csavar ajánlott, 5 csavarral a szélesség mentén és 5 csavarral a hossz mentén, hogy a lehető legjobb stabilitást érd el.
Felragaszthatók a panelek a falra?
Igen, a panelek közvetlenül a falra ragaszthatók, azonban fontos tudnod, hogy a szerelőragasztó eltávolításkor károsíthatja a falat vagy a tapétát. Szerelőragasztó használata esetén egy tubus körülbelül 1,5 panelhez elegendő.
Hol nem javasoljuk a panelek felszerelését?
Általában nem javasoljuk a panelek felszerelését fürdőszobákban a magas páratartalom miatt. Emellett kerüld a fatüzelésű kályhák közelében történő elhelyezést, mivel az anyag gyúlékony lehet.


